
In this post, I want to show you my simple signature logo creation process. If you plan to create a nice looking signature photography logo for yourself, but you’re not sure how then this tutorial will help from start to finish. We will start by creating a photoshop document and learn how to install fonts. Then we will create a logo and finally, we will save and export the logo so that you can use it on your website or add a watermark to your images.
We are going create the following signature logo, but if you have a couple of other fonts you would like to use instead of my choice, feel free to do so.
![]()
Tutorial assets
To follow this tutorial you will need:
- Adobe Photoshop CC program. If you don’t have it, you can download a free trial from their homepage.
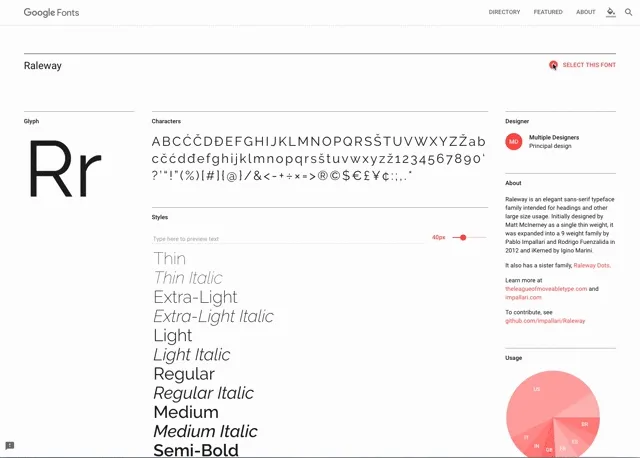
- Raleway font. Download link here.
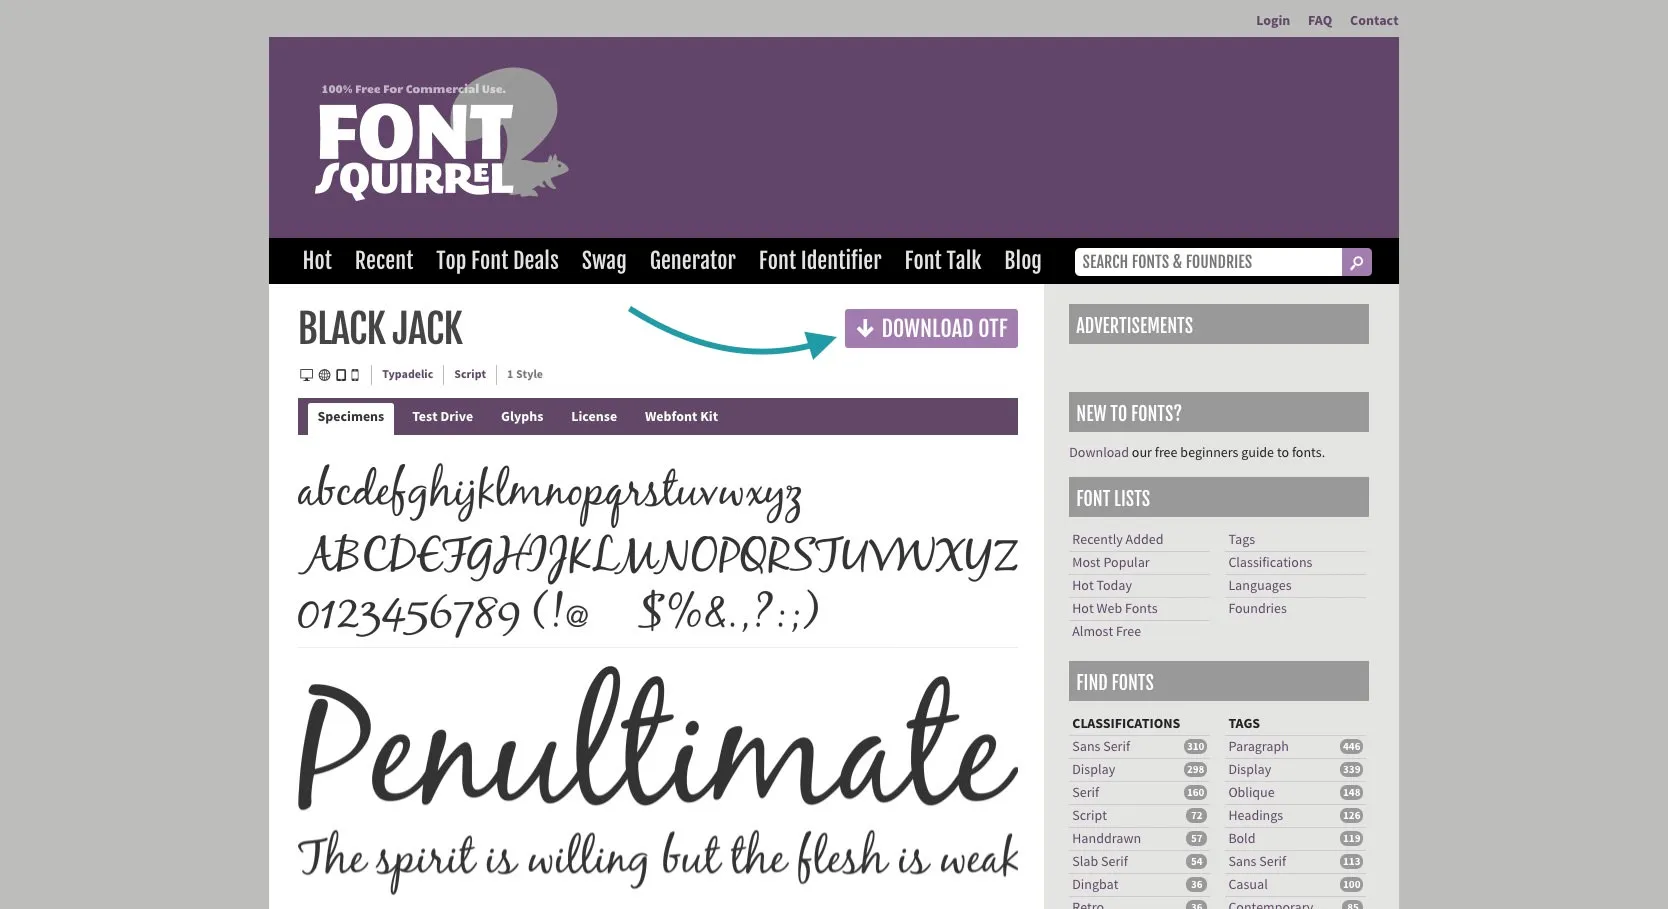
- BlackJack font. Download link here.
1. Set up your Photoshop document
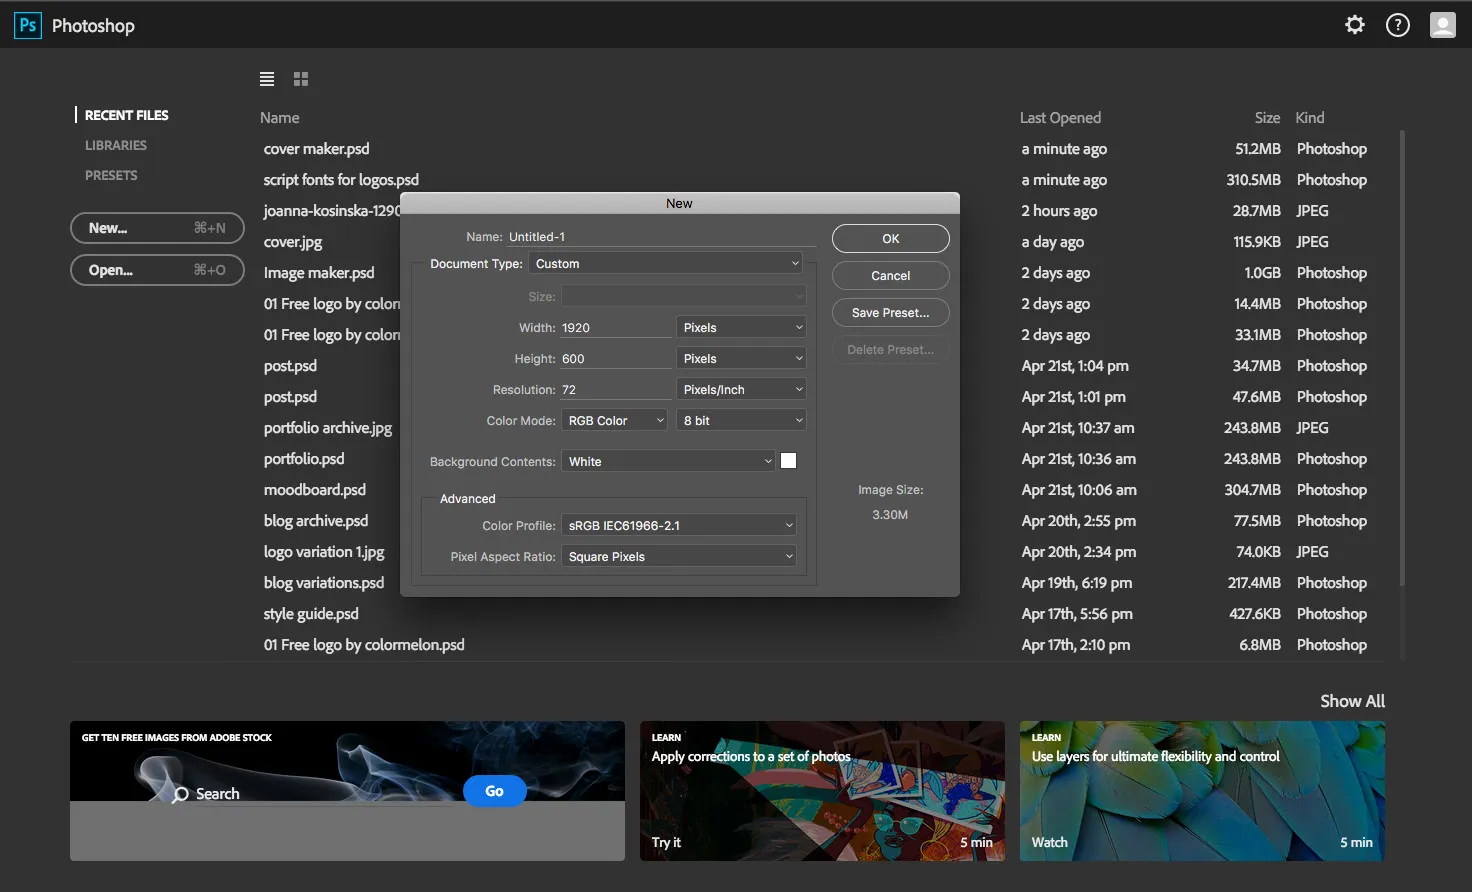
Step 1
Open Photoshop, click on “New” and create document around 1920 x 600 pixels in size with a white background.
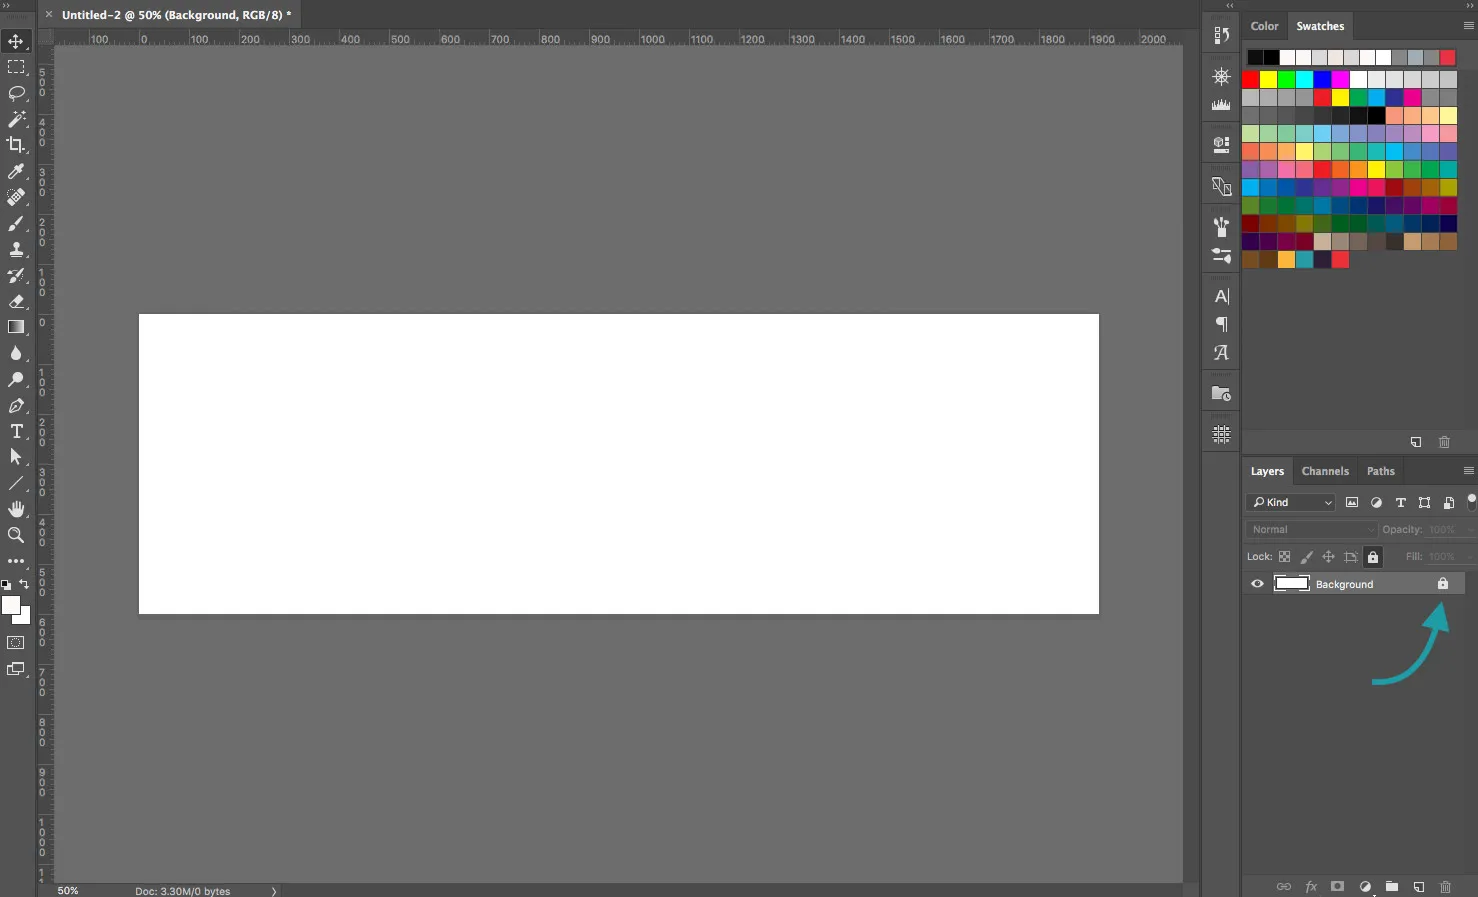
Step 2
Unlock the background layer by clicking on the lock icon in the Layers panel.
2. Download and install your fonts
In this tutorial, I’m going to use BlackJack font and Raleway font but you can choose any other font you like.
Step 1
Click here to download BlackJack font.
Step 2
Click here to download Raleway font.
Step 3
Now you need to install your downloaded fonts so that they show up on Photoshop. The installation process differs for Mac and PC users so follow the instructions that are relevant to you.
Install fonts on Mac:
- Go to Finder and open your Downloads folder
- Unzip blackjack.zip file and find blackjack.otf
- Doubleclick on it to open the preview
- Click on the “Install Font” button.
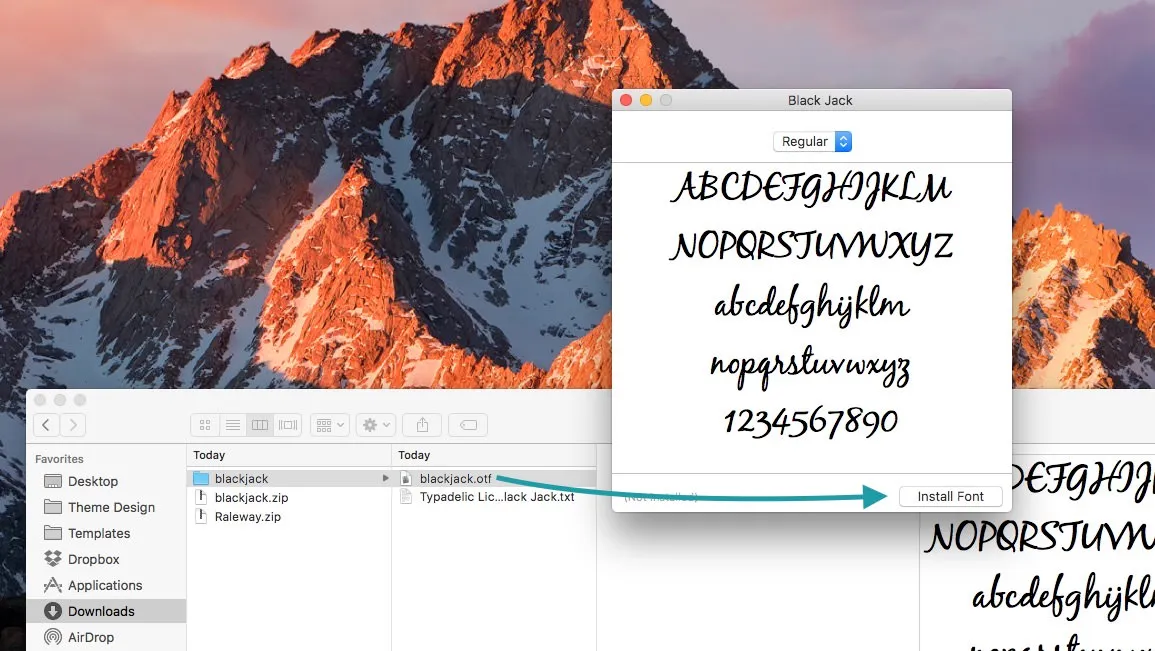
Now do the same for Raleway font. We will be using Raleway-Medium.ttf so you can either install just that or if you want to, you can install all on the .ttf files.
Install fonts on PC:
- Go to your Downloads folder
- Locate blackjack file and double-click on it to access blackjack.otf
- Now double-click on blackjack.otf once more to see its preview
- Click on the “Install” button located in the top left corner of the preview box.
- Do the same for Raleway font.
3. Create your logo
Step 1
In Photoshop select the type tool (T), set the font to Black Jack (or any other font you installed), make sure the alignment is set to center and the color is set to black.
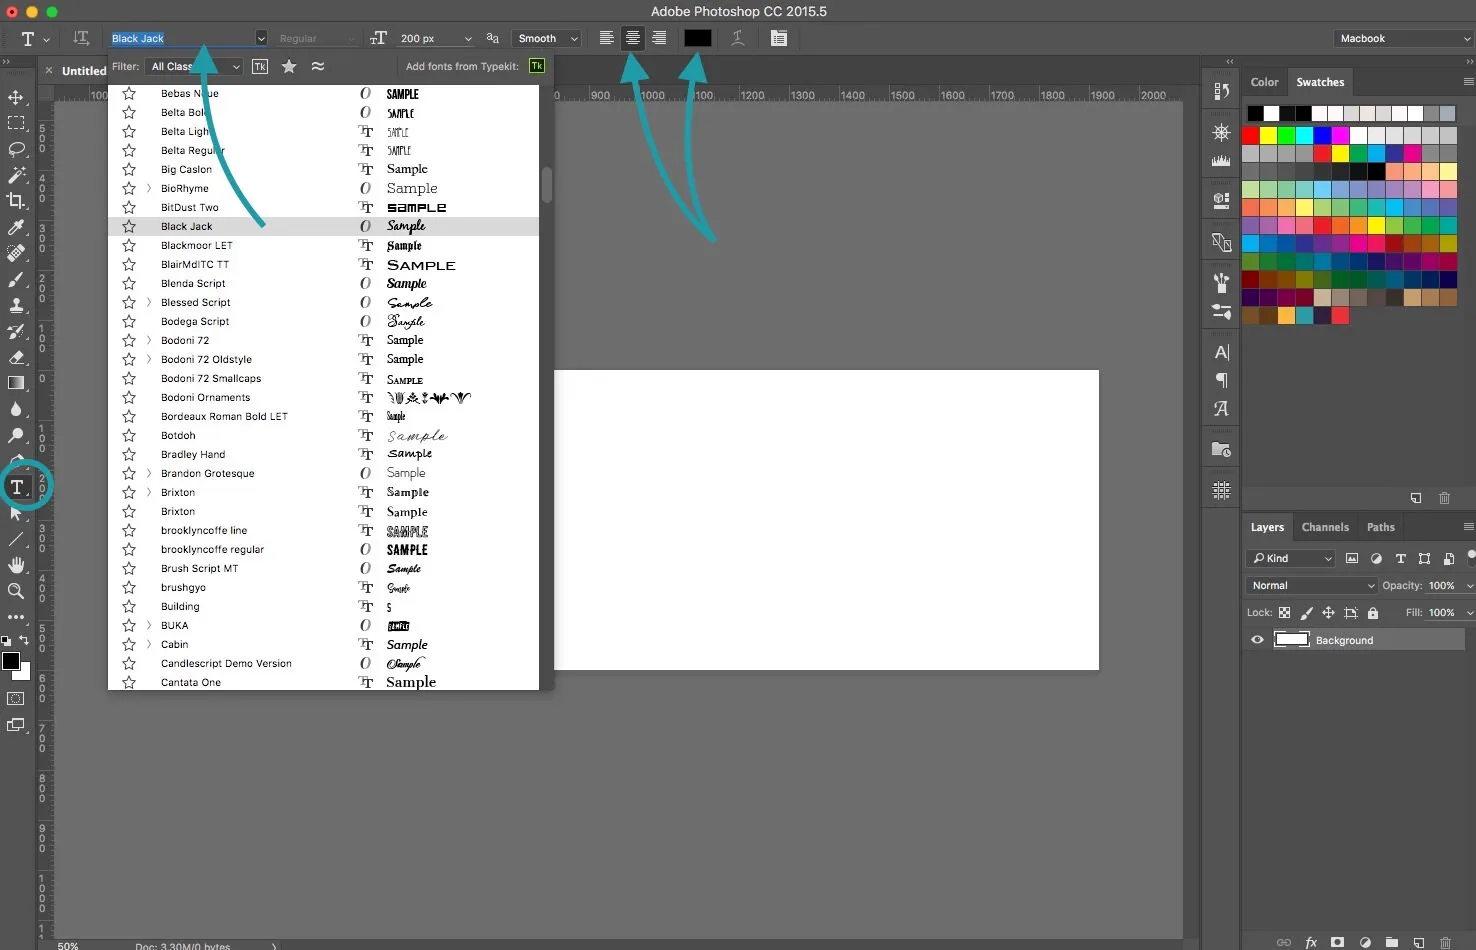
Step 2
Type your name. If needed, adjust the font size. To do that, switch to any other tool (for example the Move tool) and go to Type > Panels > Character Panel. I set my font size to 200px.
Step 3
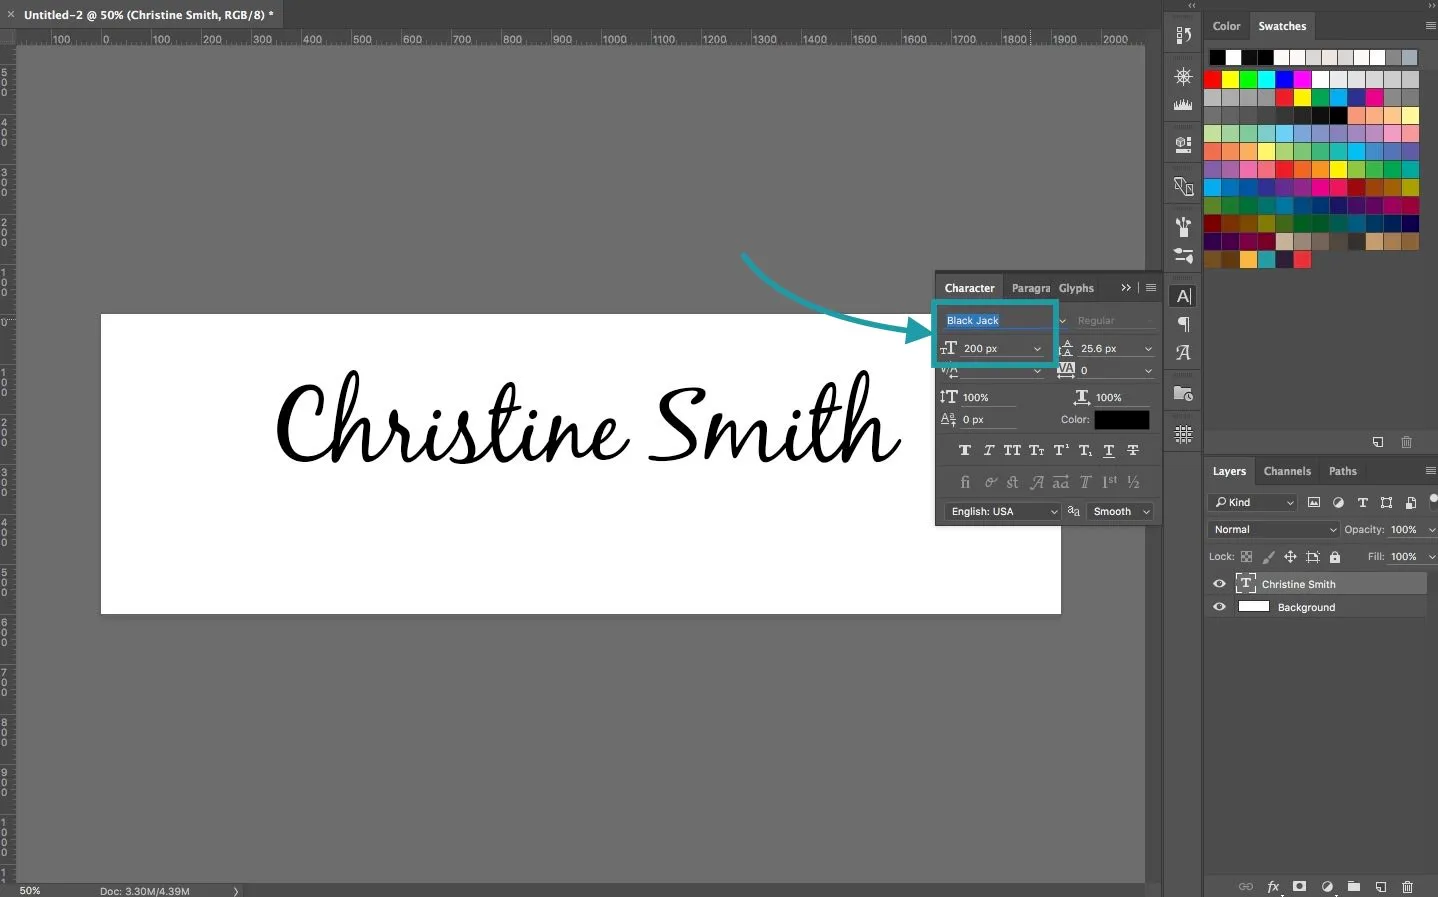
Select the type tool (T) again, set the font to Raleway, make sure that the alignment is set to center and the color is set to black and this time set the font size to about 55px. Type “PHOTOGRAPHY” under your name.
Switch to tool Move tool (V) and in your Character Panel (Type > Panels > Character Panel) set tracking to 400.
![]()
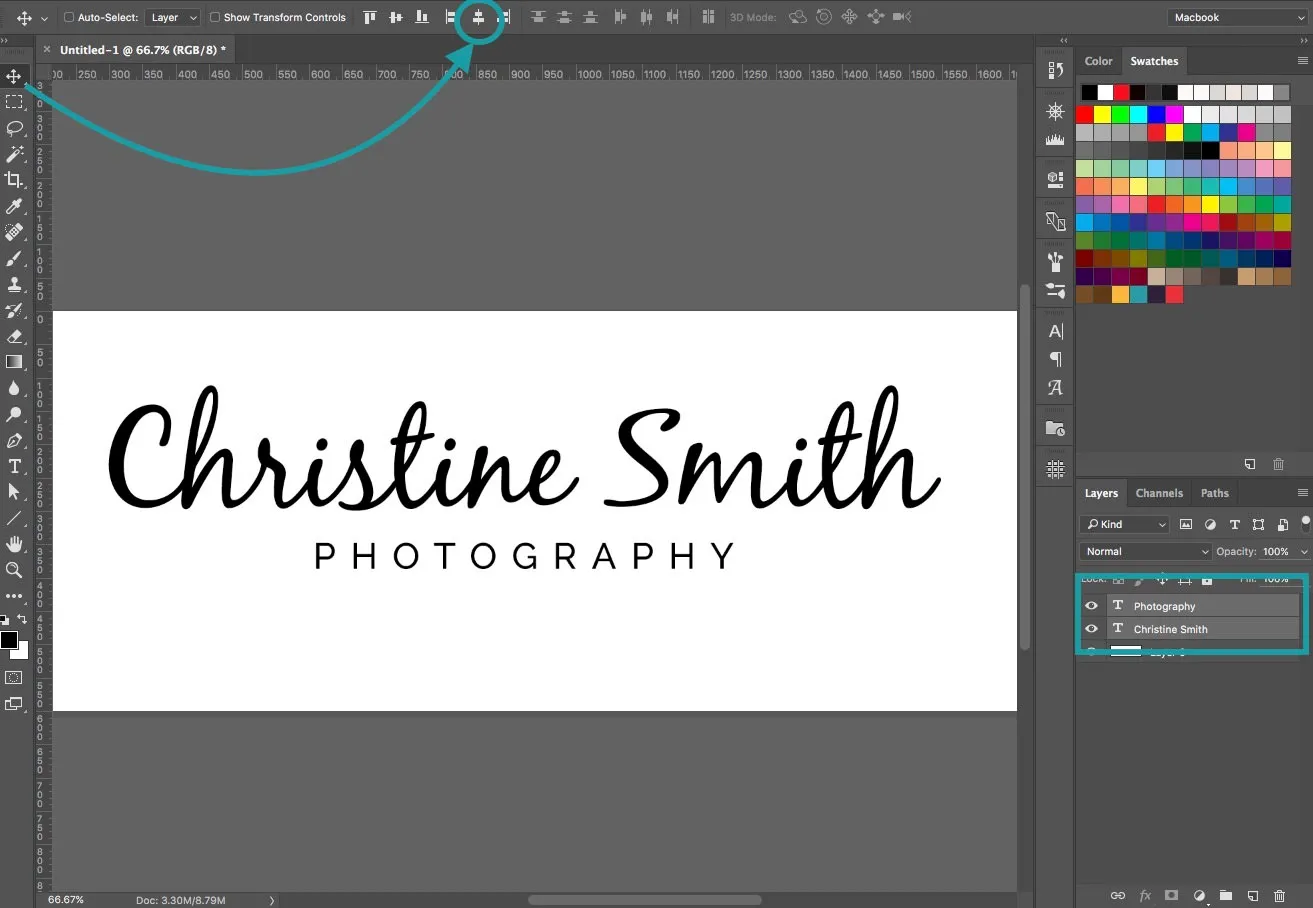
Step 4
Make sure you are still using the Move tool (V) and select both text layers in your layer panel. While both text layers are selected, click on the “align horizontal centers” icon.
4. Trim file before exporting
Step 1
Now that your logo is ready, you need to remove all the unnecessary space around it. To do that, turn off the white background layer in your layers panel by clicking on the eye icon.
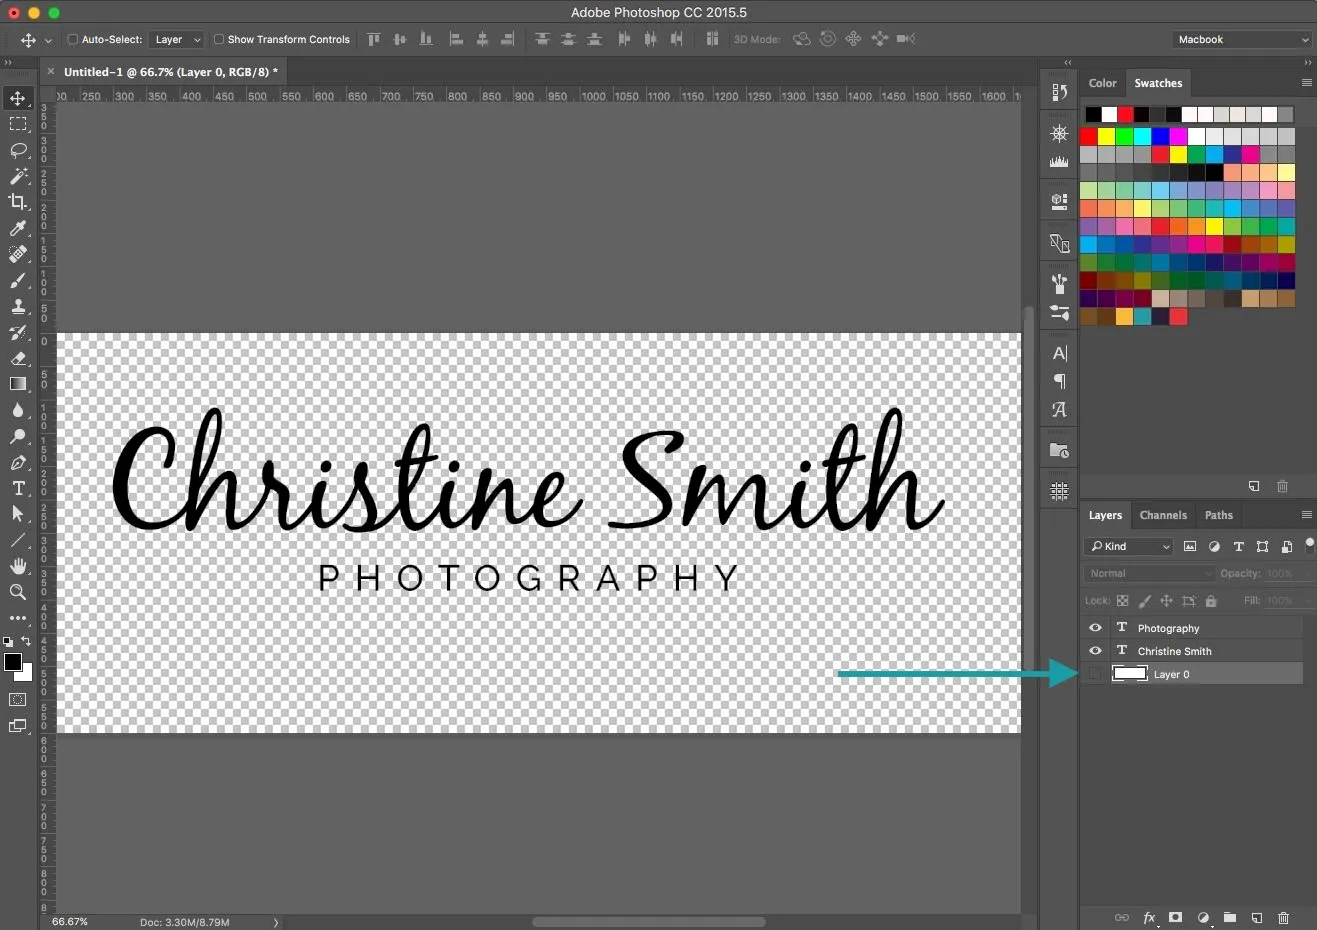
Step 2
Go to** Image > Trim**, select “Transparent Pixels” and trim away everything from the top, bottom, left, and right.
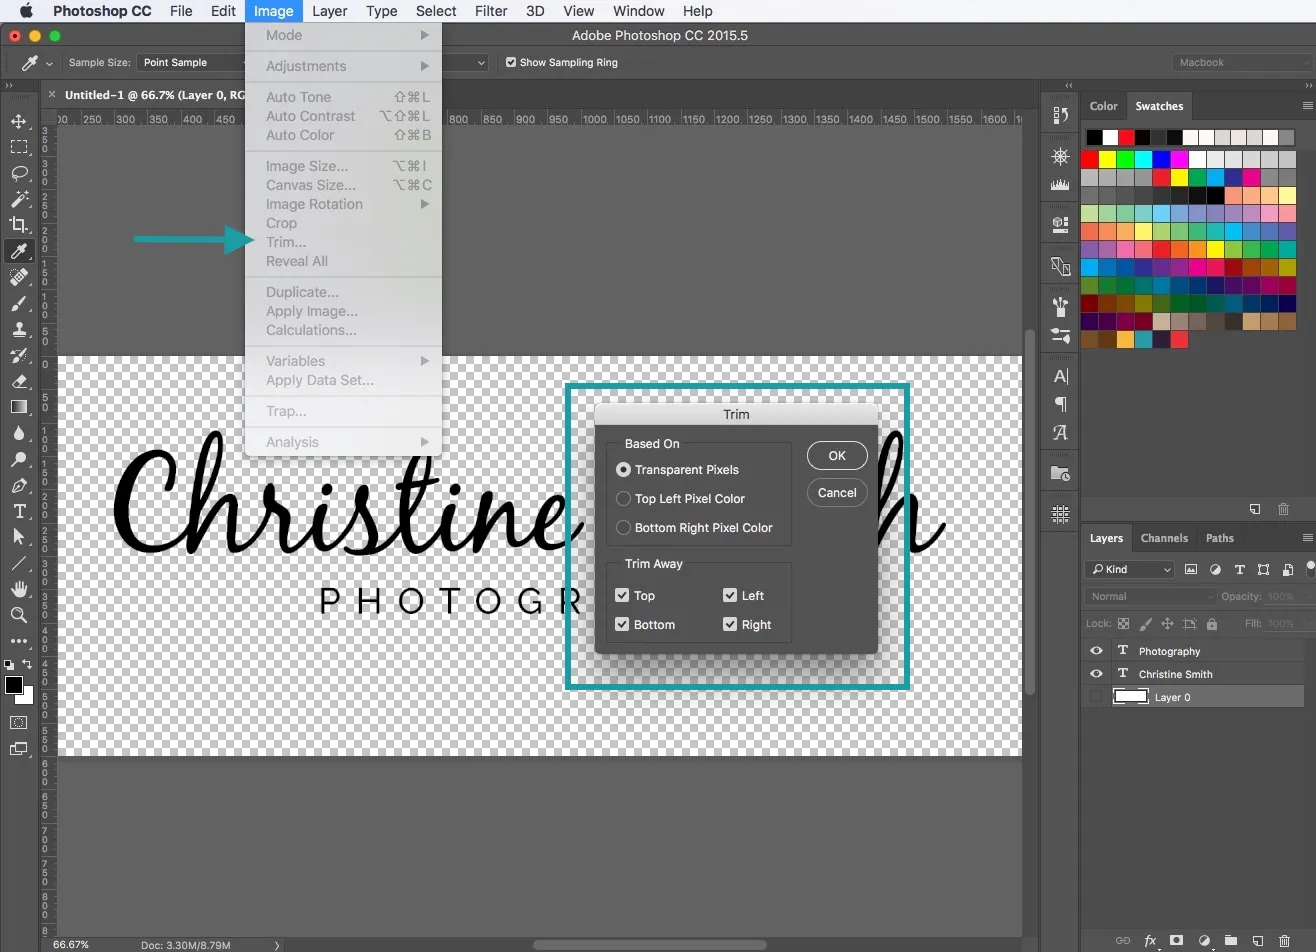
You should be left with a tight fitting logo in the middle of your canvas.
![]()
4. Save and export
Step 1
First go to File > Save and save your photoshop file somewhere on your computer so that you can use it again.
Step 2
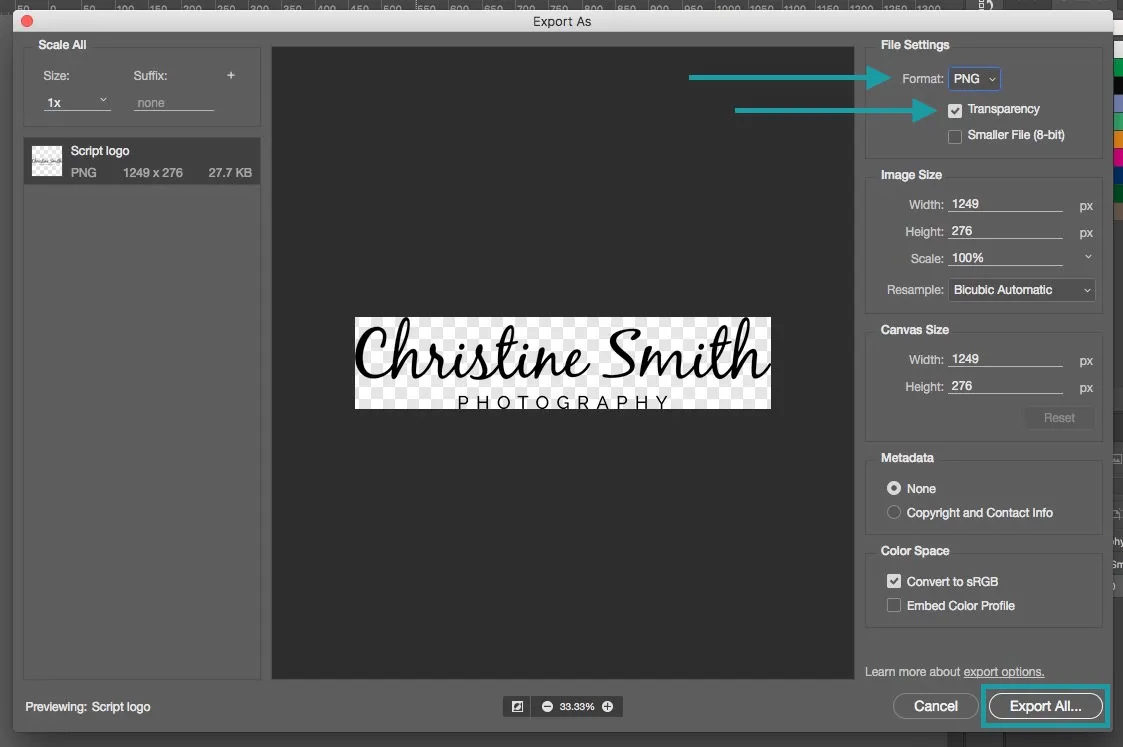
Now you are ready for exporting.
Go to File > Export > Export As… A new pop-up window will appear. Set the Format to PNG and make sure Transparency is checked. Then click “Export All” and save the logo image somewhere on your computer.
5. Changing the color
If you need to change the color of your logo, open your Photoshop file again, select both text layers and in your Character Panel change the color.
![]()
Then export the logo again.
Now you have a ready to use photography signature logo with a transparent background. You can place your logo on top of your images in Lightroom or use on your website or any other place.
I hope you found this tutorial useful, thanks for reading!