Why travel photos go wrong
We love snapping travel photos to capture the magic of new places, but too often the results don’t match the memory. Maybe the light is harsh, the angle is awkward, or the background is a total mess. The truth is, small mistakes add up fast.
The good news? Most photo fails are fixable with simple tweaks. Once you know what to avoid and what to adjust, your pictures go from average snapshots to stunning keepsakes.

Fail#01: The crooked horizon
Few things distract from a gorgeous beach or mountain view faster than a tilted horizon. Even if the colors and subject are perfect, the slant makes your photo look rushed.
It’s one of the most common mistakes travelers make because it’s easy to miss in the moment. But once you notice it later, it’s impossible to unsee. Straight lines matter more than most people realize when it comes to creating balance in photos.
Fail#02: Harsh or flat lighting
Lighting can make or break a picture. Snap a shot at noon under direct sunlight, and you’ll likely get harsh shadows and squinty eyes. Take it at night, and you might end up with a grainy blur.
Travelers often forget that cameras don’t see light like our eyes do. What feels normal in the moment can look washed out or dull in a photo. Bad lighting is a recipe for disappointment, even in the prettiest places.
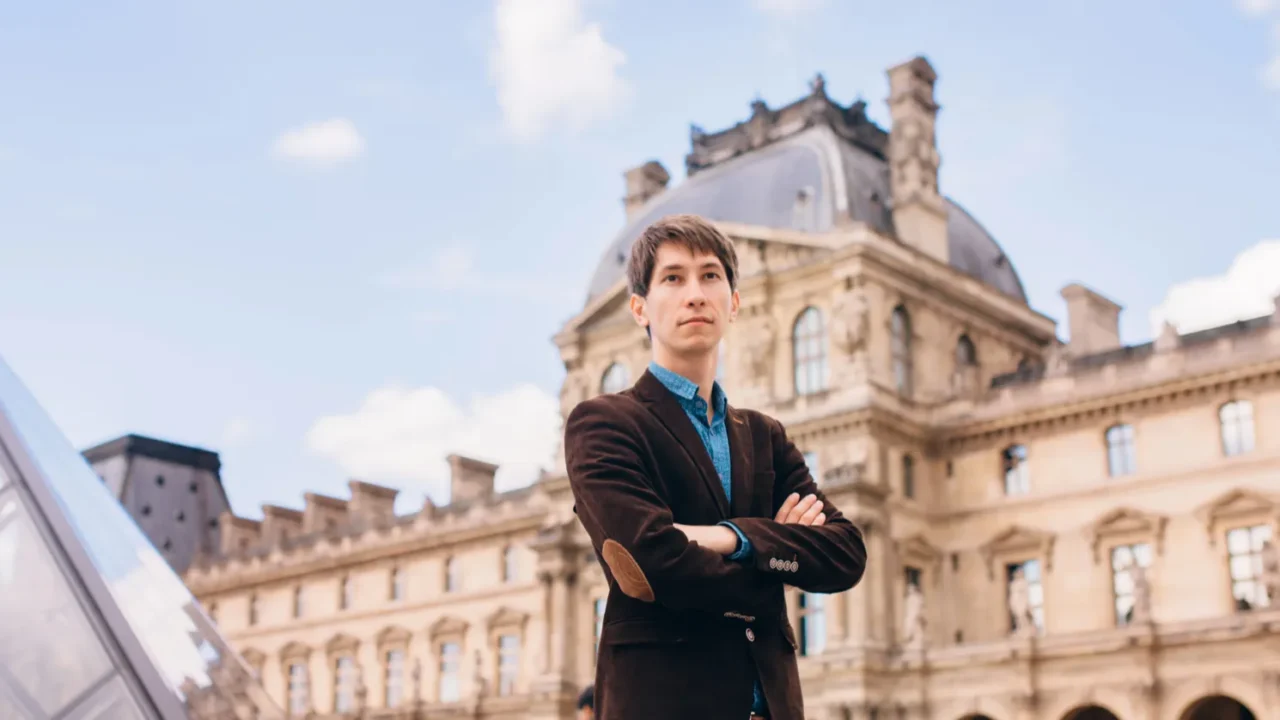
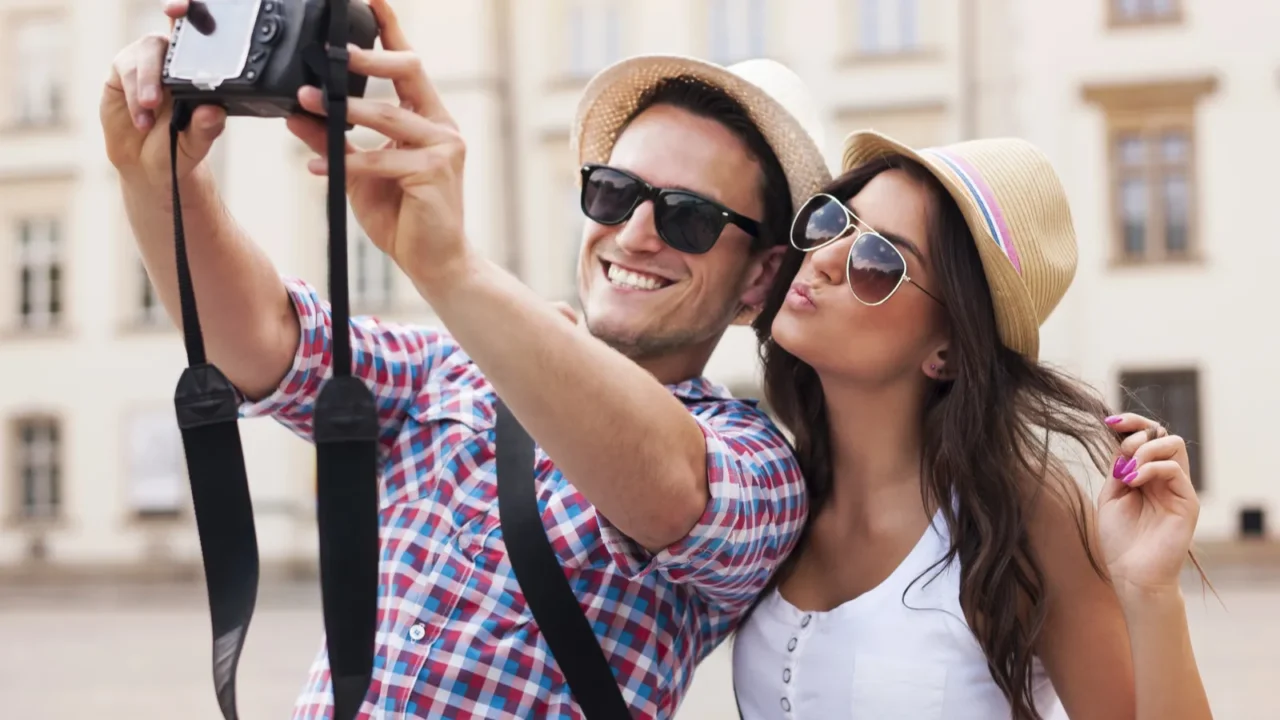
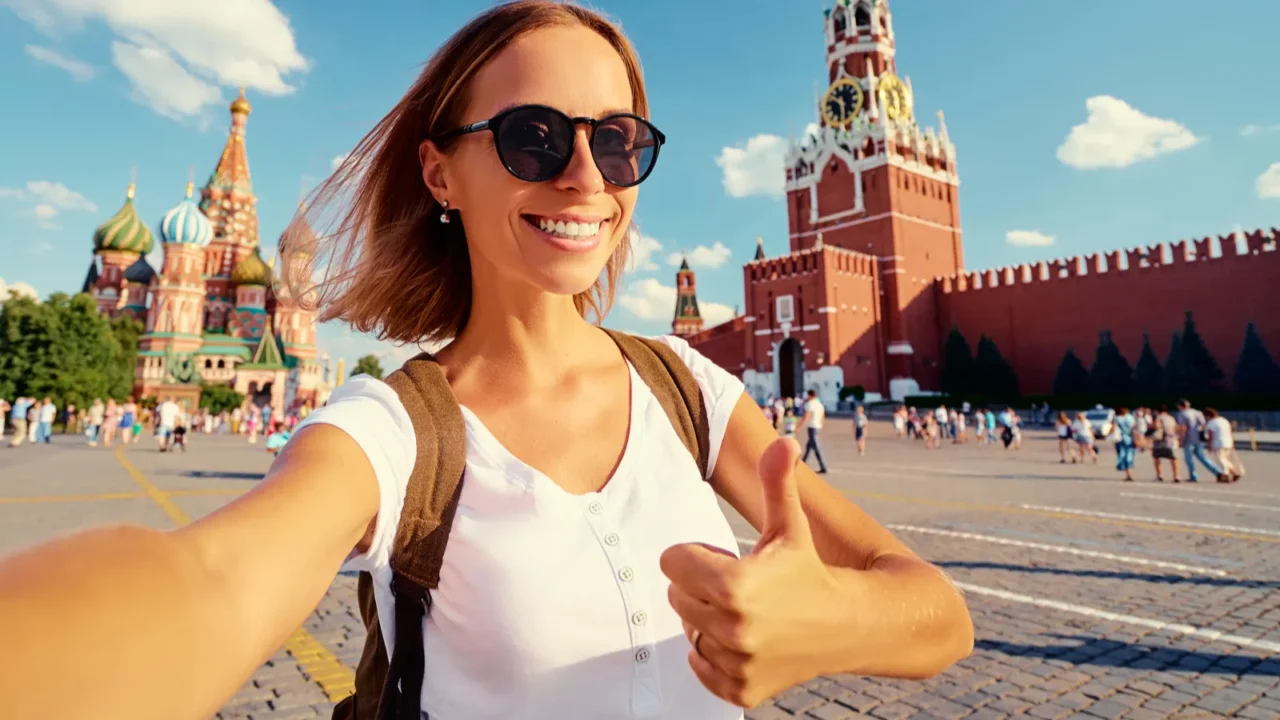
Fail#03: The forced tourist pose
You’ve seen it a hundred times: someone stiffly standing in front of a landmark with their arms glued to their sides. It doesn’t feel natural, and the photo doesn’t look fun.
These rigid, rehearsed poses make travel memories feel staged instead of spontaneous. The background might be incredible, but if the subject looks uncomfortable, the whole image falls flat. That’s why awkward posing is one of the biggest repeat offenders in travel photography.

Fail#04: The background takeover
You set up the perfect shot, but the crowd behind you steals the spotlight. Suddenly, your big moment with the Eiffel Tower or Times Square turns into a snapshot filled with strangers.
Crowded backgrounds create chaos, and your eye doesn’t know where to look. Instead of celebrating the landmark or the traveler, the photo gets lost in distraction. A cluttered scene can take even the best angle and turn it into a noisy mess.

Fail#05: Editing gone wrong
A little photo editing goes a long way, but too much can destroy the natural beauty of a shot. Over-saturated skies, glowing skin, and heavy filters often make photos look fake.
It’s easy to get carried away because editing tools are at our fingertips. The problem is, the final picture ends up looking more like a cartoon than a memory. Over-editing is a fail that makes even stunning places seem artificial.
Tip#01: Use gridlines to stay level
Keeping your horizon straight doesn’t have to be hard. Most smartphones and cameras come with gridlines you can turn on in settings.
Just align the horizon with one of the lines before snapping. If you forget in the moment, editing apps make it simple to straighten later. A level frame instantly makes your travel photo look polished and professional without much effort.
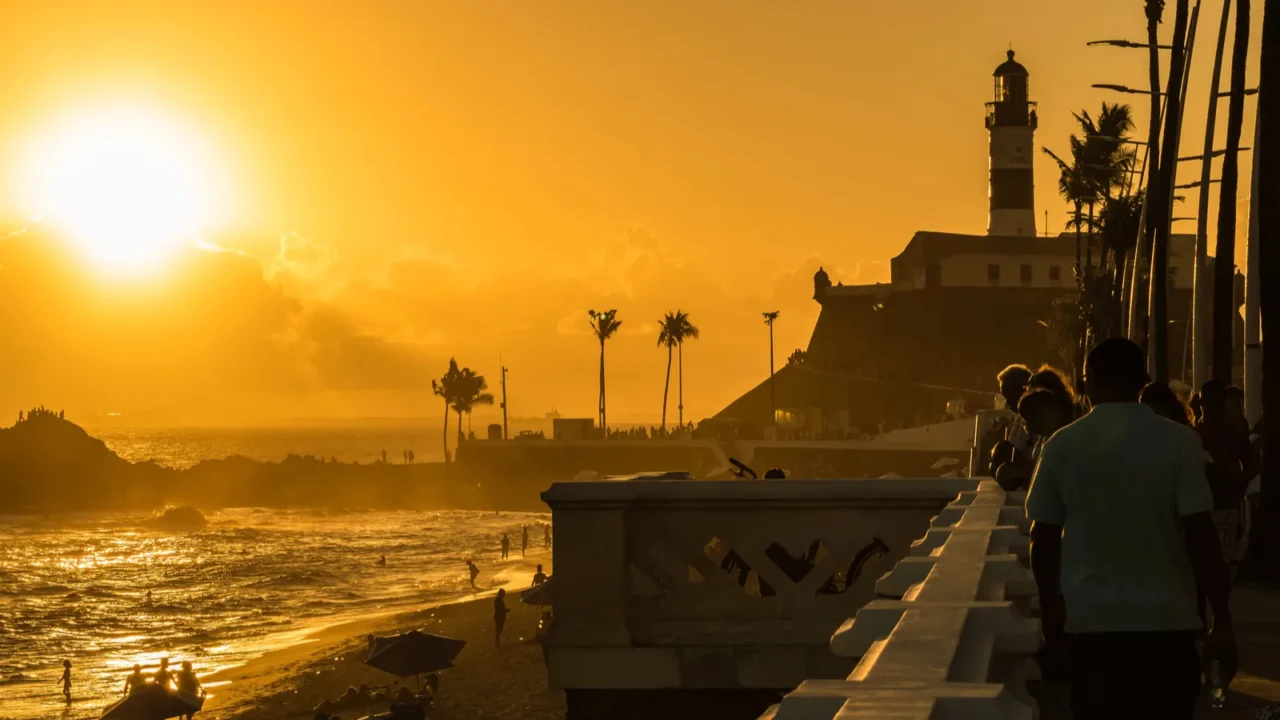
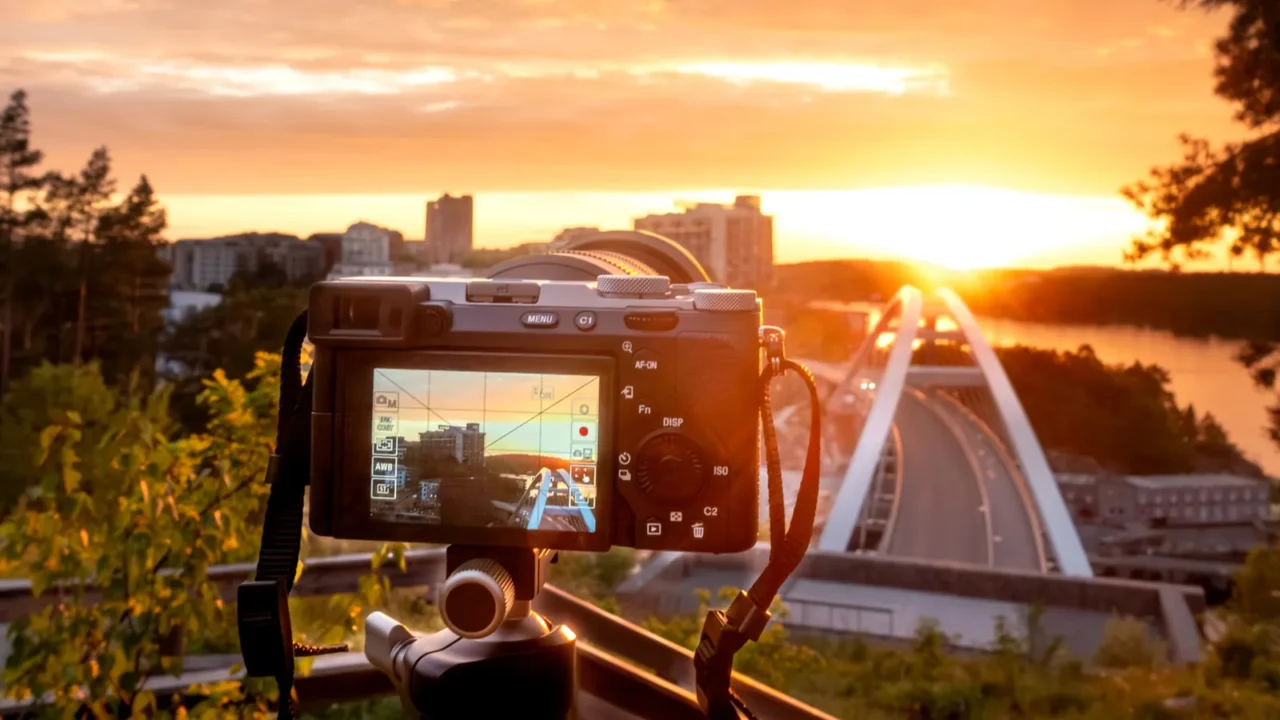
Tip#02: Chase the golden hour
The best light happens right after sunrise and just before sunset. These “golden hours” bathe everything in warm, soft tones that cameras love.
Plan at least one morning or evening shoot when traveling. If you’re stuck with midday sun, look for shaded spots or adjust exposure on your phone. Great light adds instant magic to your photos.
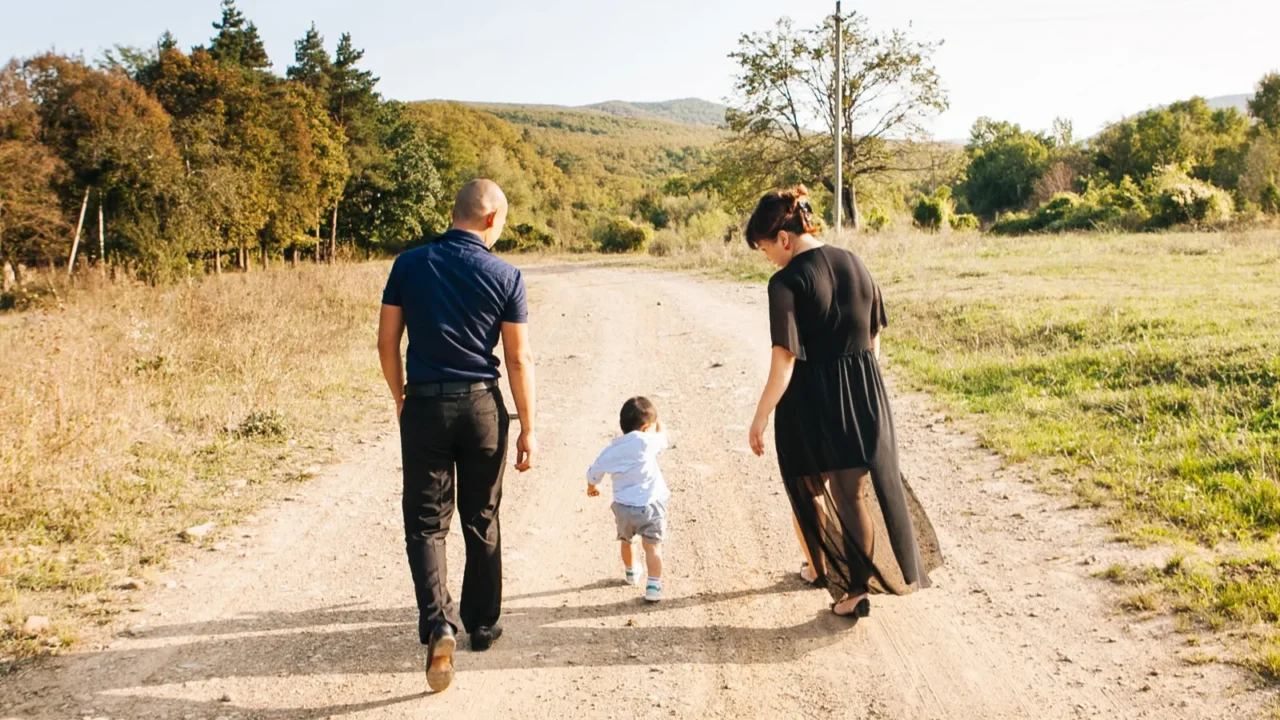
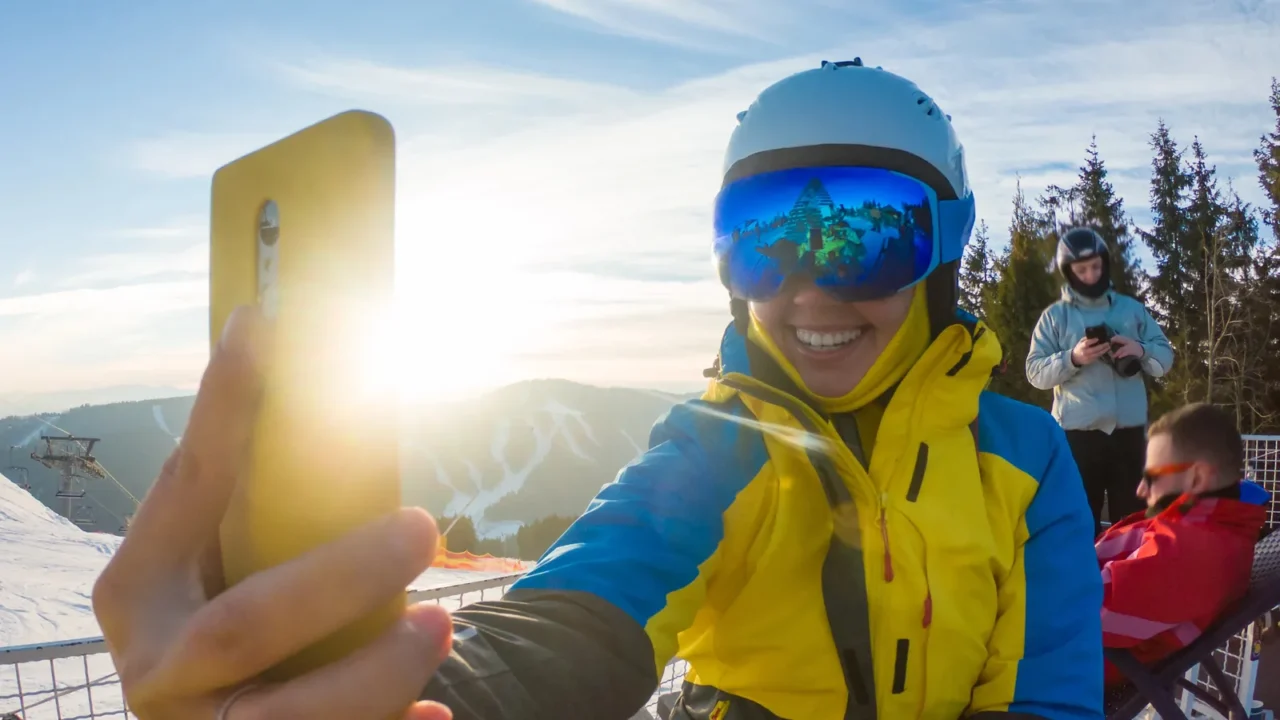
Tip#03: Move naturally in photos
Instead of freezing in place, try walking, twirling, or looking away from the camera. Natural movement tells a story.
Candid shots often feel more alive than stiff poses. When you interact with your surroundings, whether sipping coffee at a café or leaning against a wall, the photo captures genuine energy instead of a staged moment.
Tip#04: Frame out the crowds
Tourist hotspots are busy, but a smart angle can help. Try crouching lower, shooting upward, or positioning the landmark above your head.
Early mornings or weekdays are also great for fewer people. Even small shifts, like stepping a few feet to the side, can clear up your background. That way, the focus stays where it belongs.

Tip#05: Edit with Lightroom
Less is more when it comes to editing. Start with small tweaks, brightness, contrast, and sharpness.
Apps like Snapseed or Lightroom keep your photos looking natural. Think of editing like seasoning food: just enough to enhance the flavor, not overwhelm it. Subtle changes make travel shots shine without losing authenticity.
Tip#06: Play with angles
A simple shift in perspective makes a big difference. Shoot from low down to make buildings look grand, or from above to highlight street patterns.
Experimentation keeps your travel album fresh. Instead of twenty identical front-facing shots, you’ll end up with creative variations that stand out.

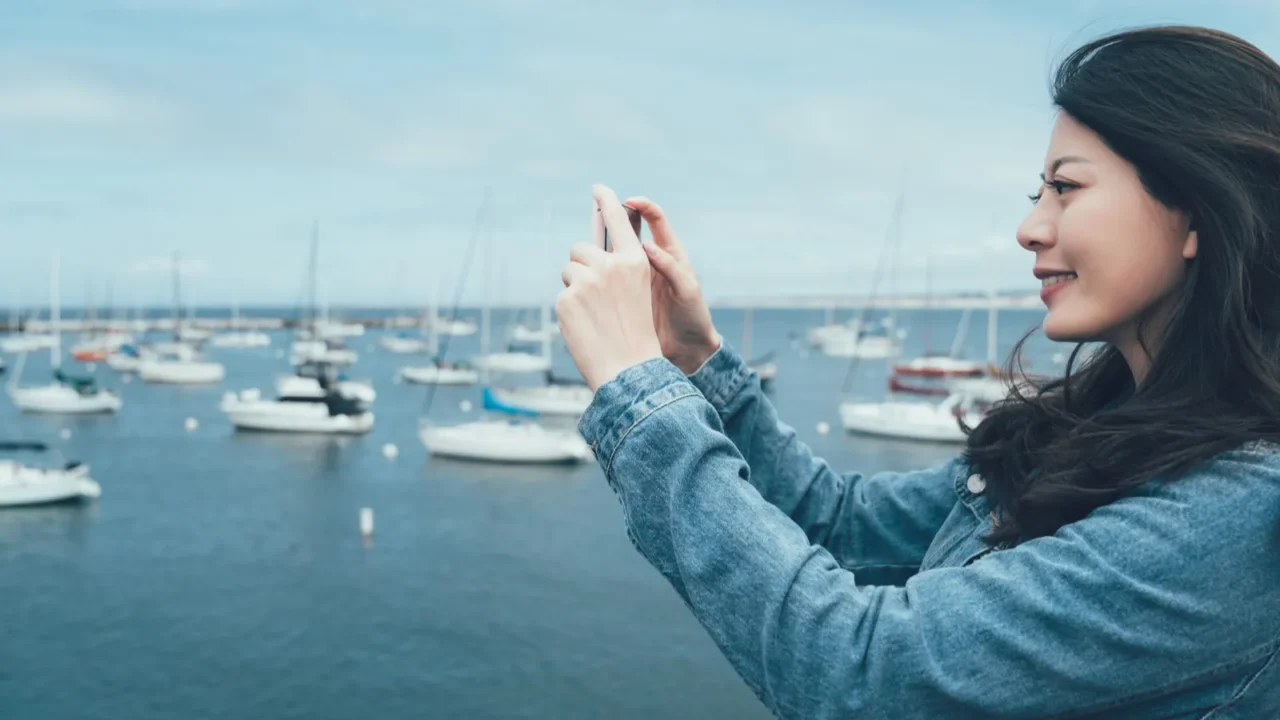
Tip#07: Capture small details
Wide shots are great, but little details tell a fuller story. Zoom in on the carvings of a temple, the colors of a market stall, or the steam rising from street food.
These smaller touches make your memories personal. Combined with landscape shots, they turn your album into a layered story rather than a simple postcard collection.

Tip#08: Use reflections for drama
Water, windows, and mirrors are your secret photo tools. They add symmetry and depth without needing extra equipment.
Look for puddles after rain or glass façades in city streets. By including reflections, you turn an ordinary shot into something that feels unexpectedly artistic.

Tip#09: Wait for the right moment
Rushing photos means missing magic. Sometimes the best picture happens a few seconds later, like a bird flying past or a local walking into the frame.
Take a moment to observe before you shoot. Patience transforms your photos from quick snaps into storytelling moments that feel alive. For more travel inspiration, don’t miss Indonesia’s Pink Beach named world’s most beautiful by travel experts and Travel waivers issued by U.S. airlines for Northeast and Mid-Atlantic

Tip#10: Keep your gear simple
You don’t need a heavy camera bag to take great shots. A smartphone, a small tripod, or even a clip-on lens is often enough.
Traveling light helps you focus on the experience instead of fumbling with equipment. The best camera is the one you’ll actually use comfortably and often. Ready to capture the magic without overpacking? Here’s what to bring for a scenic fall getaway in the Northeast that keeps things simple and stunning.
Which travel photo fail have you been guilty of—crooked horizon, bad lighting, or too many photobombers? Share your funniest or most frustrating photo mishap in the comments!
Read more from this brand:
- Where Canadians are spending their $20 billion travel dollars instead of the U.S.
- Frontier CEO warns of troubled future for U.S. air travel
- Leaving for Vacation? The 18 Tasks to Not Miss
Don’t forget to follow us for more exclusive content right here on MSN.
This slideshow was made with AI assistance and human editing.