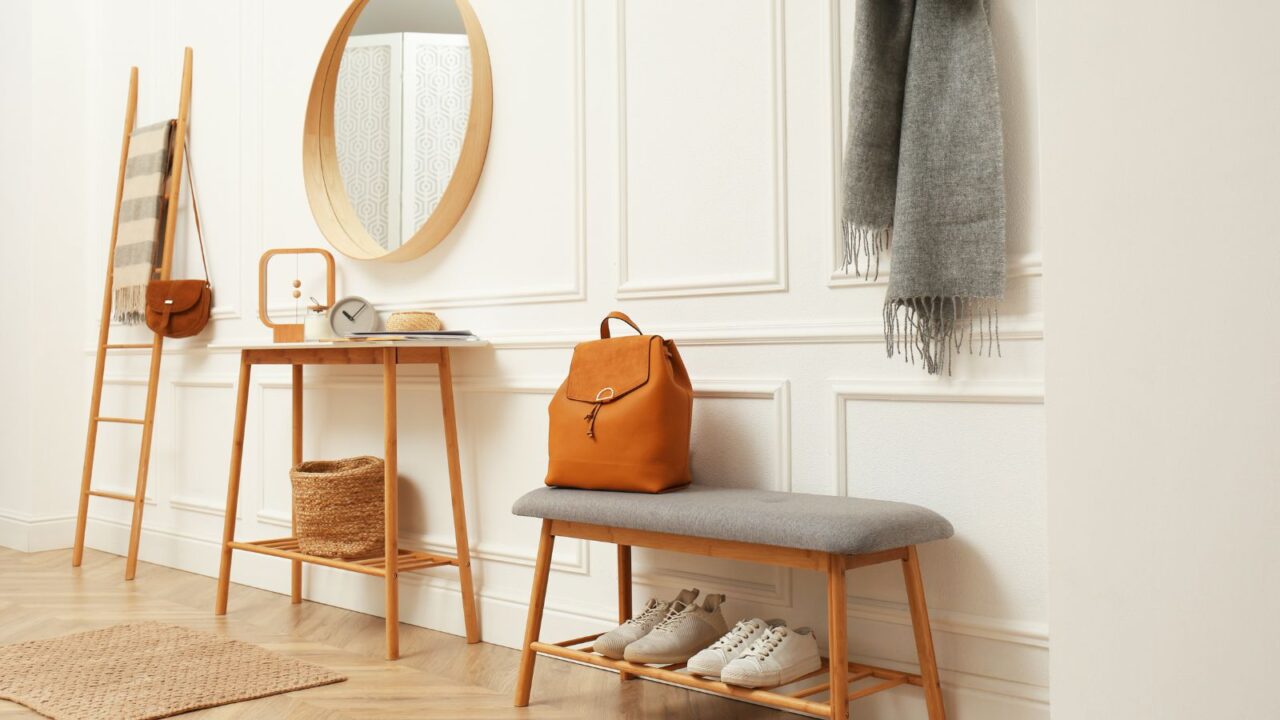
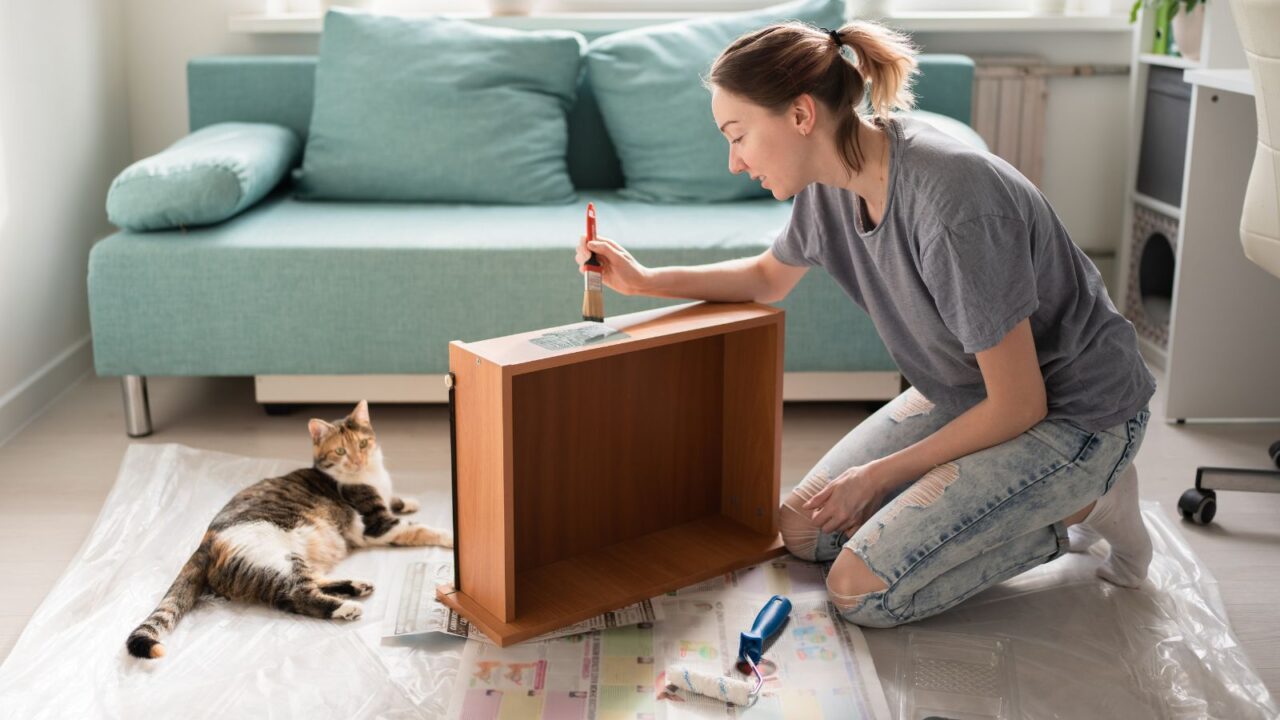
Refresh Your Furniture
Wood furniture holds timeless charm, but years of wear can leave it looking dull, chipped, or outdated. Instead of tossing it, try restoring it, right at home. With the right approach, you can revive its character, improve its look, and even add value without spending much.
From light touch-ups to bold transformations, this guide will show you simple ways to make your old wood pieces feel fresh, stylish, and totally you.
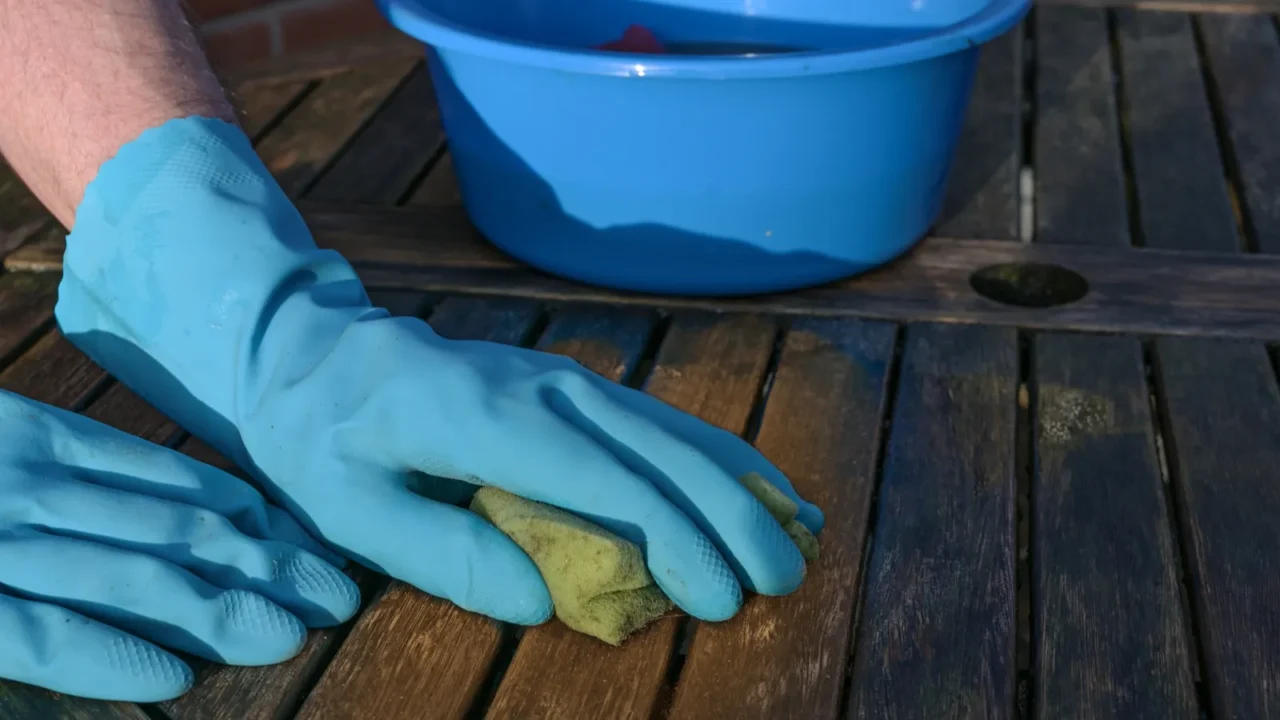
Clean First
Dirt and grease cling to old wood like glue, and if you skip the clean-up, your efforts won’t stick. Use a soft cloth and warm water mixed with mild dish soap to wipe down every inch. Avoid soaking it as wood doesn’t like too much water. Let it dry fully before you touch sandpaper or stain.
A clean surface sets the stage for every other step to work its magic.

Inspect Before
Before sanding or staining, look closely for cracks, dents, or missing chunks. This helps you decide if it just needs a touch-up or a full-blown makeover. Don’t forget to check joints and drawers, they often hide problems.
Knowing what you’re working with helps you plan smarter and avoid surprises later. A quick once-over now can save hours of backtracking.
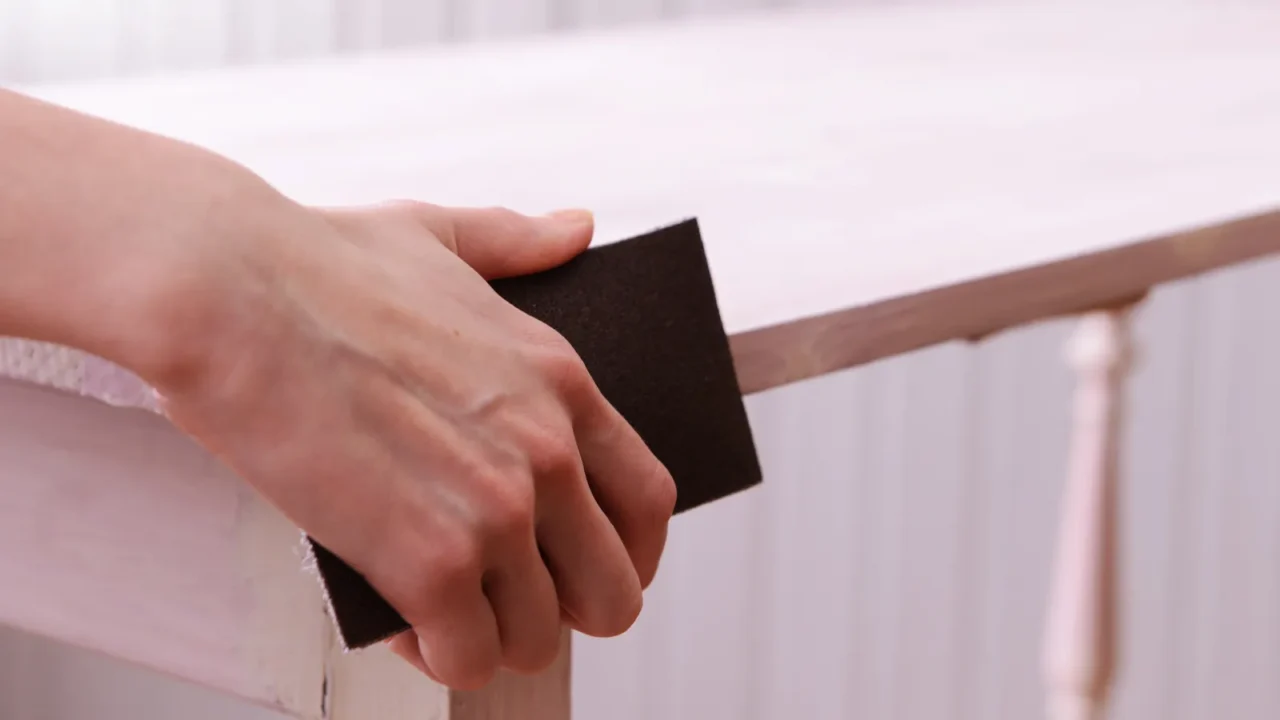
Sanding
If the finish isn’t peeling or sticky, a light sanding may be all you need. Use medium-grit paper and go with the grain to avoid scratches. Deep gouges or flaking paint might need heavier sanding or even stripping. Always dust the piece off in between sanding steps.
Going slow and steady here leads to a silky-smooth finish later.
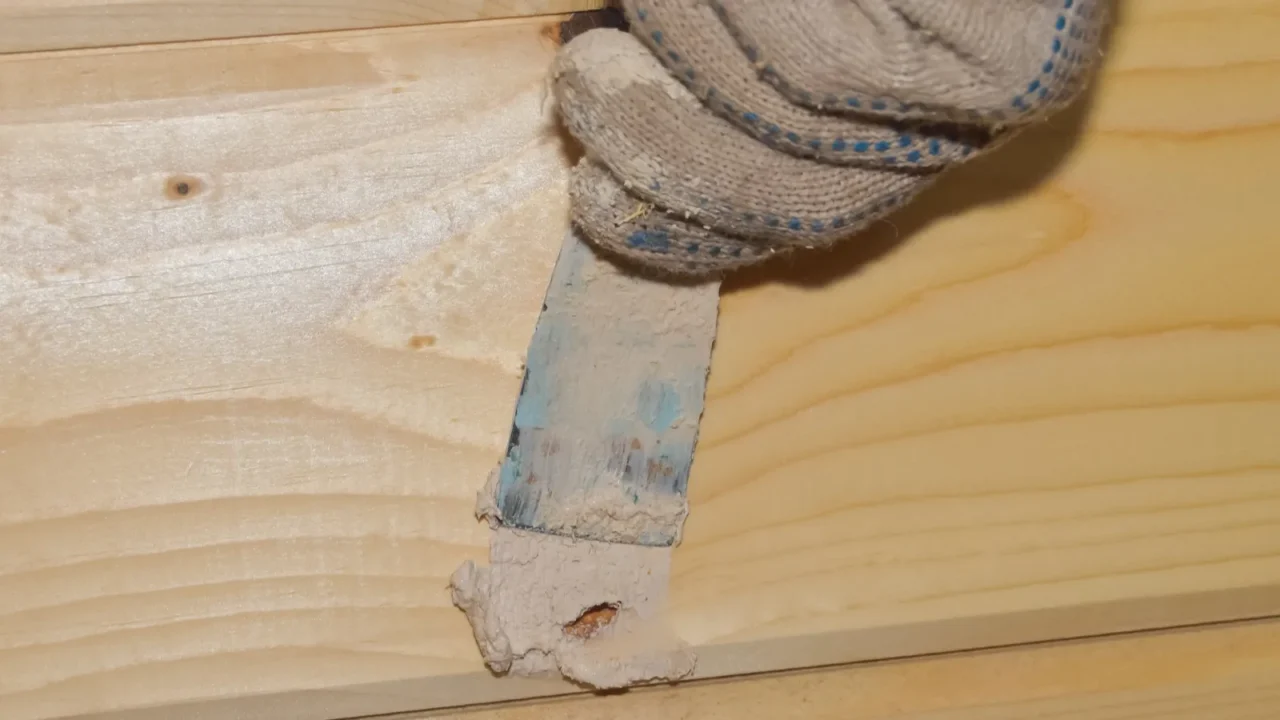
Wood Filler
Dings, nail holes, and deep scratches can all disappear with a bit of wood filler. Choose one that matches your stain or is paintable. Apply it with a putty knife and let it dry fully before sanding it flush. Use thin layers, too much at once just creates a mess.
Fixing these little flaws gives your furniture that smooth, clean look again.
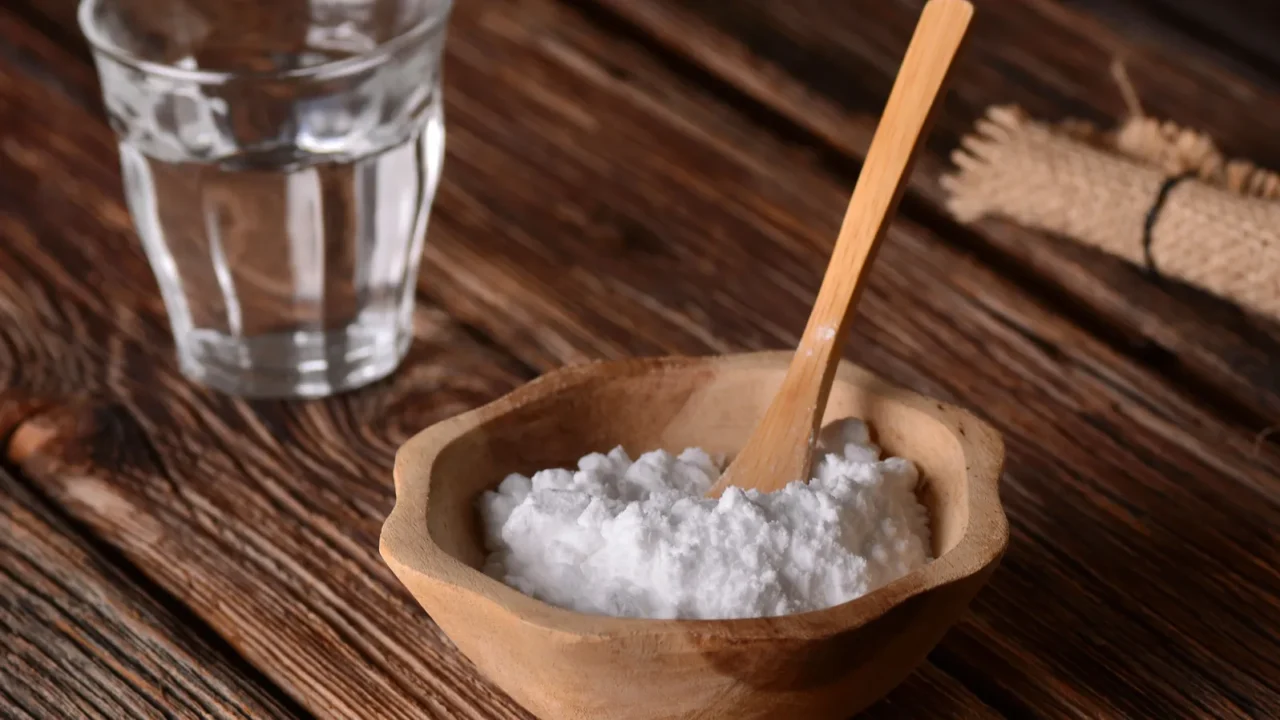
Water Rings
Water rings from cups or vases are easier to fix than you think. Rub gently with a mix of baking soda and water or plain non-gel toothpaste. For darker stains, try oxalic acid; just follow the instructions and test in a hidden spot first.
Water stains don’t have to ruin the piece forever. These tricks work fast and cost next to nothing.

Wood Conditioner
Before you stain, wipe on a wood conditioner to help the color soak in evenly. It keeps blotchy spots from ruining your hard work, especially on softer woods like pine. Let it sit for 15 minutes, wipe off the extra, and wait 30 minutes before staining.
This simple step makes all the difference in how professional your finish looks. Conditioner is the behind-the-scenes hero.
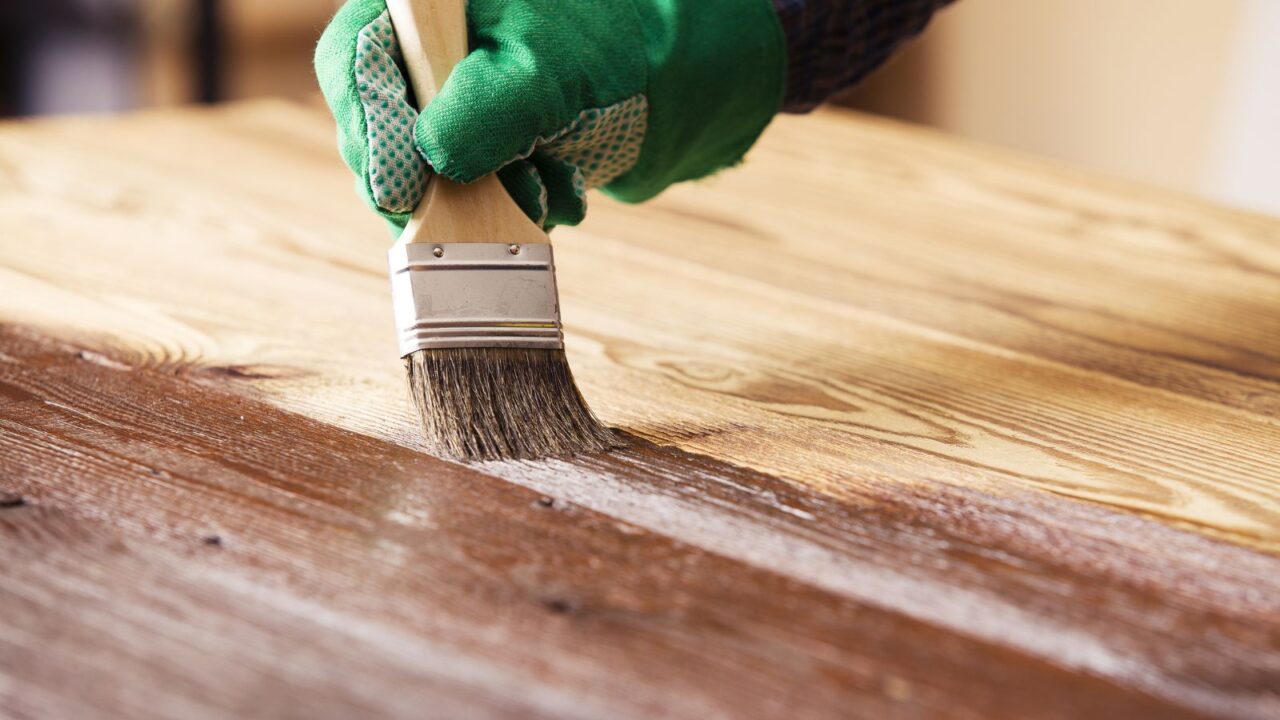
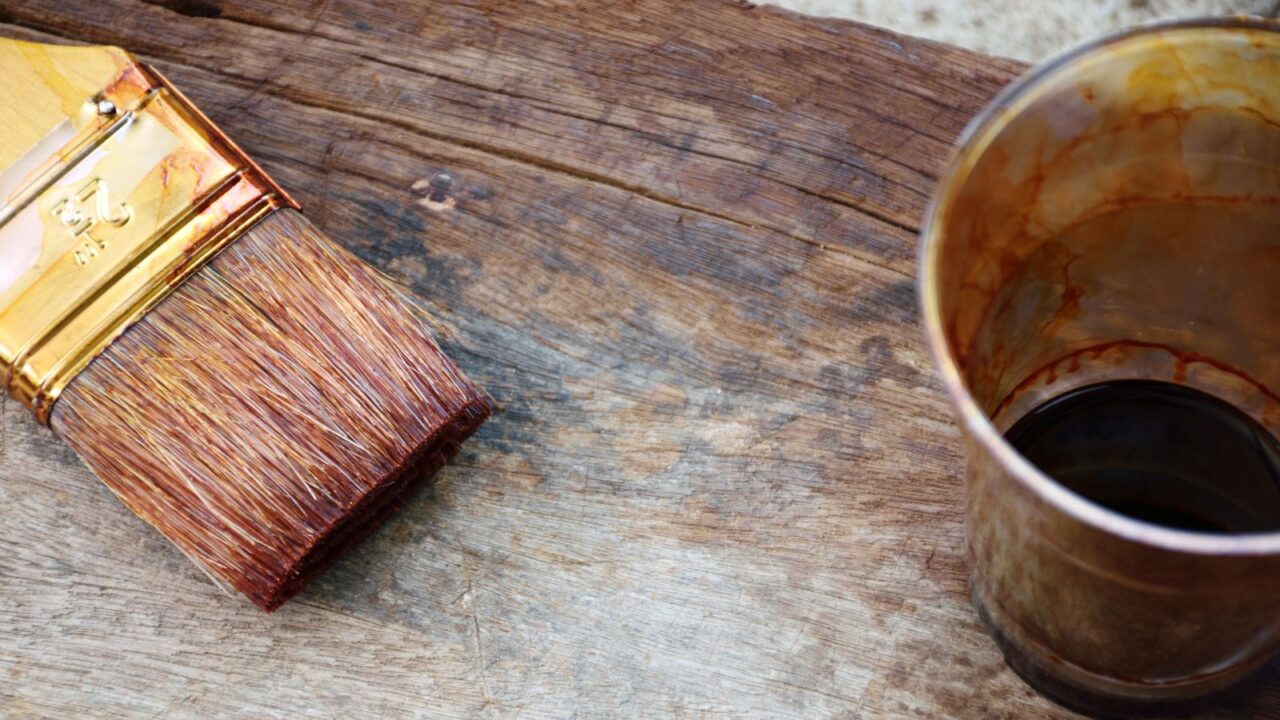
Stain
Apply stain with a cloth or brush, always working in the direction of the grain. Wipe off any excess after a few minutes to control the depth of color. Let it dry completely before adding a second coat if you want it darker. Be patient, rushing the stain leads to streaks and uneven tone.
When done right, staining adds warmth and richness that lasts for years.
Seal It Tight
After staining, protect the surface with a clear sealant like polyurethane. It comes in gloss, satin, or matte, depending on the look you want. Use a clean brush and apply thin, even coats, letting each one dry before adding another. Lightly sand between coats for a glass-smooth feel.
A good topcoat keeps scratches and spills from undoing all your hard work.
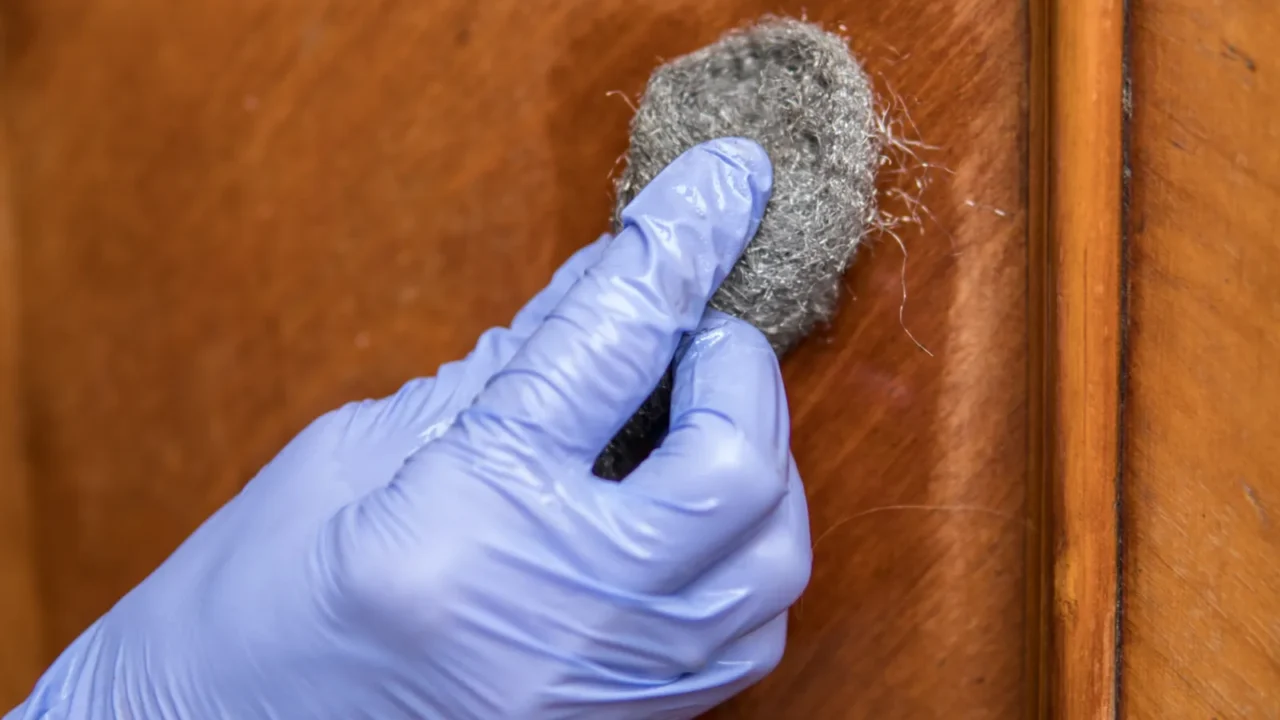
Buff
Once sealed, buff the piece with fine steel wool or a soft cloth. Use gentle circles to smooth out any rough patches and add a subtle sheen. This isn’t about shine, it’s about polish.
Buffing removes dust bumps and gives your furniture that high-end look you see in design magazines. It’s a quick step that adds tons of style.
Paint
Painting wood furniture is the easiest way to change its entire vibe without replacing it. Whether you want something bright and playful or sleek and dramatic, color can completely refresh the look. A coat of paint turns outdated styles into statement pieces that feel brand new.
It’s also a smart way to match the furniture with your current decor, especially if the original wood tone no longer fits your space.

Fabric
If your furniture has a seat or cushion, now’s the time to reupholster. Use durable fabric in a color that complements your wood finish. Staple it tightly under the seat and trim the excess for a clean look. This step adds comfort while making the whole piece feel brand new.
It’s a quick way to blend softness into your space.
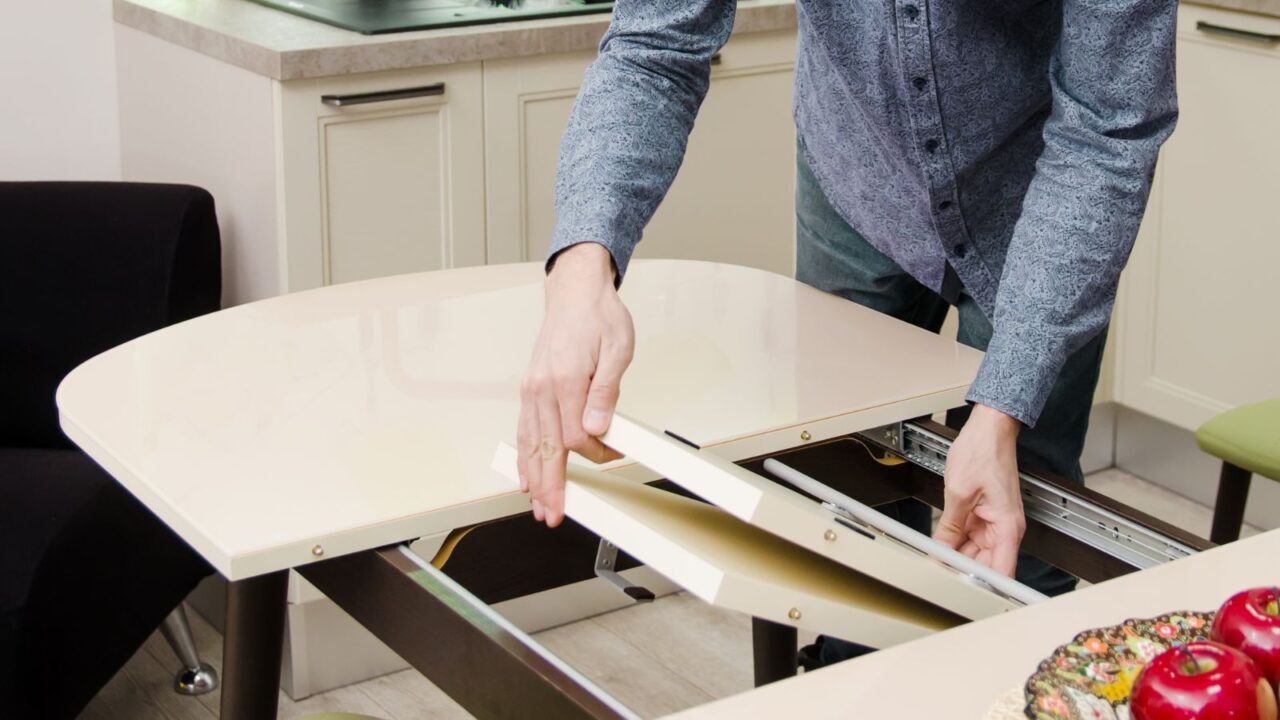
Reinforce Wobbly Joints
Loose legs and joints need fixing before they get worse. Pull them apart if you can, clean out old glue, and add fresh wood glue before clamping. If disassembly isn’t possible, use a syringe to inject glue into cracks. Let it dry overnight before using the piece.
Tight joints make furniture feel solid and dependable again.
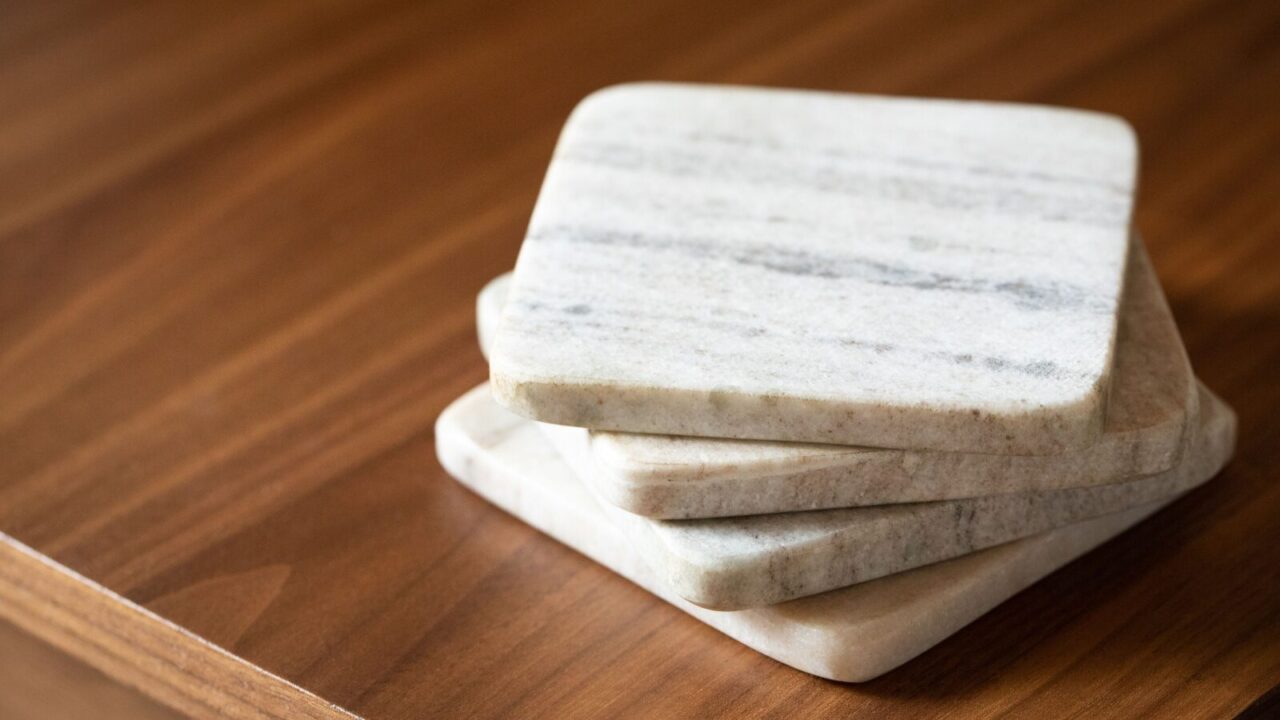
Simple Upkeep
Dust with a microfiber cloth and avoid harsh cleaners that dry out the wood. Use coasters and pads to protect from water rings or scratches. Every few months, wipe it down with furniture oil to keep it nourished. A little regular care keeps it looking freshly restored.
Treat your piece like it’s worth something, because now it is.

Update the Hardware
Changing out knobs, pulls, or hinges can totally transform your piece. Choose a style that fits your space and complements the finish. Measure carefully to avoid drilling new holes. Even a simple switch from black to brass can make an old piece feel modern again.
Hardware is like jewelry for your furniture; choose it wisely. Trust me, these small hardware swaps work wonders.
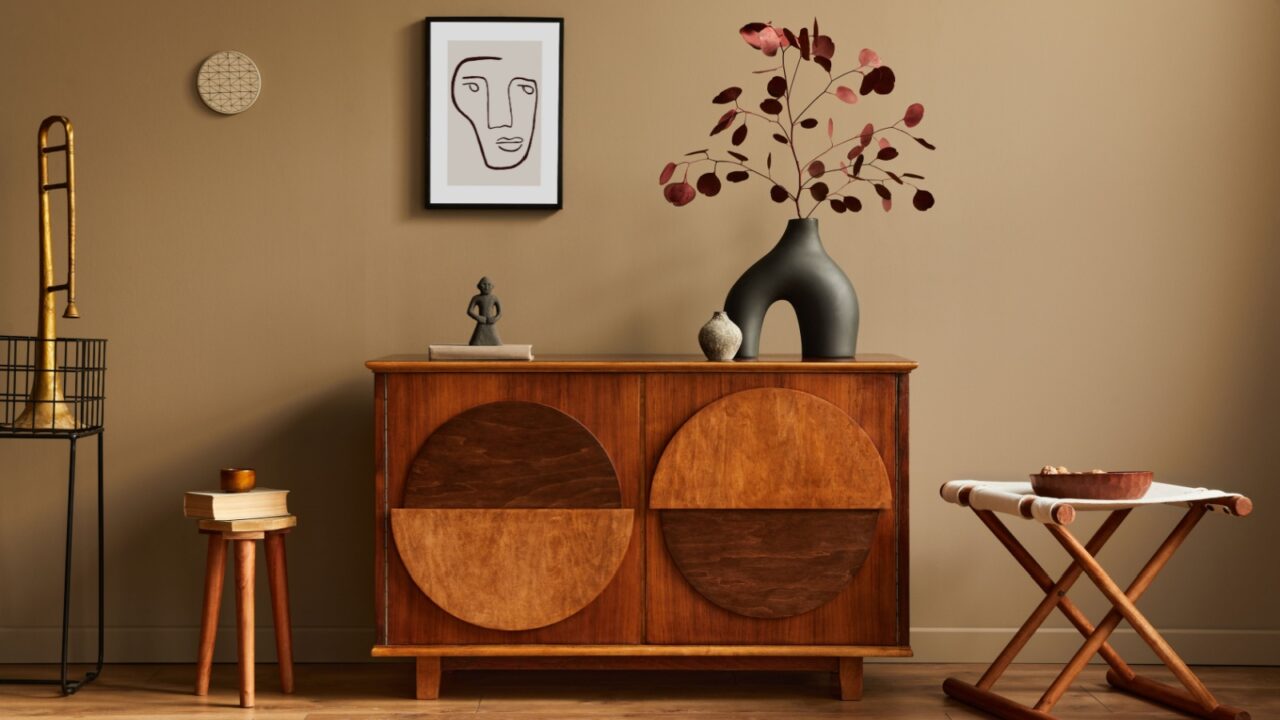
Style It
Top your piece with a plant, a stack of books, or a lamp to give it a finished feel. Keep things simple so the furniture stays the focus. Styling your piece helps it blend into your space while standing out just enough.
You’ve put in the work, now let it be seen. DIYs are a budget-friendly way to upgrade your home. Take your DIY success further with these simple DIYs that instantly boost curb appeal and wow your guests.
Got an old piece waiting for a makeover? Let us know how our tips helped you.
Read More From This Brand:
- Upcycle Elegance With Reclaimed Wood in Home Decor
- The Secret to a Fresh, Modern Home? Light Woods
- I Tried the Moody Wood Tone Look Everyone’s Copying
Don’t forget to follow us for more exclusive content right here on MSN.