This post shares my journey of creating a thriving rooftop herb garden, offering practical tips, creative ideas, and personal insights to inspire your own green oasis.

Rooftop Dream Begins
Ever thought about growing your own herbs but felt it was too complicated? Well, I did too—until I discovered how surprisingly easy it is to build a rooftop herb garden.
This slideshow is my journey from a clueless beginner to a proud herb parent. Spoiler: It’s easier than you think, and the rewards are endless. Let’s get started.
Why Rooftop?
Why a rooftop garden? For me, it was about maximizing space and sunlight. Rooftops get plenty of light, perfect for herbs like basil, mint, and thyme.
Plus, it’s a great way to repurpose unused space. I also loved the idea of stepping outside to fresh herbs instead of running to the store. It’s practical, eco-friendly, and oddly satisfying.

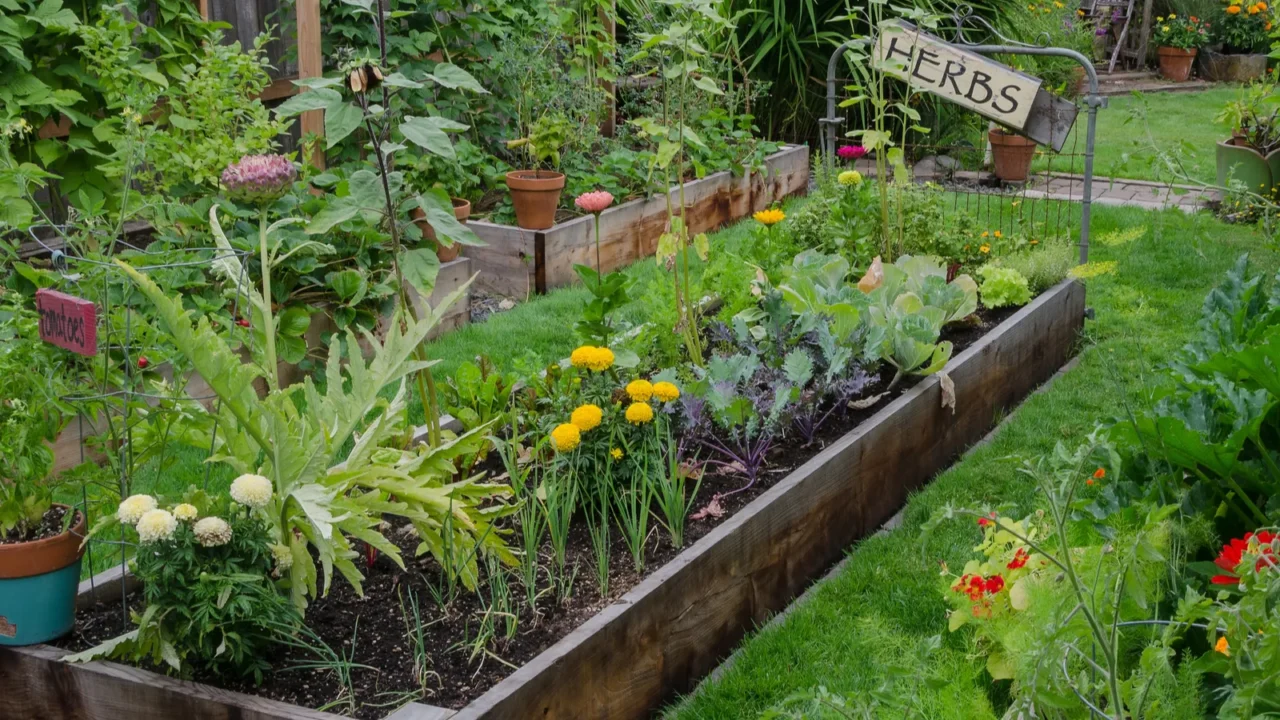
Planning the Layout
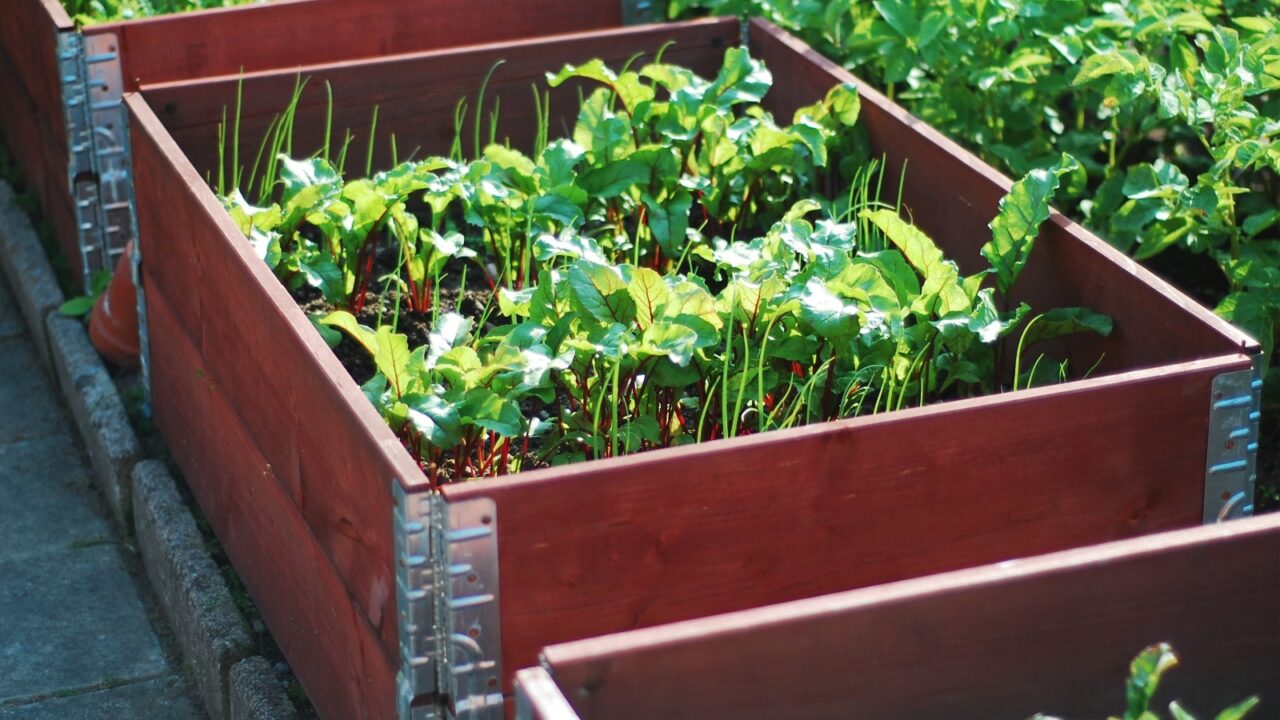
Before diving in, I spent time planning. I measured my rooftop, considered sunlight patterns, and decided on a mix of pots and raised beds.
I also thought about accessibility, herbs need regular care, so I placed them within easy reach. Pro tip: Sketch a rough layout. It saved me from chaos later and made the process smoother.

Choosing the Herbs
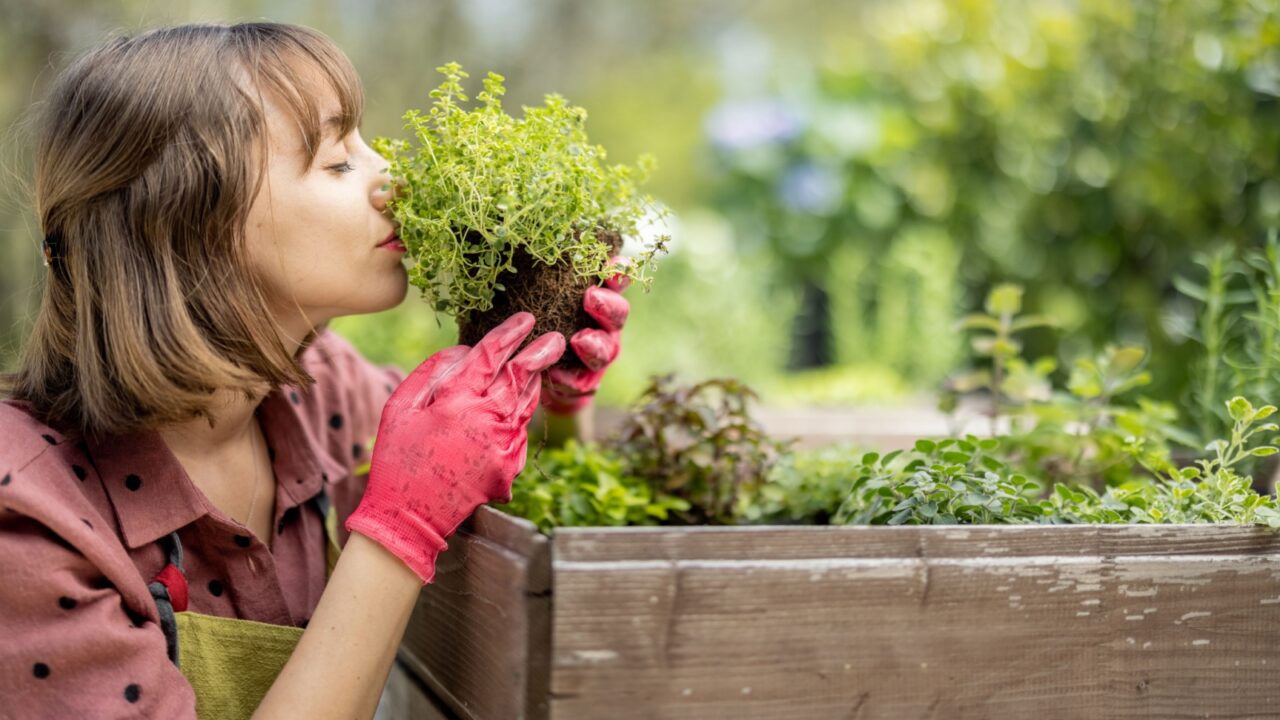
Picking the right herbs was fun but overwhelming. I started with the basics: basil, cilantro, mint, and rosemary. These are beginner-friendly and versatile in cooking.
I also added thyme and oregano for their hardiness. Bonus: They smell amazing. Choose herbs you’ll actually use. It’s rewarding to see them go from garden to plate.
DIY vs. Pre-Made
I debated whether to DIY my planters or buy pre-made ones. DIY felt more personal, so I repurposed old wooden crates and painted them. It was cost-effective and added a rustic charm.
But if you’re short on time, pre-made planters work just as well. The key is to ensure proper drainage—herbs hate soggy roots.
Soil Secrets
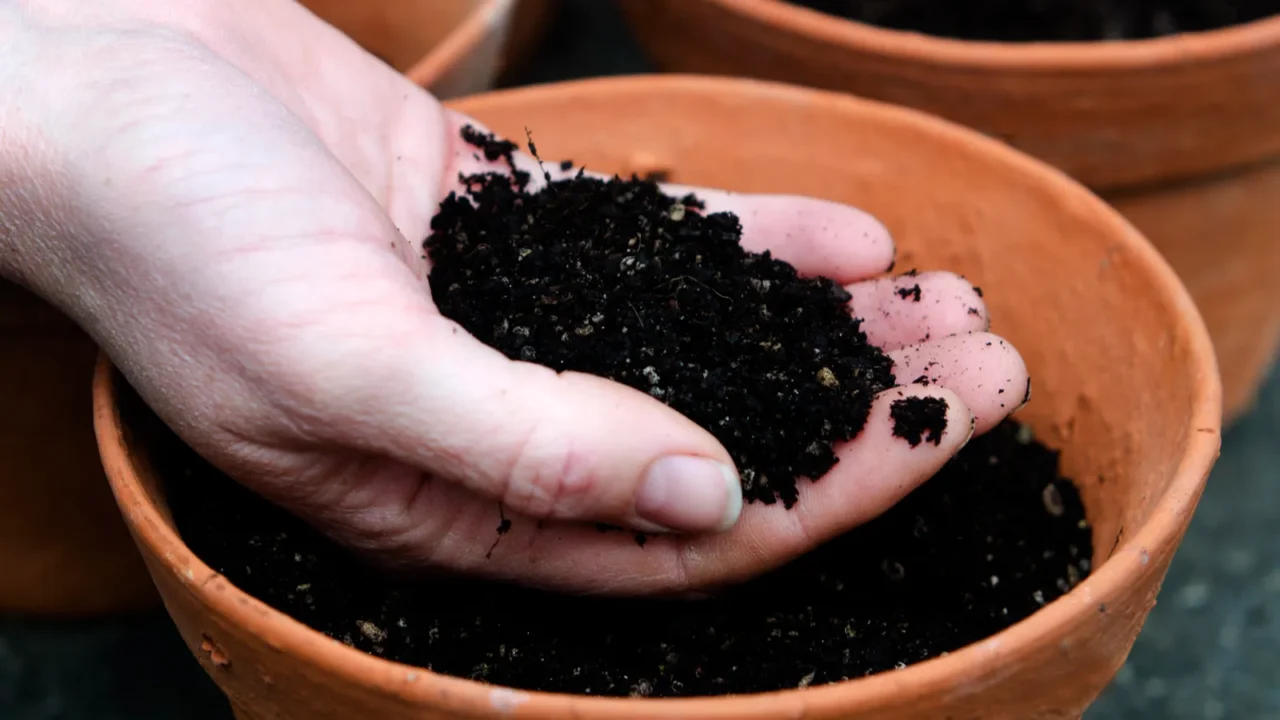
Choosing the right soil was a game-changer. I learned that herbs thrive in well-draining soil, so I mixed potting soil with perlite and compost. It’s like giving them a cozy, nutrient-rich bed to grow in.
Avoid garden soil—it’s too dense and can lead to root rot. Trust me, good soil makes all the difference.
Sunlight Strategy
Herbs love sunlight, but not all need the same amount. I grouped sun-loving herbs like basil and rosemary in the brightest spots, while mint and parsley got partial shade.
Observing sunlight patterns for a few days helped me optimize placement. Pro tip: Rotate pots occasionally for even growth. Your herbs will thank you.
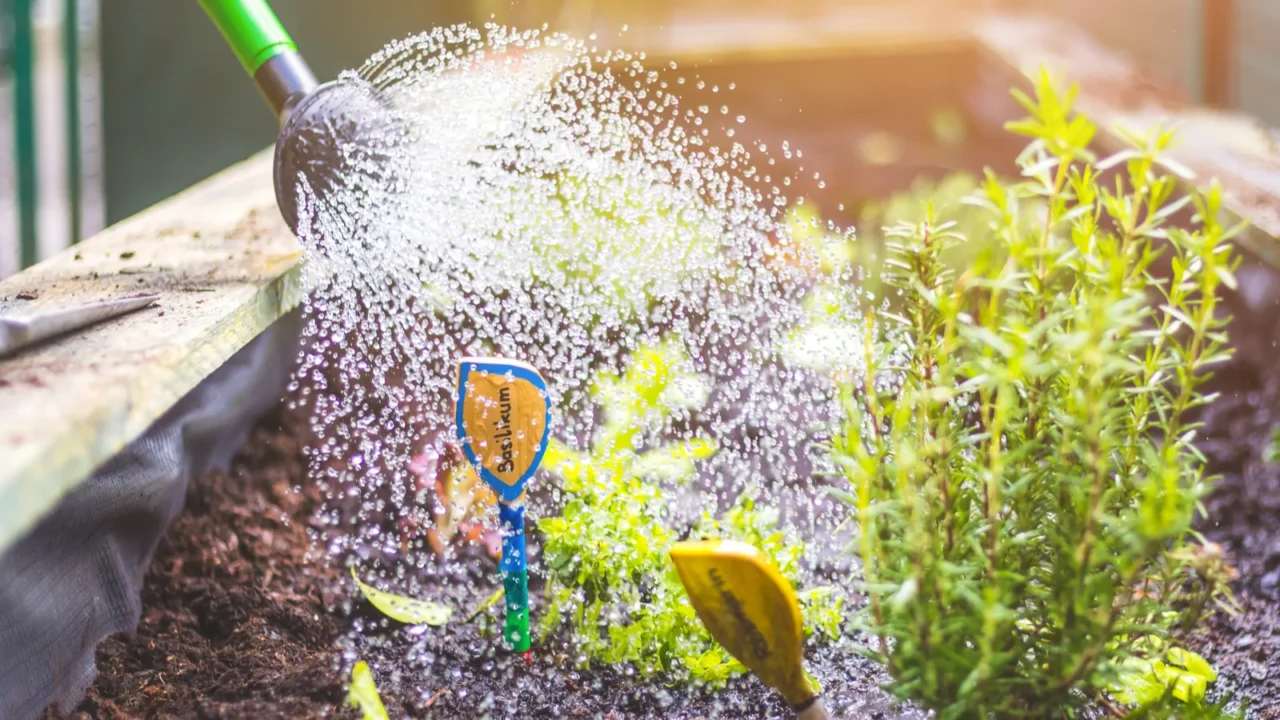
Watering Wisdom
Overwatering is the #1 herb killer—I learned this the hard way. I started watering only when the top inch of soil felt dry. A simple finger test works wonders.
I also invested in a watering can with a narrow spout for precision. Herbs prefer a drink, not a flood. Consistency is key, but don’t drown them.
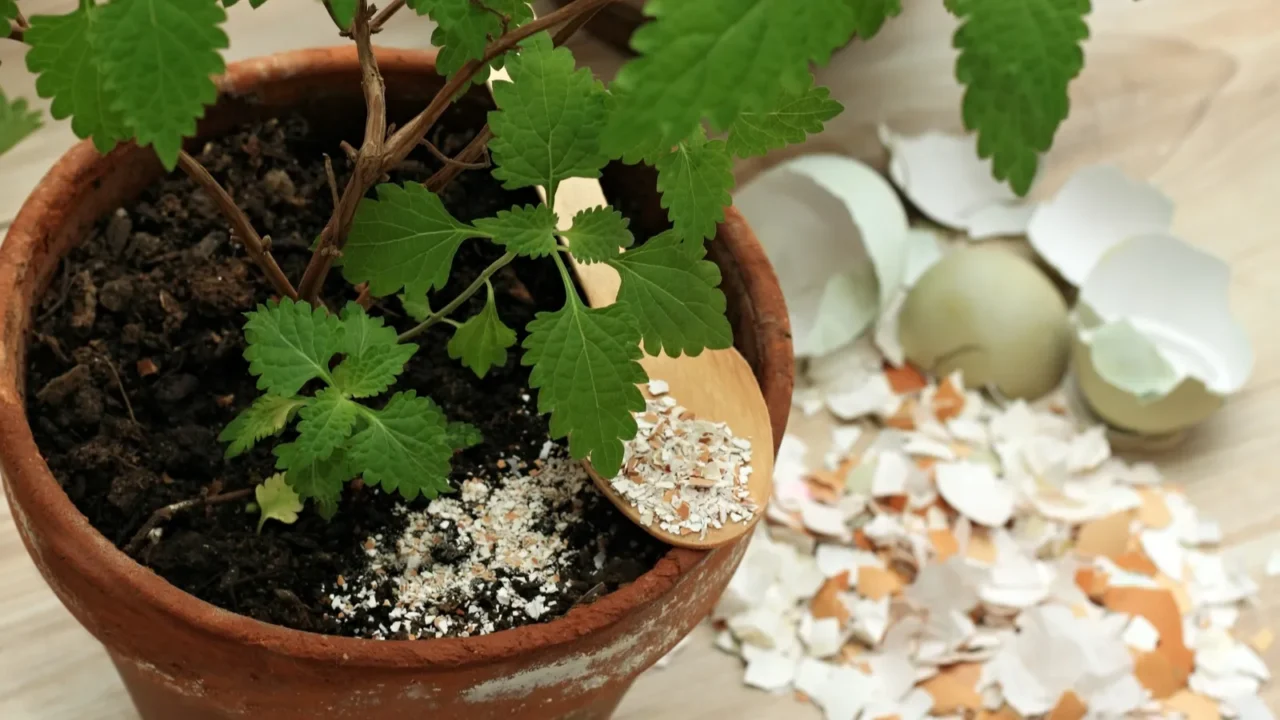
Pest Patrol
Pests showed up uninvited, but I tackled them naturally. A mix of water and dish soap kept aphids away, while crushed eggshells deterred slugs.
I also planted marigolds nearby—they’re like the bouncers of the herb world, keeping pests at bay. It’s amazing how small, organic solutions can make a big difference.
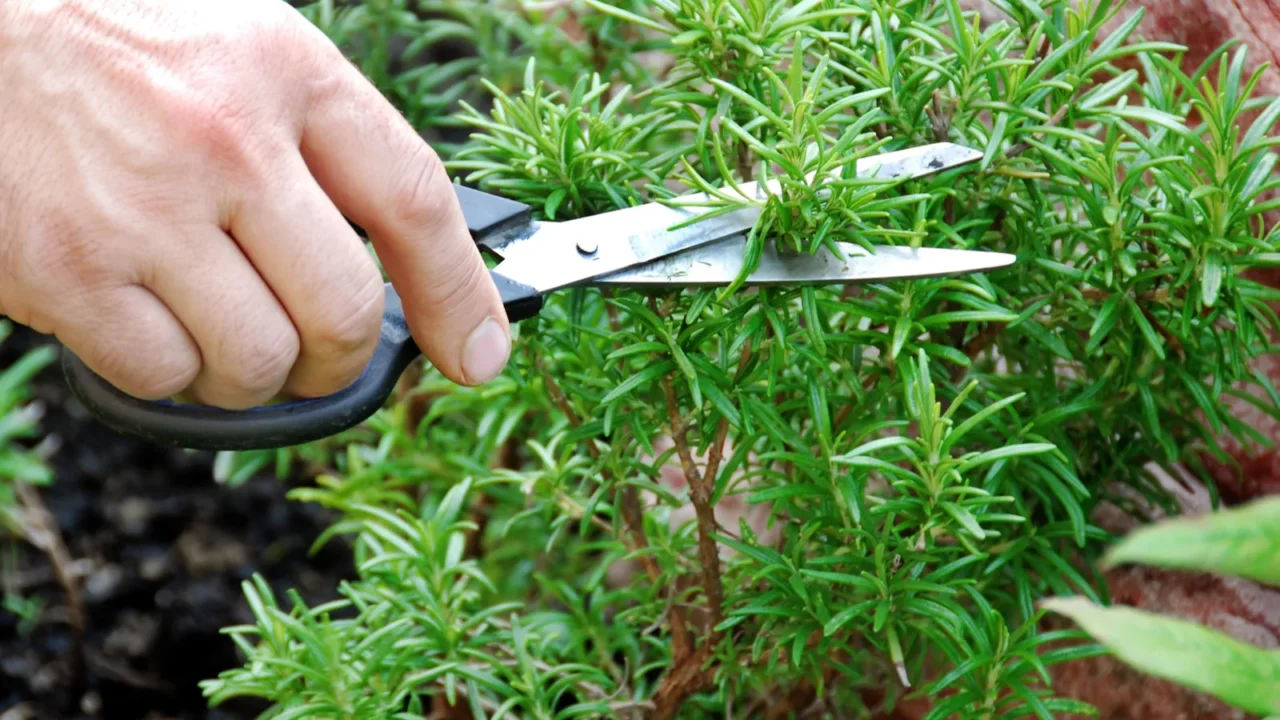
Harvesting Happiness
The best part? Harvesting. I started snipping herbs once they had enough leaves to sustain growth. Regular harvesting actually encourages bushier plants.
I’d step onto my rooftop, scissors in hand, and feel like a gourmet chef. Fresh basil in pasta, mint in tea—it’s a little slice of heaven I grew myself.
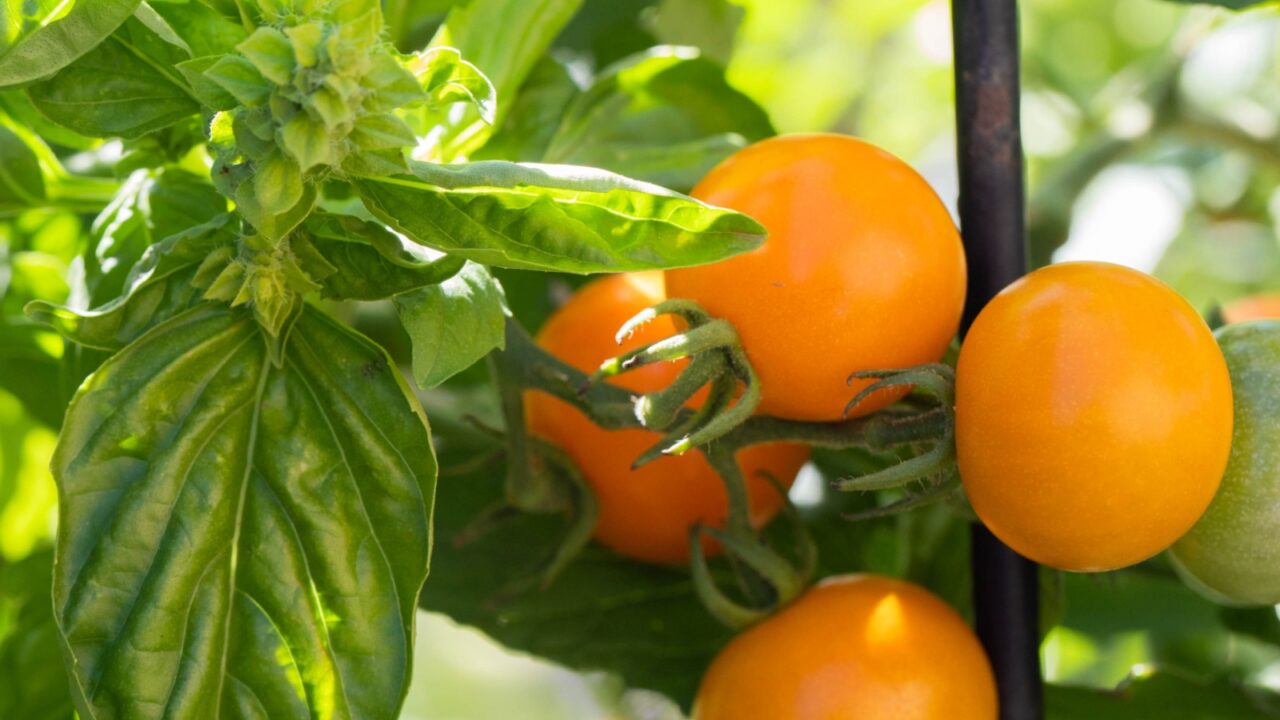
Companion Planting Fun
Did you know some herbs grow better together? I paired basil with tomatoes (they’re besties) and planted chives near roses to deter pests.
It’s like creating a little herb community where everyone helps each other out. Companion planting is a fun way to boost growth and keep your garden healthy.
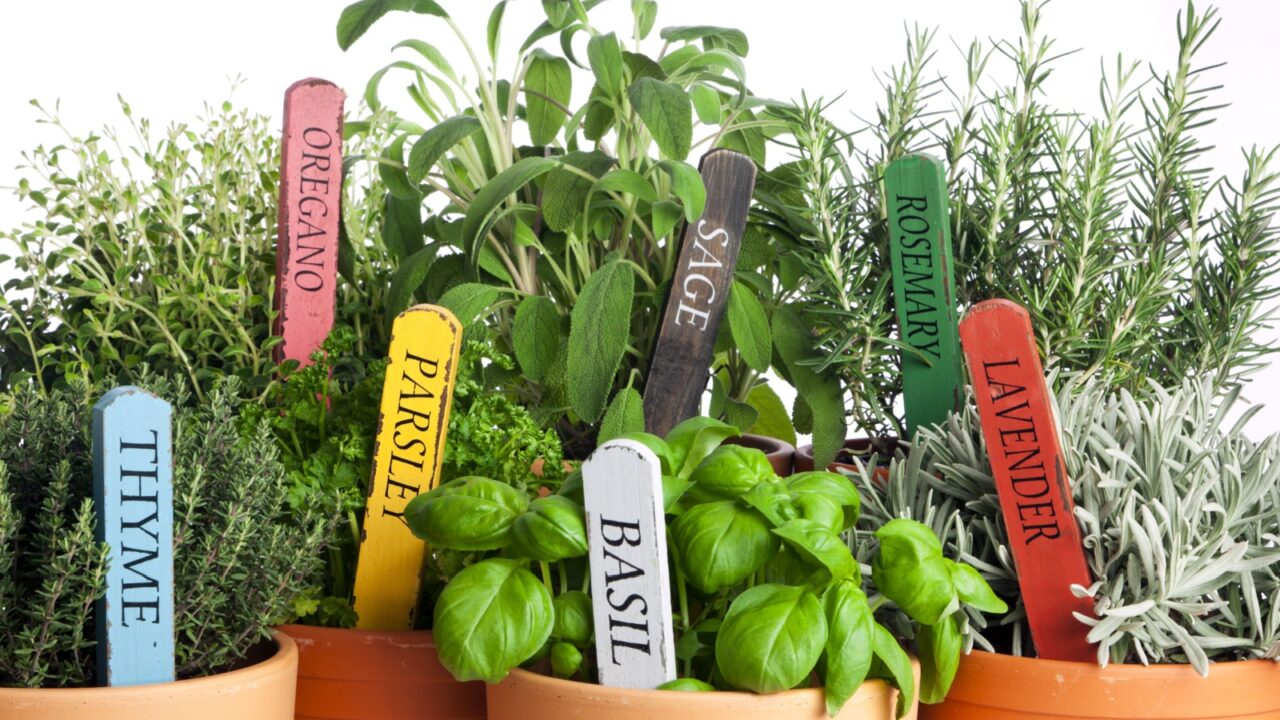
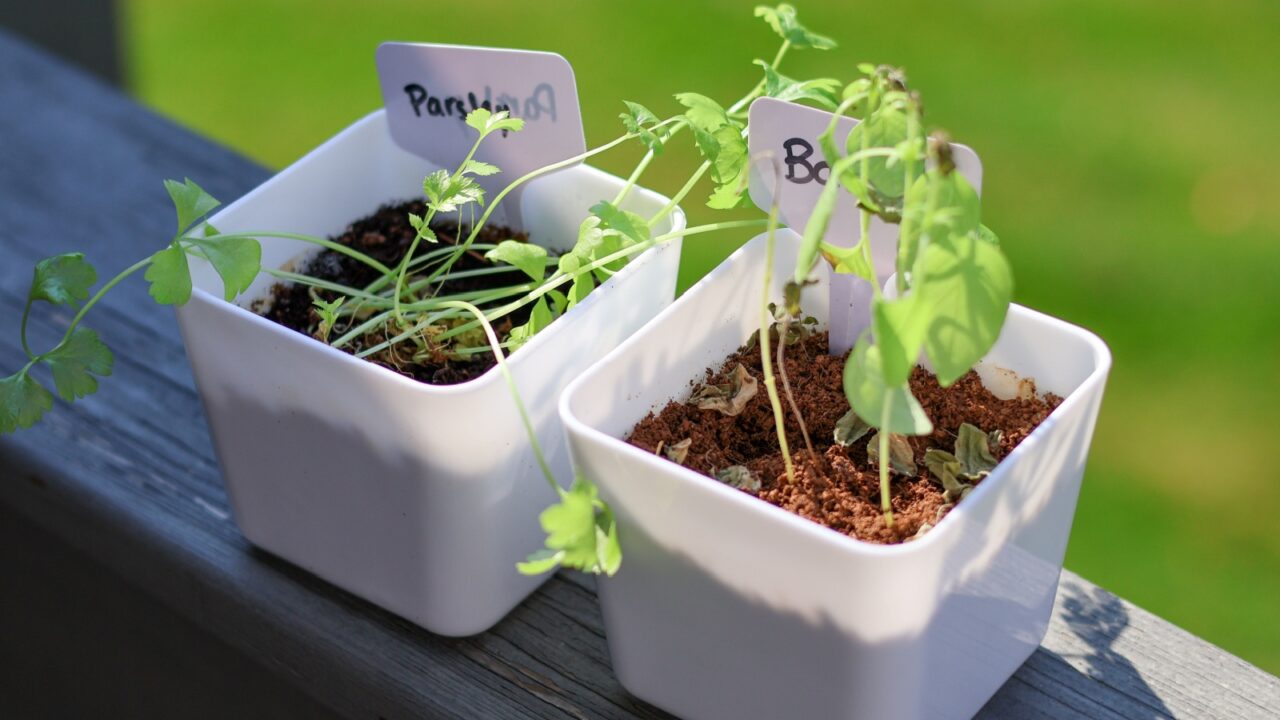
DIY Herb Markers
I added a personal touch by making my own herb markers. Using painted rocks or popsicle sticks, I labeled each plant with its name.
It’s not just practical—it’s adorable. Plus, it helps me remember which herb is which (because let’s be honest, seedlings all look the same at first).
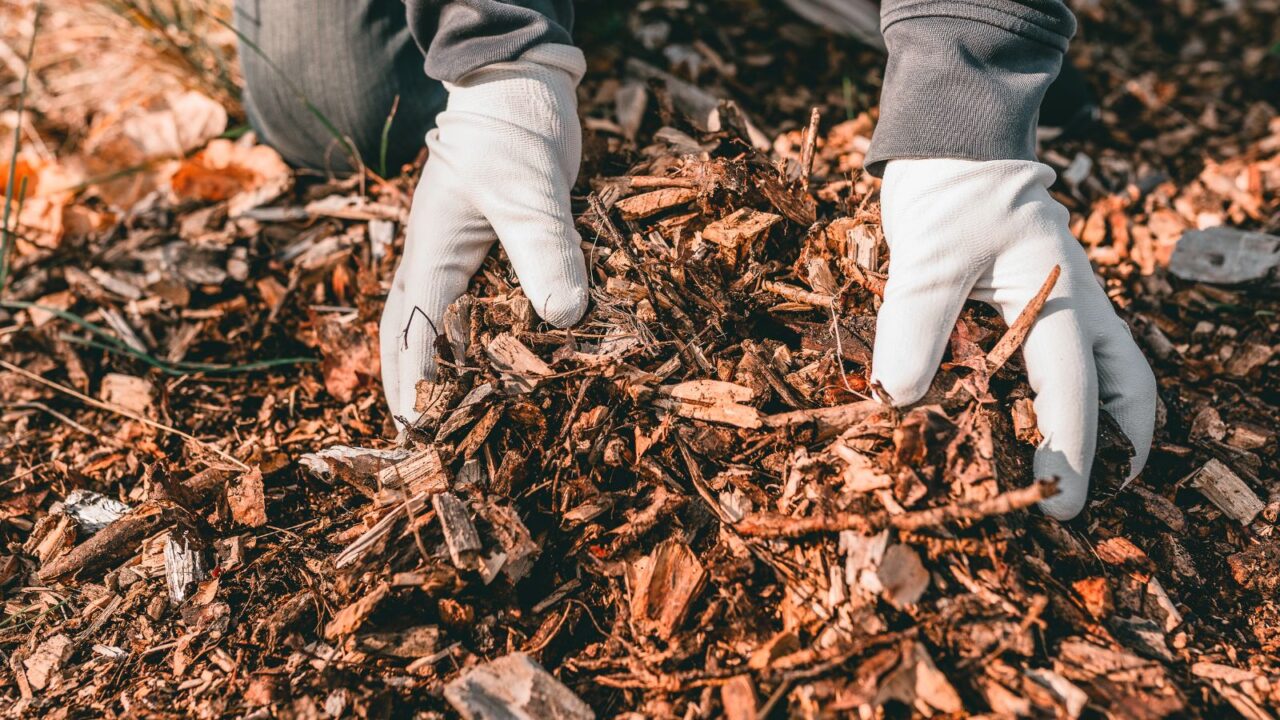
Weatherproofing Tips
Rooftops can be harsh—wind, rain, and scorching sun. I protected my herbs by using sturdy pots and adding a layer of mulch to retain moisture.
For extreme weather, I moved delicate plants to a sheltered corner. A little prep goes a long way in keeping your garden thriving through the seasons.
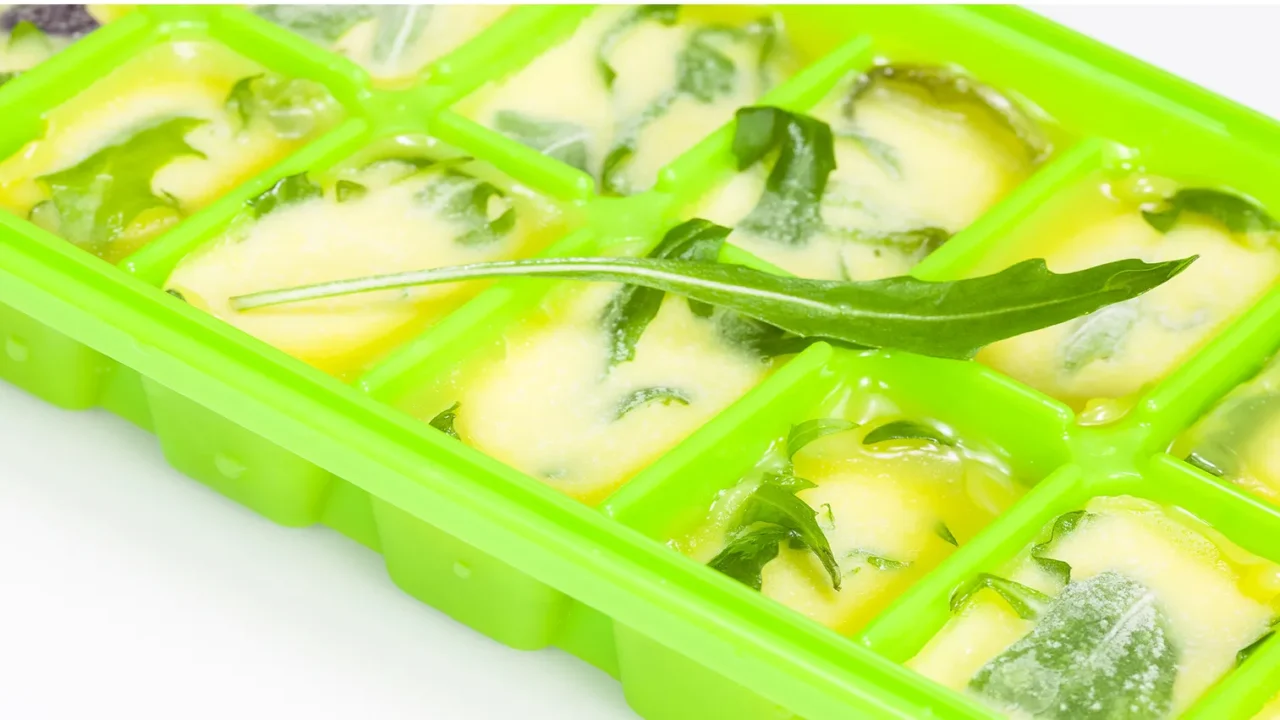
Herb Storage Hacks
What to do with a surplus harvest? I dried herbs like rosemary and oregano by hanging them upside down in a cool, dark place.
For basil and cilantro, I made herb-infused oils or froze them in ice cube trays. It’s a great way to enjoy your garden’s bounty all year round.
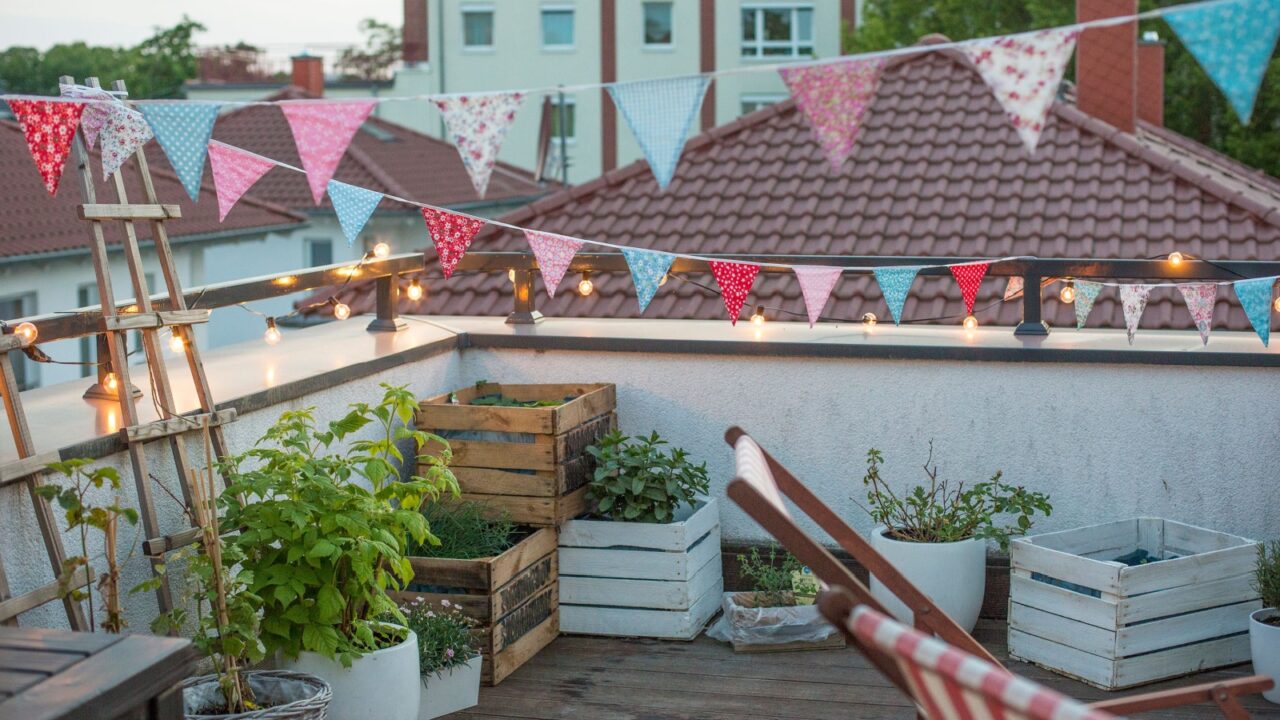
Herb Garden Aesthetics
I wanted my rooftop to look as good as it functioned, so I added decorative touches. String lights for evening ambiance, colorful pots for vibrancy, and a small bench to sit and enjoy the view.
It’s not just a garden—it’s a retreat. Aesthetics matter, and they make the space even more inviting.
If you don’t have a rooftop, no worries—you can create a beautiful herb garden indoors too. Check out Functional and Fresh Indoor Herb Gardens as Décor for tips to bring greenery and style into your home.
Learning from Mistakes
Not everything went perfectly. I overwatered my basil, and my cilantro bolted in the heat. But every mistake taught me something new.
Gardening is a journey, and it’s okay to stumble along the way. The key is to keep learning and adapting. After all, even the best gardeners started as beginners.
For more tips on making the most of your rooftop garden, check out Rooftop Garden Tips to Maximize Outdoor Spaces and keep growing.
What’s the biggest lesson you’ve learned from your gardening journey? Share your triumphs, challenges, or tips in the comments—I’d love to hear your story,
Read More from This Brand:
- The Garden Updates Everyone is Copying This Year
- Genius Garden Decor Ideas to Try This Spring
- Add Charm to Any Garden with These DIYs
Don’t forget to follow us for more exclusive content right here on MSN.