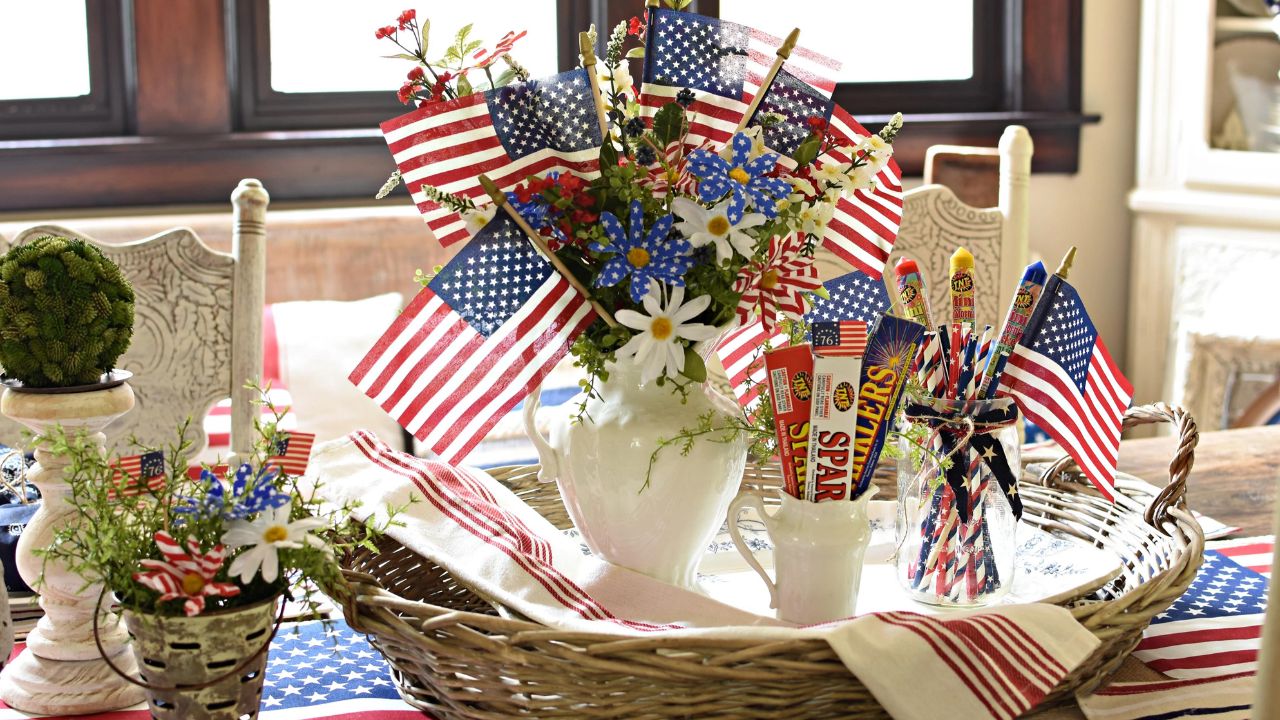
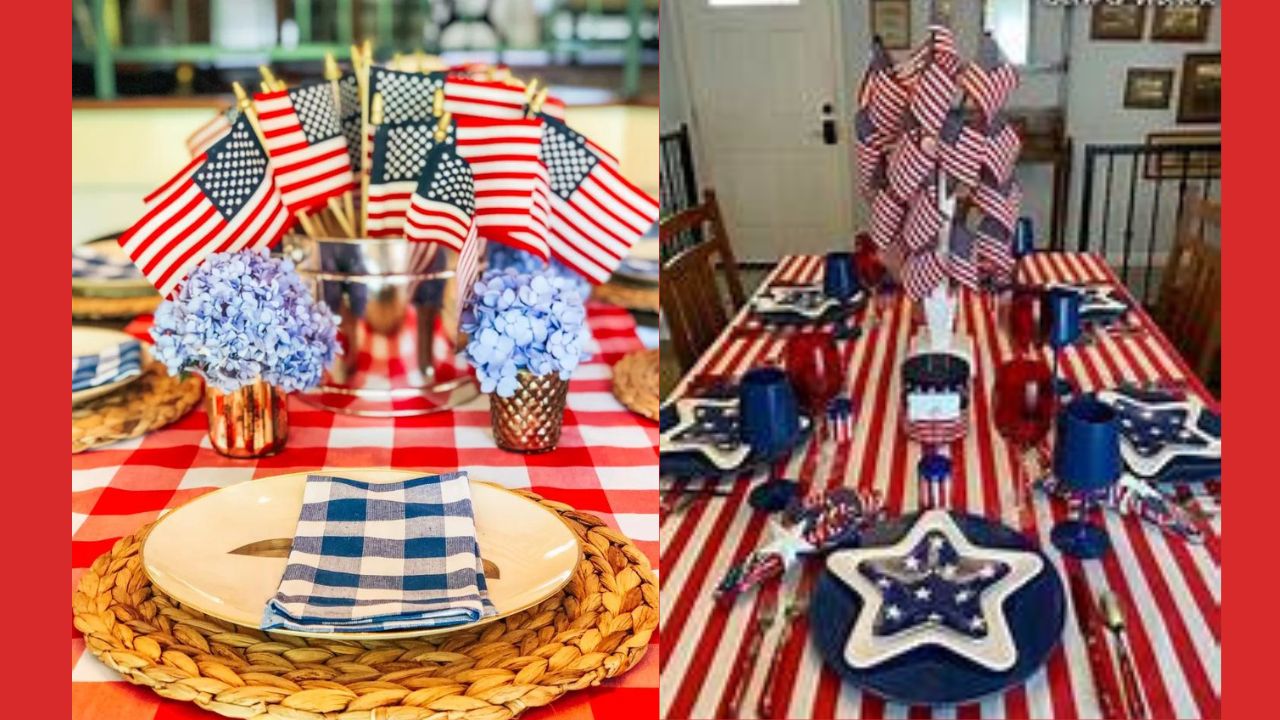
Independence Day is just around the corner, and what better way to celebrate than by transforming your home into a festive haven?
This year, ditch the store-bought decorations and unleash your inner crafter with these exciting DIY projects!
From vibrant streamers to charming centerpieces, each project offers a unique way to showcase your patriotic spirit.
The beauty of DIY decor lies in its personalization.
Let these ideas be your springboard – modify them to suit your style and available materials. Repurpose old items, gather natural treasures from your yard, and most importantly, have fun!
Striking Streamers
- Materials:
- Red, white, and blue construction paper
- Tape or thumbtacks
- Steps:
- Cut long strips of construction paper in red, white, and blue.
- Secure one end of each streamer to the ceiling with tape or thumbtacks.
- Alternate streamer colors for a classic display. (Optional) Experiment with different streamer lengths to create a cascading effect.
Festive Fanciful Flags
- Materials:
- Red, white, and blue poster board
- Twine or yarn
- Scissors
- Steps:
- Cut triangular shapes from red, white, and blue poster board (these will be your flags).
- Use a hole punch to create a small hole at the top of each flag.
- Cut a long piece of twine or yarn.
- Thread the twine through the holes of the flags, leaving space between each flag.
- Tie the ends of the twine together to create a flag banner.
- Hang the banner across the mantle or use it as a festive backdrop for photos.

Star Spangled Spectacular
- Materials:
- Red and blue glitter paper
- White poster board
- Double-sided tape
- Scissors
- Steps:
- Cut stars in various sizes from red and blue glitter paper.
- Adhere the glitter stars to a white poster board using double-sided tape.
- Arrange the stars in a scattered pattern or create a specific design like a constellation.
- Display your starry creation on walls, doors, or use it as a festive centerpiece.
Patriotic Pinwheels
- Materials:
- Red, white, and blue fabric scraps or bandanas
- Brad fasteners
- Straws or dowel rods
- Scissors
- Steps:
- Cut squares of equal size from red, white, and blue fabric scraps or bandanas.
- Stack the fabric squares, alternating colors.
- Secure the center of the fabric stack with a brad fastener.
- Push a straw or dowel rod through the center of the brad to create the pinwheel base.
- Let the pinwheels spin freely in the breeze or hang them from the ceiling for a charming display.
Mason Jar Magic
- Materials:
- Mason jars (any size)
- Paint (red, white, blue)
- Fairy lights
- Decorative accents (mini flags, paper stars, ribbons)
- Paint brushes
- Steps:
- Paint the mason jars red, white, or blue (or all three!).
- Let the paint dry completely.
- Place fairy lights inside each jar.
- Embellish the jars with decorative accents like mini American flags, red, white, and blue paper stars, or even colorful silk ribbons.

Bandana Table Runner
- Materials:
- Two or three bandanas (different colors)
- Sewing supplies or hot glue gun
- Steps:
- Lay the bandanas flat, side-by-side.
- If using sewing supplies, sew the bandanas together along the long sides to create a long, rectangular table runner.
(Alternatively) If using a hot glue gun, carefully glue the bandanas together along the long sides, creating a long, rectangular table runner. - Let the glue dry completely and display your festive table runner.

Firecracker Luminaries
- Materials:
- Glass jars or tin cans (any size)
- Paint (optional: red, white, blue)
- Craft punch (star or firework shape) or hammer & nail
- Tealight candles
- Steps:
- Paint the jars or cans (optional) red, white, or blue. Let the paint dry completely.
- Using a craft punch, create small star or firework-shaped holes on the sides of the jars or cans. (Alternatively) Use a hammer and nail to carefully create small holes.
- Place a tealight candle inside each jar and enjoy the warm, flickering glow.
Glowing Lanterns
- Materials:
- Red, white, and blue tissue paper
- Balloons
- Tape
- Steps:
- Cut large squares out of red, white, and blue tissue paper.
- Inflate balloons to a desired size.
- Drape the tissue paper squares over the inflated balloons, smoothing out any wrinkles.
- Secure the tissue paper to the balloons with tape.
- Once completely covered, carefully pop the balloons and peel them away from the tissue paper. You should be left with beautiful, glowing lanterns.
- Hang the lanterns from the ceiling or string them together for a stunning outdoor display.
Bonus DIY Hacks
Starry Spangled Wreath
- Materials:
- Twigs, branches, and pinecones (gathered from your yard)
- Floral wire or zip ties
- Red, white, and blue ornaments
- Miniature flags (optional)
- Artificial flowers (optional)
- Scissors (optional)
Steps
- Gather twigs, branches, and pinecones of various sizes.
- Using floral wire or zip ties, securely fasten the twigs and branches together to create a wreath base.
- 3. Decorate the wreath with red, white, and blue ornaments.
- (Optional) Add miniature flags for a patriotic touch.
- (Optional) Cut small blooms from artificial flowers and use floral wire or hot glue to attach them to the wreath for a pop of color.
- Hang your finished wreath proudly on your front door to welcome guests.
Red, White, and Bloom
- Materials:
- Red geranium plants
- White petunia plants
- Blue lobelia plants
- Existing flowerbed or planting pots
- Soil (if planting in pots)
- Shovel or trowel (if planting in a flowerbed)
Steps:
- Choose a sunny location in your flowerbed or select appropriately sized planting pots.
- If planting in pots, fill them with fresh potting soil.
- Arrange the red geranium plants, white petunia plants, and blue lobelia plants in a design that resembles the American flag. (Alternatively) You can plant them in rows with red geraniums on top, white petunias in the middle, and blue lobelia plants at the bottom.
- If planting in a flowerbed, dig holes for each plant, ensuring proper spacing according to their mature size. Carefully remove the plants from their containers and place them in the prepared holes.
- Fill in the gaps around the plants with soil and water them thoroughly.
- Throughout the summer, water your plants regularly and maintain them according to their specific needs. Enjoy your blooming display of patriotic spirit!
Festive Fruit Kebabs
- Materials:
- Blueberries
- Strawberries
- Marshmallows
- Skewers
Steps:
- Wash and dry the blueberries and strawberries.
- Cut the marshmallows in half (optional).
- Thread the blueberries, strawberries, and marshmallows onto skewers in an alternating pattern, creating a festive red, white, and blue design. (Alternatively) You can arrange the fruit to resemble the American flag by placing a row of blueberries on top, followed by a row of strawberries, and finishing with a row of marshmallows.
- Serve your festive fruit kebabs chilled for a refreshing and delicious treat.
Independence Day Delights: DIY Your Way to a Patriotic Celebration!
| Project | Steps | Materials |
|---|---|---|
| Striking Streamers | 1. Cut long strips of construction paper (red, white, blue). 2. Secure one end to the ceiling with tape/thumbtacks. 3. Alternate streamer colors. (Optional) Experiment with streamer lengths. | Red, white, and blue construction paper, tape/thumbtacks. |
| Festive Fanciful Flags | 1. Cut triangular flag shapes from red, white, and blue poster board. 2. Punch holes at the top of each flag. 3. Thread twine/yarn through the holes. 4. Tie twine ends to create a banner. 5. Hang the banner. | Red, white, and blue poster board, twine/yarn, scissors. |
| Star Spangled Spectacular | 1. Cut stars in various sizes from red and blue glitter paper. 2. Adhere stars to white poster board using double-sided tape. 3. Arrange stars in a scattered pattern or design. 4. Display on walls, doors, or as a centerpiece. | Red and blue glitter paper, white poster board, double-sided tape, scissors. |
| Patriotic Pinwheels | 1. Cut squares of equal size from red, white, and blue fabric scraps/bandanas. 2. Stack the fabric squares, alternating colors. 3. Secure the center with a brad. 4. Push a straw/dowel rod through the brad. 5. Let pinwheels spin or hang them from the ceiling. | Red, white, and blue fabric scraps/bandanas, brads, straws/dowel rods, scissors. |
| Mason Jar Magic | 1. (Optional) Paint mason jars red, white, or blue. Let paint dry completely. 2. Place fairy lights inside each jar. 3. Embellish jars with decorative accents (flags, stars, ribbons). | Mason jars (any size), paint (red, white, blue), fairy lights, decorative accents (flags, stars, ribbons), paint brushes. |
| Bandana Table Runner | 1. Lay the bandanas flat, side-by-side. 2. Sew or glue the bandanas together along the long sides. 3. Let the glue dry completely (if using) and display your table runner. | 2-3 bandanas (different colors), sewing supplies/hot glue gun. |
| Firecracker Luminaries | 1. (Optional) Paint jars/cans red, white, or blue. Let paint dry completely. 2. Create holes using a craft punch or hammer and nail. 3. Place a tealight candle inside each jar and enjoy the glow. | Glass jars/tin cans (any size), paint (optional: red, white, blue), craft punch (star or firework shape) or hammer & nail, tealight candles. |
| Glowing Lanterns | 1. Cut large squares of tissue paper (red, white, blue). 2. Inflate balloons. 3. Drape tissue paper over balloons, smoothing out wrinkles. 4. Secure tissue paper with tape. 5. Pop balloons and peel them away from the tissue paper. 6. Hang lanterns or string them together. | Red, white, and blue tissue paper, balloons, tape. |
| Bonus: Starry Spangled Wreath | 1. Gather twigs, branches, and pinecones. 2. Secure them together to create a wreath base using floral wire/zip ties. 3. Decorate with ornaments, flags (optional), and flowers (optional). 4. Hang the wreath on your front door. | Twigs, branches, pinecones (natural), floral wire/zip ties, red/white/blue ornaments, miniature flags (optional), artificial flowers (optional), scissors (optional). |
| Bonus: Red, White, and Bloom | 1. Choose a sunny location or select appropriately sized pots. 2. If planting in pots, fill them with fresh potting soil. 3. Arrange plants in a flag design or rows (red geraniums on top, white petunias in the middle, blue lobelia plants at the bottom). 4. Plant in flowerbed (if using) and water thoroughly. 5. Maintain plants throughout the summer. | Red geranium plants, white petunia plants, blue lobelia flowers, existing flowerbed or planting pots, soil (if planting in pots), shovel or trowel (if planting in a flowerbed). |
| Bonus: Festive Fruit Kebabs | 1. Wash and dry blueberries and strawberries. 2. Cut marshmallows in half (optional). 3. Thread fruit onto skewers in an alternating pattern or flag design. 4. Serve chilled and enjoy! | Blueberries, strawberries, marshmallows, skewers. |
Conclusion
- With these festive DIY projects at your fingertips, you’re all set to transform your home into a star-spangled spectacle this Independence Day!
- From vibrant streamers to glowing lanterns, each creation offers a fun and personalized way to celebrate your patriotic spirit.
- So unleash your inner crafter, gather your supplies, and get ready to add some DIY charm to your holiday decorations!
Recommended Video
Related Articles
Spread the word