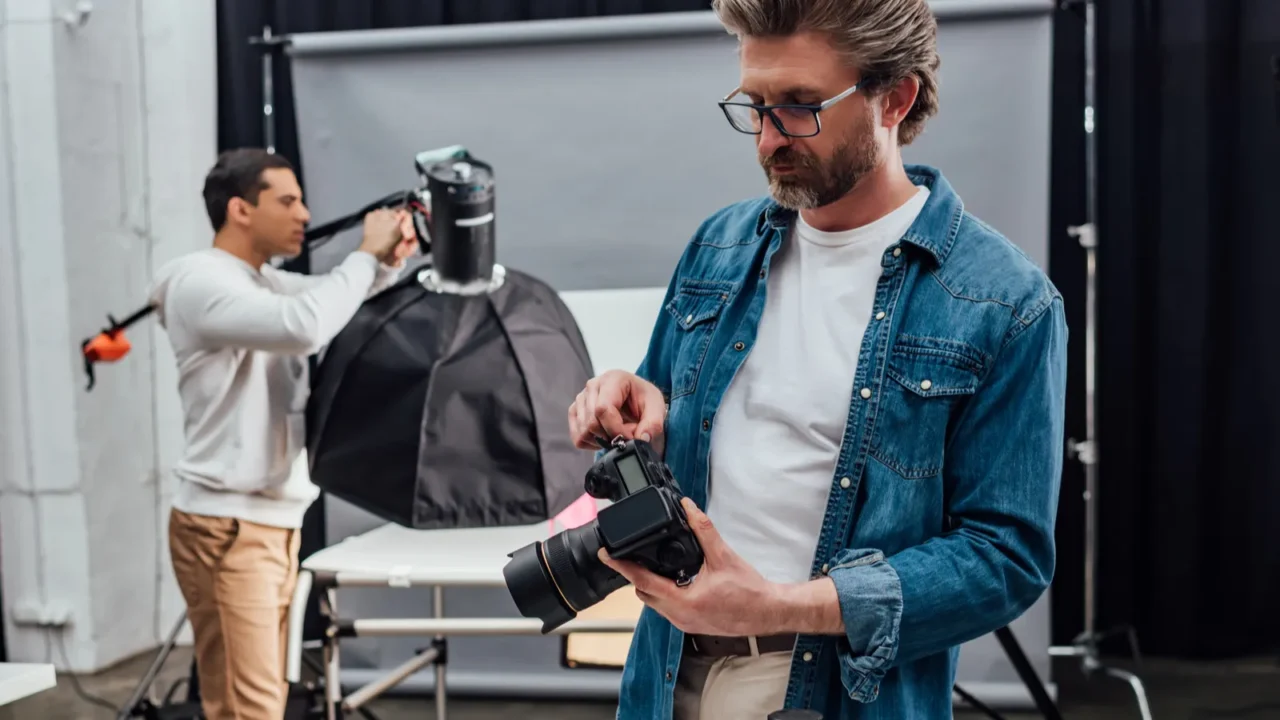
Creating Your Own Home Photography Studio
Dreaming of a space where you can capture professional-quality photos right at home? Setting up a home photography studio may sound complex, but with a bit of planning and the right equipment, it’s entirely achievable.
In this guide, let’s go through essential tips and affordable tricks to transform a simple room into a versatile, fully equipped photography studio. Ready to get started?

Start with Your Vision and Style
First, define the photography niche you want to focus on, whether it’s portraits, product shots, or landscapes. Knowing this upfront will help you determine the type of equipment and lighting you’ll need.
Start with a vision board to gather inspiration for the look and feel you want. This will guide your choices for background, lighting, and props, ensuring that each piece contributes to a cohesive setup.
If you have a team working with you in the home studio, then you have to plan things accordingly.
Choose the Right Space
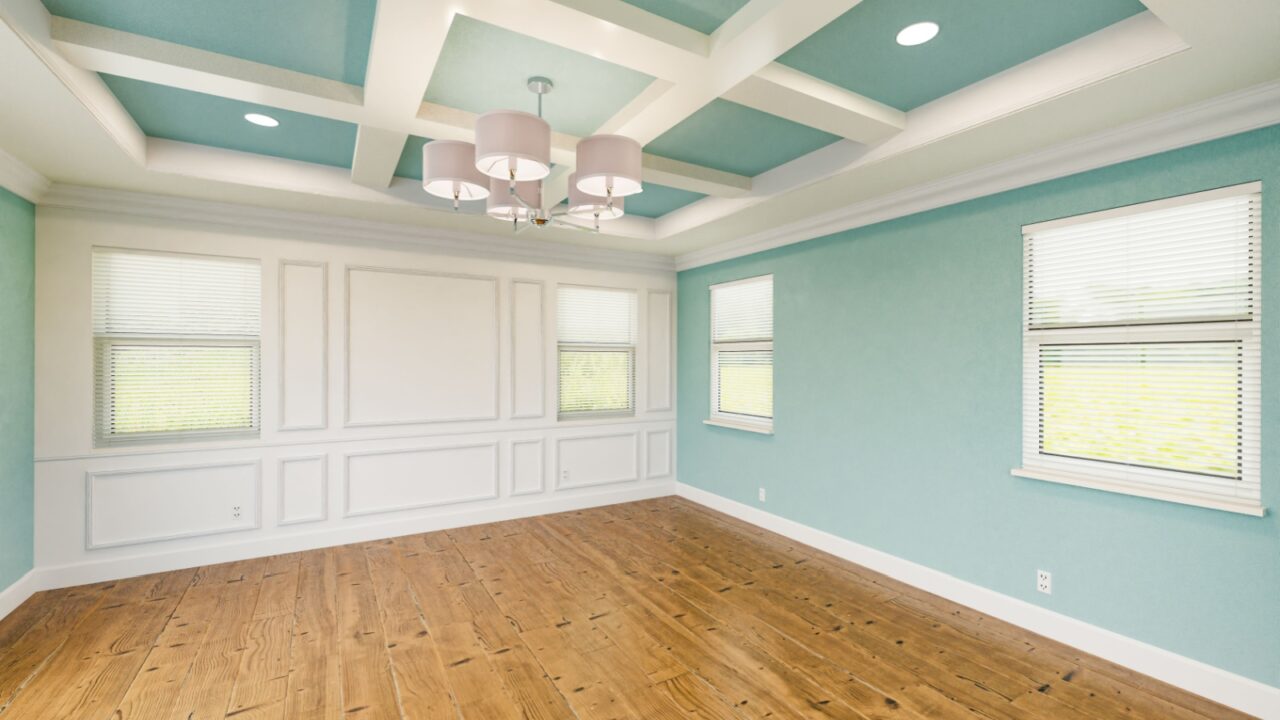
Pick a room or corner with minimal foot traffic and plenty of natural light, if possible. A spare bedroom or an unused office can work well.
Make sure the area is spacious enough to set up backdrops and lighting equipment. Measure the space to plan how you’ll position everything.
Ensure the space is enough for your subject, equipment, and traffic flow for your team.
Invest in a Quality Camera and Lens
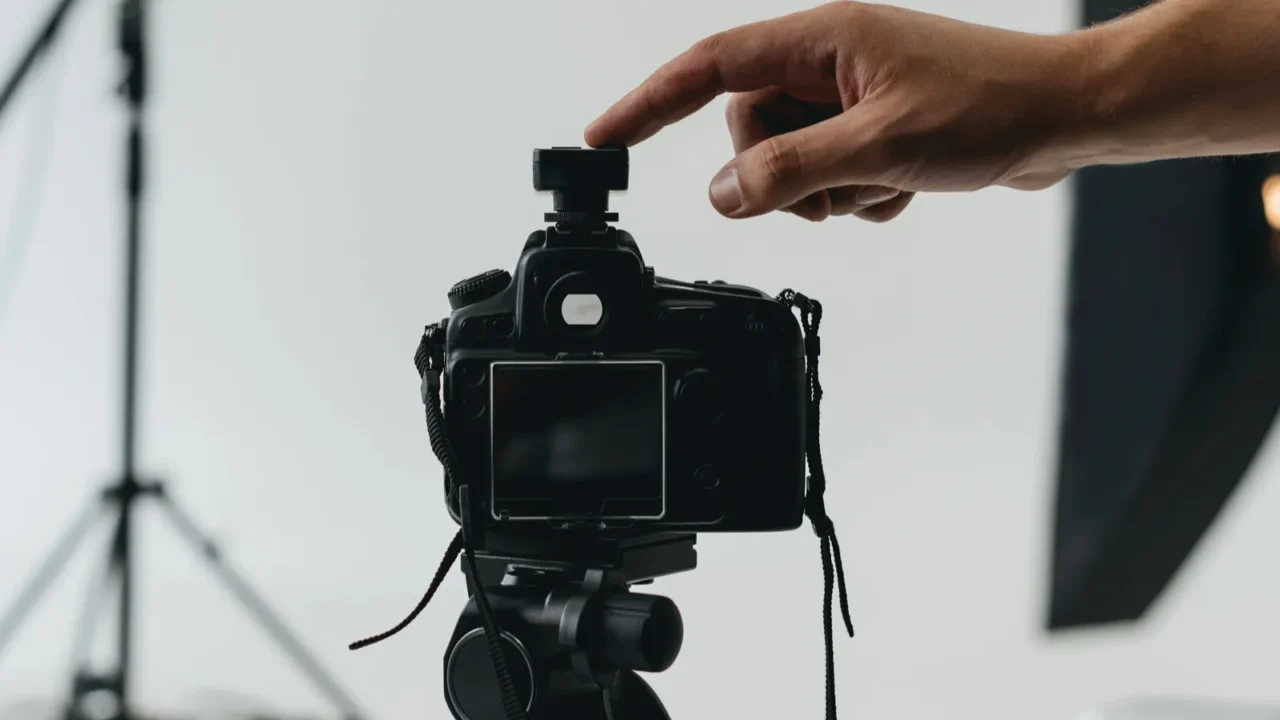
A high-quality camera and versatile lens are essential. Look for a DSLR or mirrorless camera with manual settings. These models can control exposure, aperture, and shutter speed.
For portraits, a 50mm or 85mm lens works great, while a wide-angle lens can be useful for group shots. Don’t worry if you’re on a budget, you can find great used options online.
Set Up a Lighting Kit
As a photographer, you must know proper lighting makes all the difference, so make sure you have the necessary light equipment for your studio.
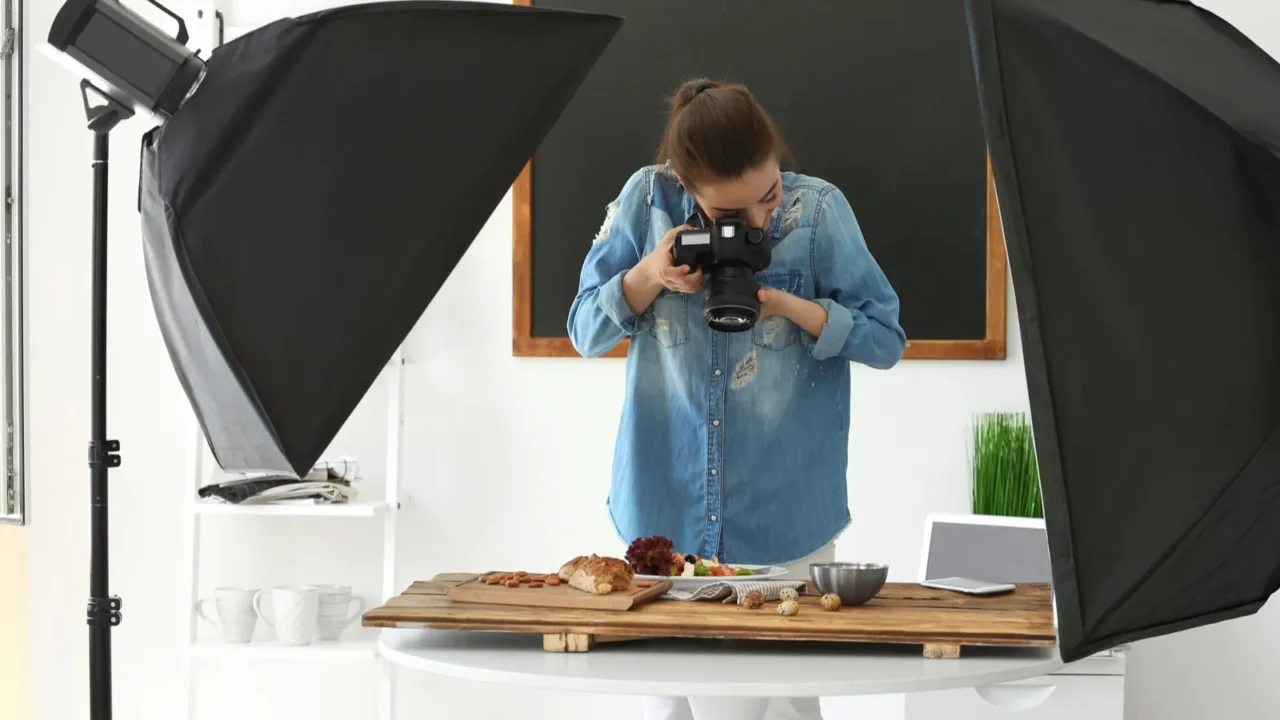
Start with a basic kit that includes softboxes or ring lights, which provide soft, diffused light. Position these on each side of your subject to reduce shadows.
You can also experiment with LED lights, which are affordable and offer adjustable color temperatures.
Don’t forget to test different angles to find what looks best.
Get Creative with Backdrops
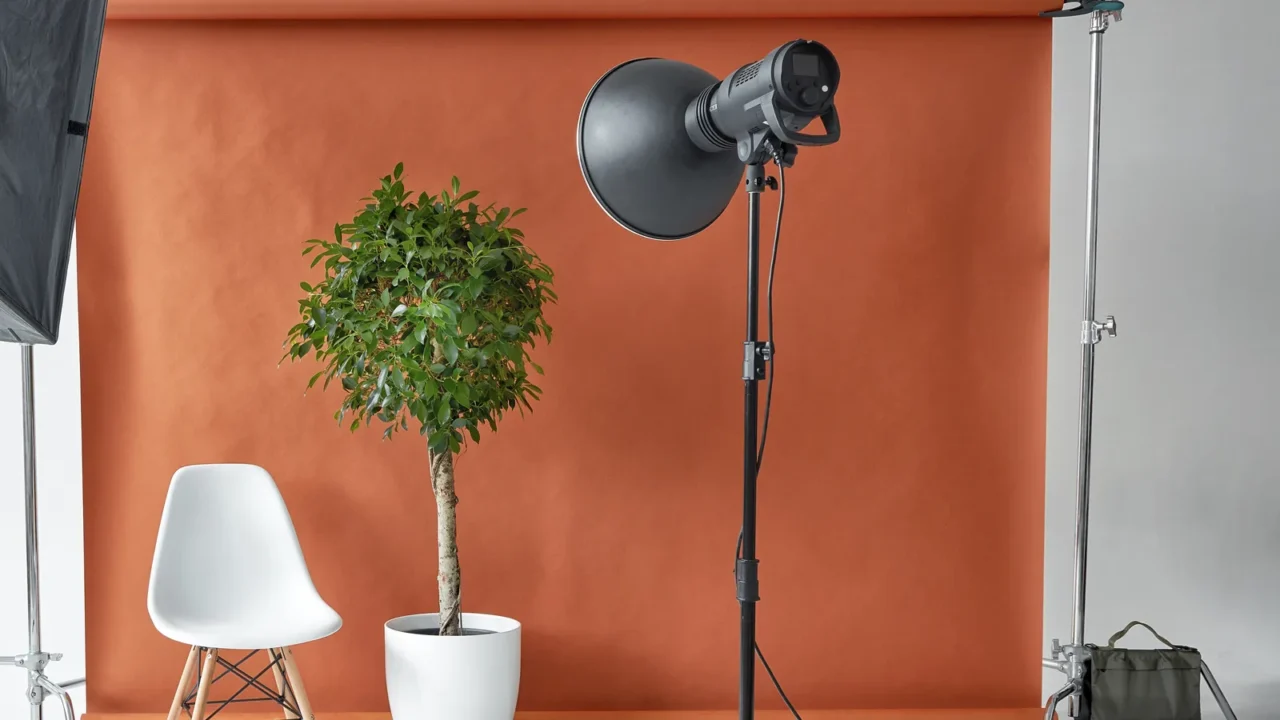
A backdrop can change the entire feel of a shot. Try neutral colors for professional headshots, or textured options for a more artistic look.
Use a portable backdrop stand so you can swap fabrics or paper rolls easily. Look for materials that won’t reflect light and are easy to clean. Muslin and canvas are some of the good choices.
Use Reflectors to Manipulate Light
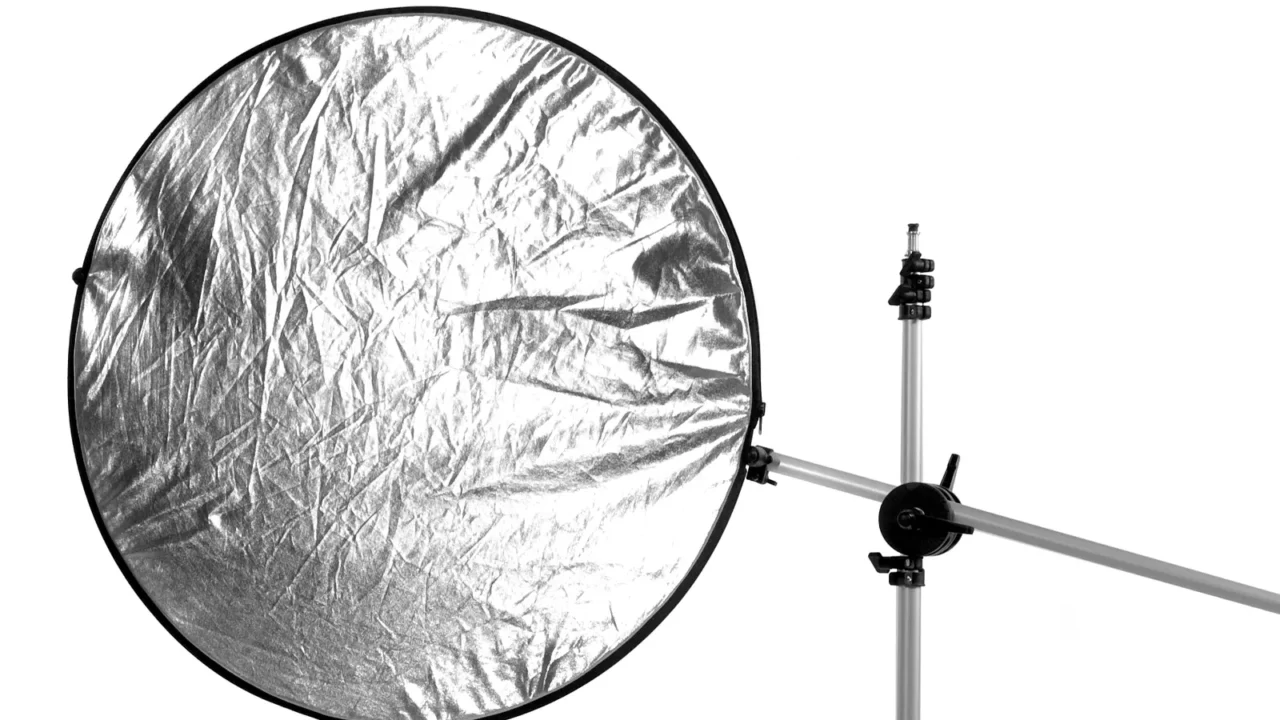
Reflectors are key to achieving professional lighting on a budget. Use white reflectors to soften harsh shadows or a silver one to add brightness.
Gold reflectors give a warm tone, which can look great for portraits. You can even make your own by covering cardboard with aluminum foil or a white sheet.
Set Up a Sturdy Tripod
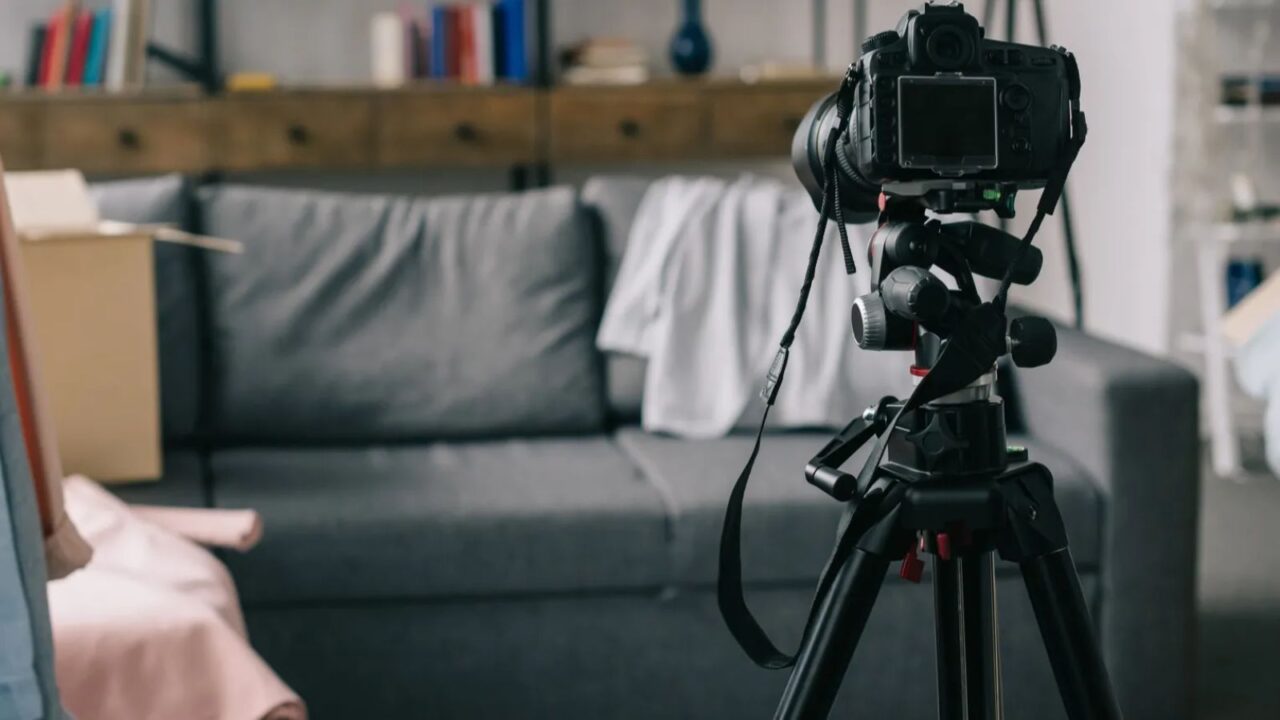
Invest in a tripod for clear, stable shots, especially if you’re working solo or in low light.
Look for a tripod with adjustable height and swivel features to get the perfect angle. For flexibility, consider a phone mount adapter if you’re shooting on your smartphone.
Stability ensures crisp, professional shots every time. A tripod also frees up your hands, allowing you to adjust lighting or pose your subject without losing your composition.
Editing Corner
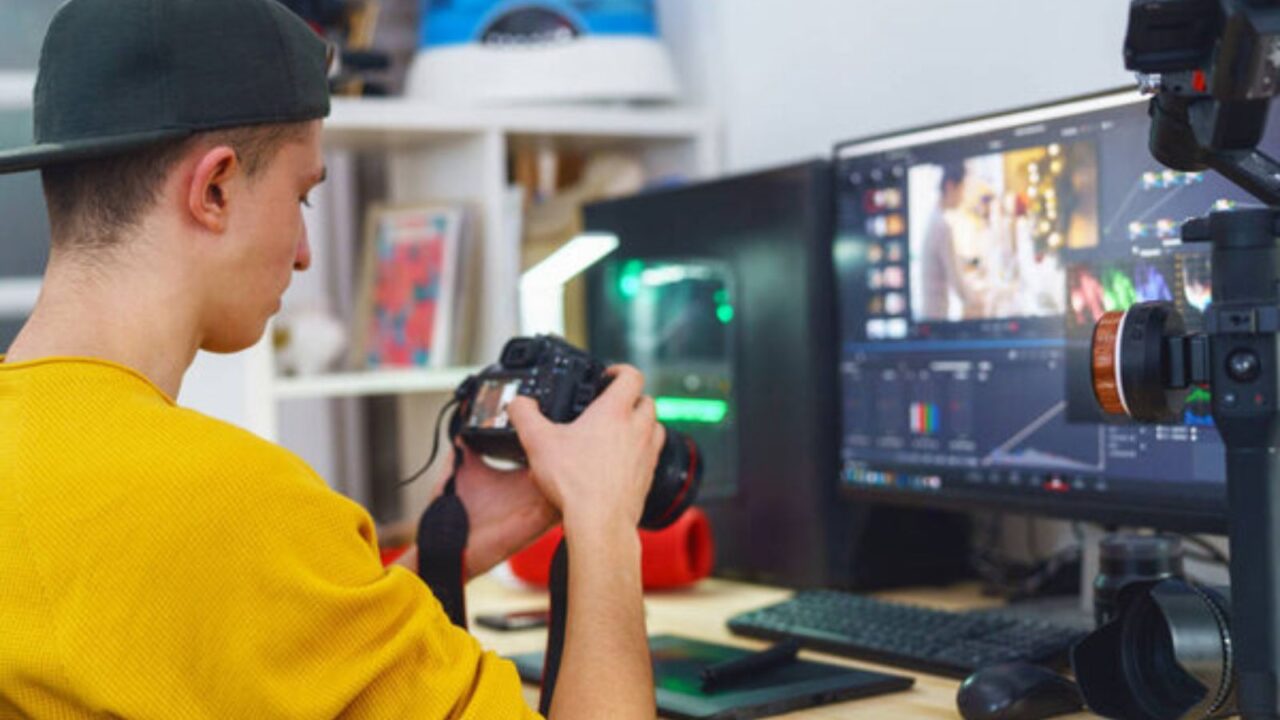
Having a dedicated editing corner for refining photos right after the shoot makes things easy and convenient.
Set up a small desk with a computer, editing software (like Adobe Lightroom or Photoshop), and an external hard drive for backups.
Consider a monitor with accurate color calibration for precise edits. Add a comfortable chair, some good lighting, and even a small notebook to jot down editing ideas.
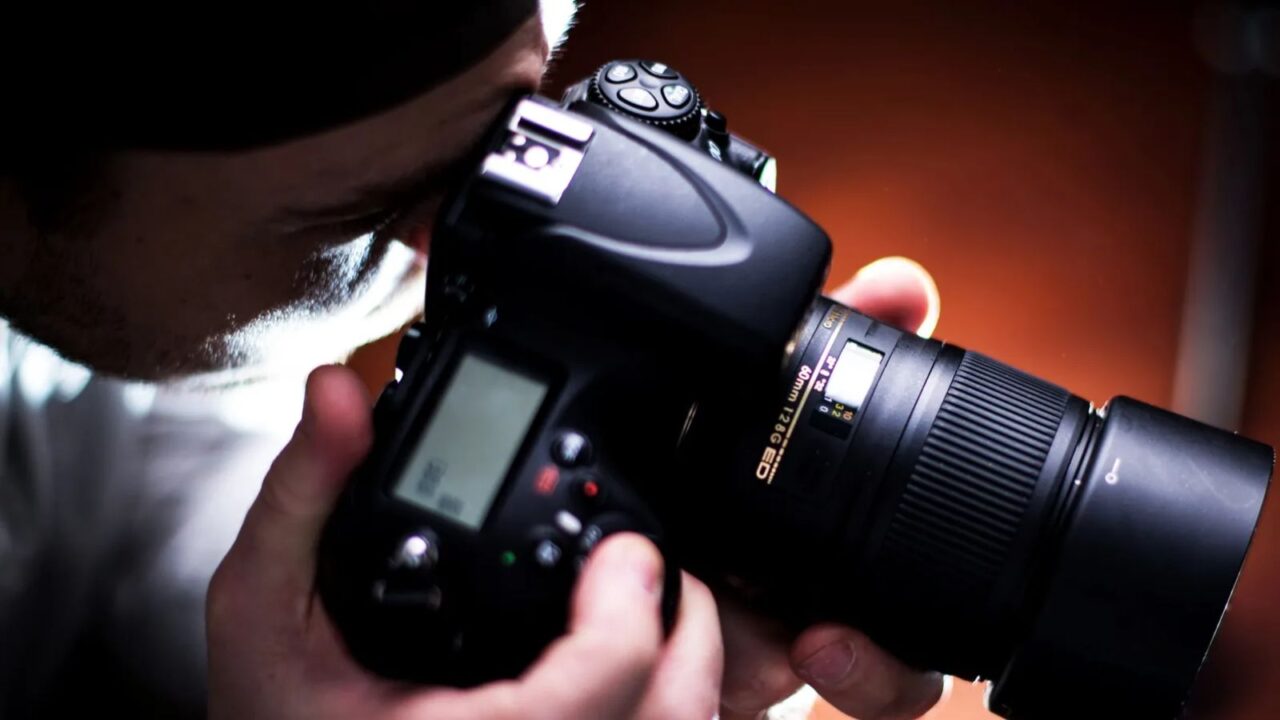
Experiment with Angles and Perspectives
Don’t be afraid to play with angles. Try taking shots from above, below, or side-on to capture different dimensions of your subject.
Angle variety makes your images more dynamic. Plus it adds depth to your portfolio. This helps you discover what works best in your studio’s setup while showcasing your creativity.
Moreover, trying different angles can help you change settings according to need as well.
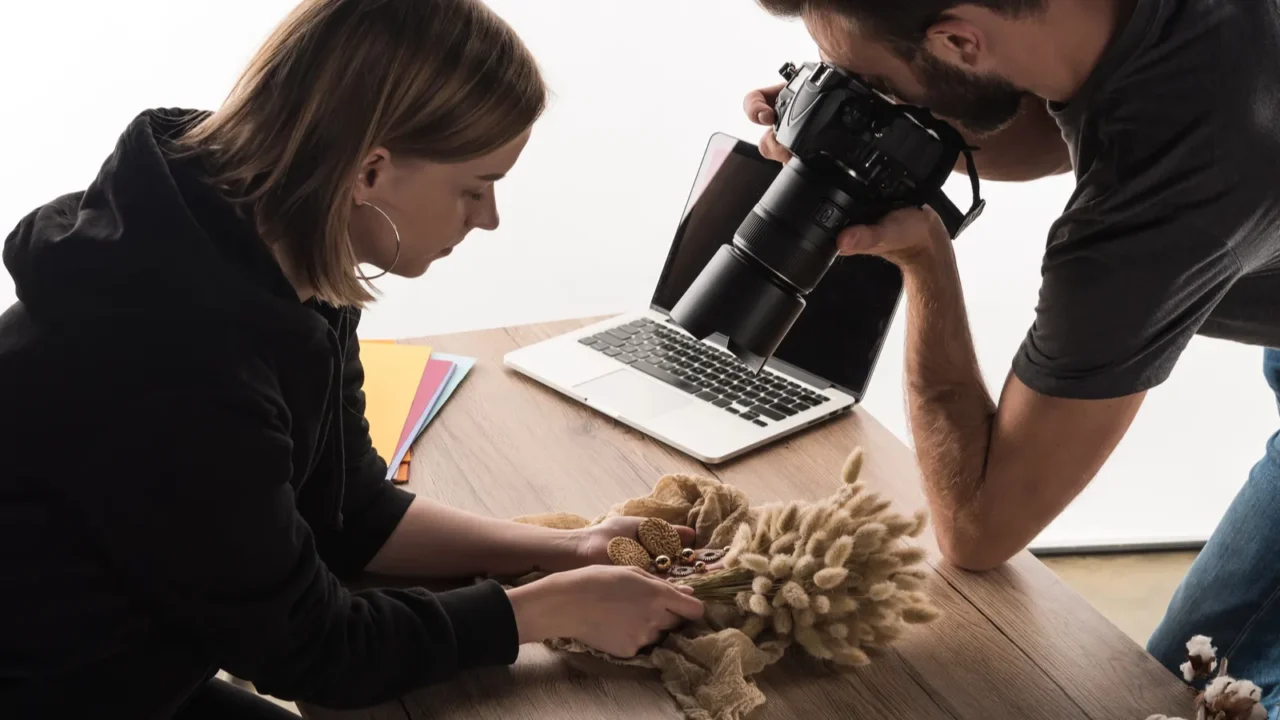
Add Props for Extra Depth
How many props are too many props for a photography studio? You never know what comes in handy at the right time. That’s why keep a collection of versatile items like chairs, plants, books, or random decor you find in that local shop.
If you’re into product photography, consider small props that match the brand or theme. Using props that complement the background color adds dimension to the photos.
Right props can bring personality and creativity to your photos.
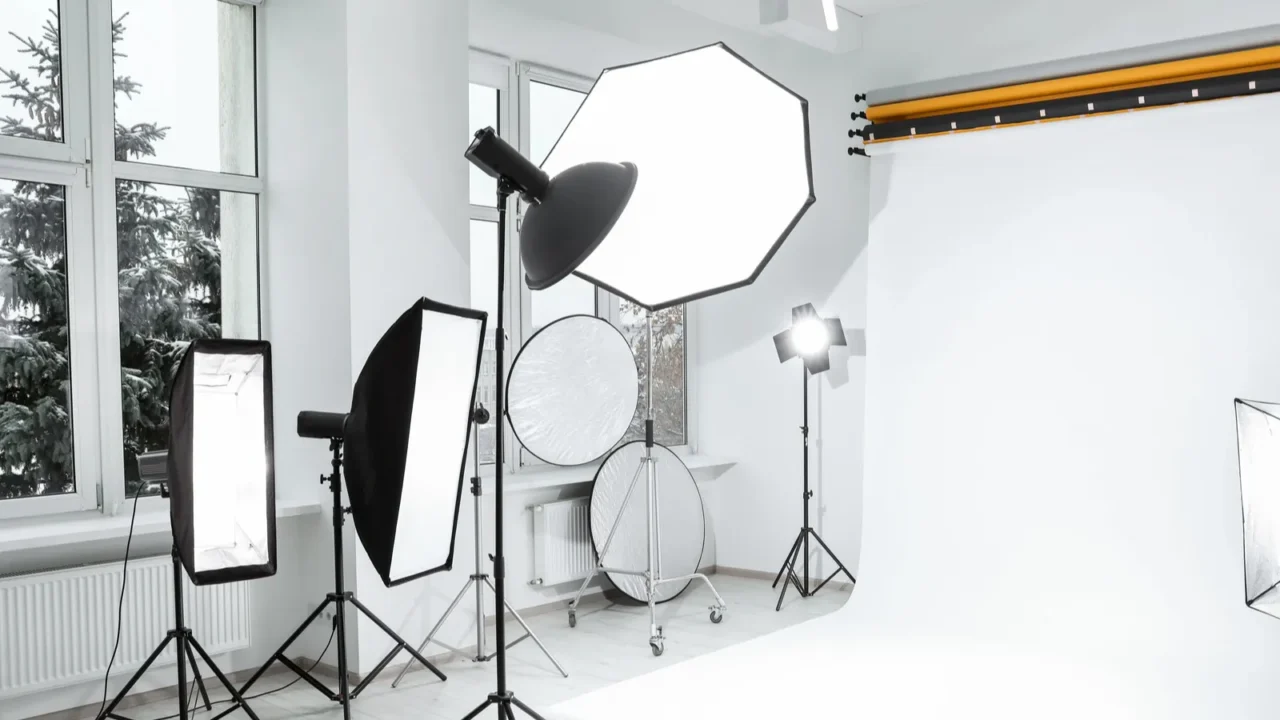
Experiment with Natural and Artificial Light
The most important thing to ensure while picking the room is that you have plenty of natural light in that space. If the room has a big window then that’s even better.
Set your photo equipment right next to the windows. Combine natural light with your artificial lights for different moods.
Try morning light for softer photos or golden-hour light for warmer tones. Experiment with both lights to mix and match and decide what fits best with your studio brand aesthetic.
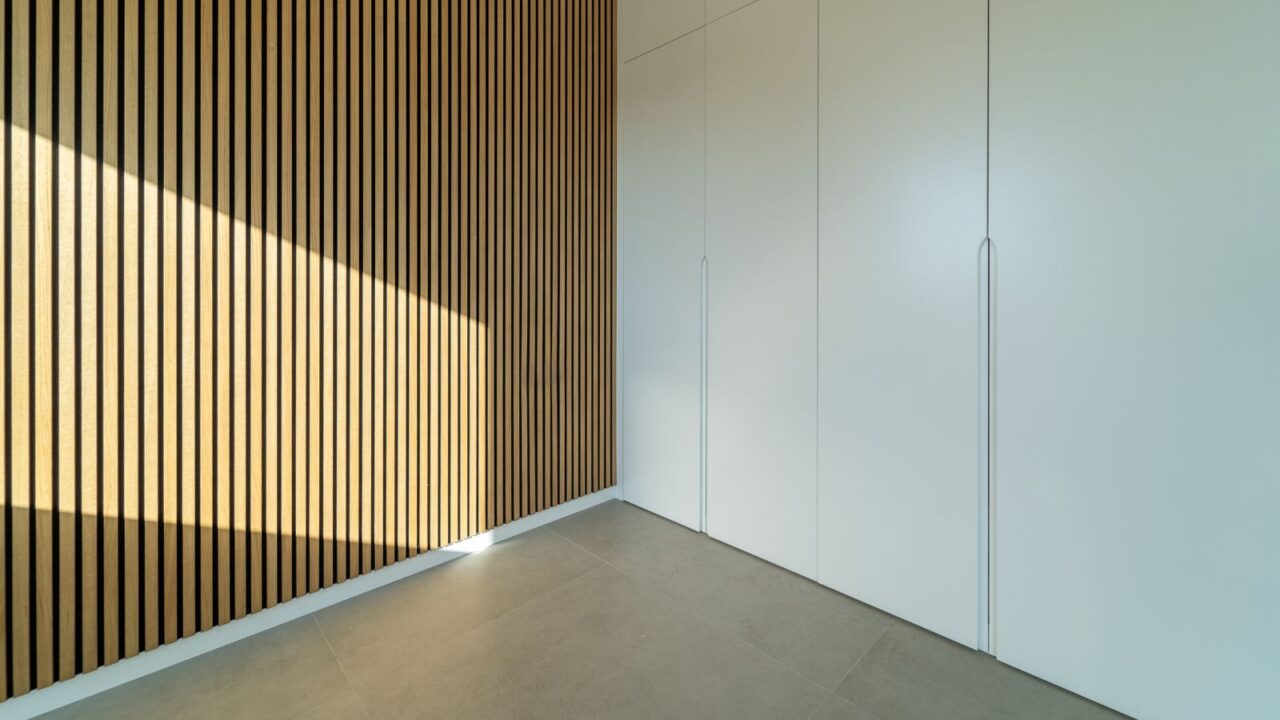
Consider Soundproofing Your Studio
Apart from good lighting, a quiet environment is essential for your studio. Especially, if your studio setup includes recording videos, consider basic soundproofing.
Hang heavy curtains or install acoustic foam panels on the walls. Even adding a thick rug helps absorb noise, creating a quieter, more controlled environment.
Clear sound quality will make your videos as polished as your photos.
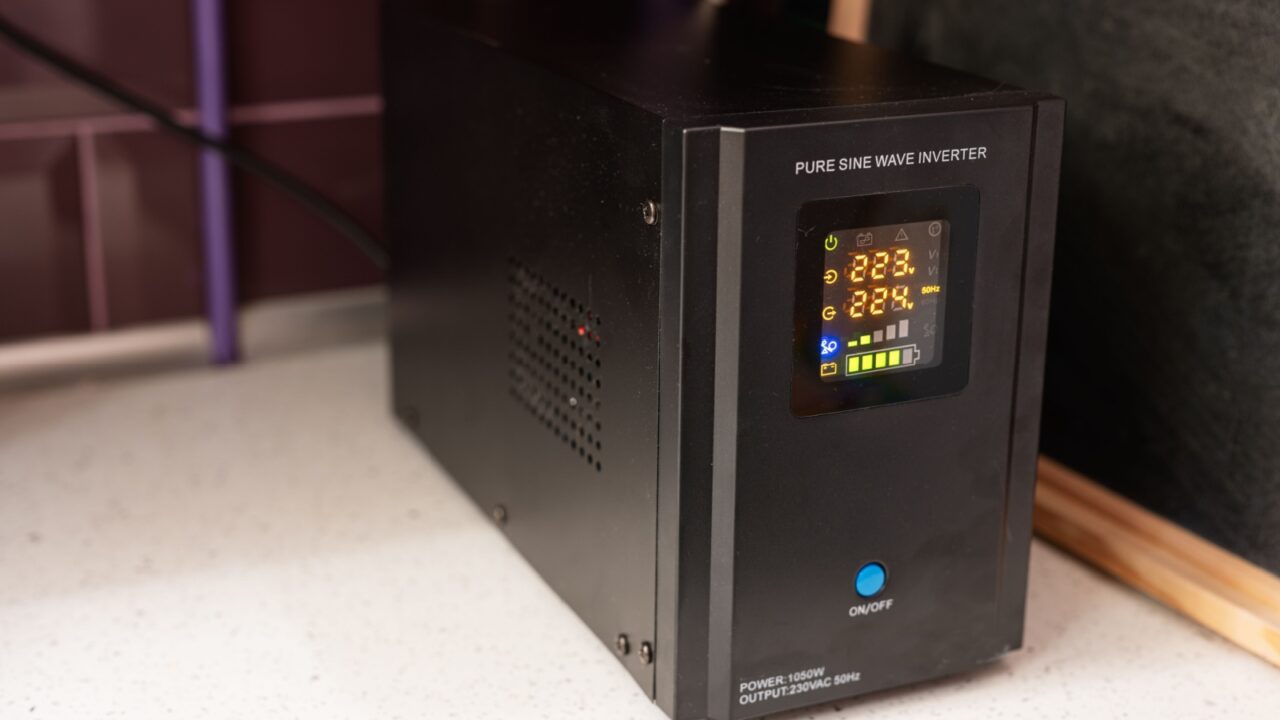
Keep a Power Backup Plan
Power interruptions can never warn before they happen and they just disrupt your flow. Keep backup batteries or a power bank on hand.
Investing in an uninterruptible power supply (UPS) can add extra protection, keeping your gear safe and your work uninterrupted during sudden power cuts.
A surge protector can also safeguard your equipment from unexpected outages. Planning for these small technical issues helps you stay focused on the creative side.
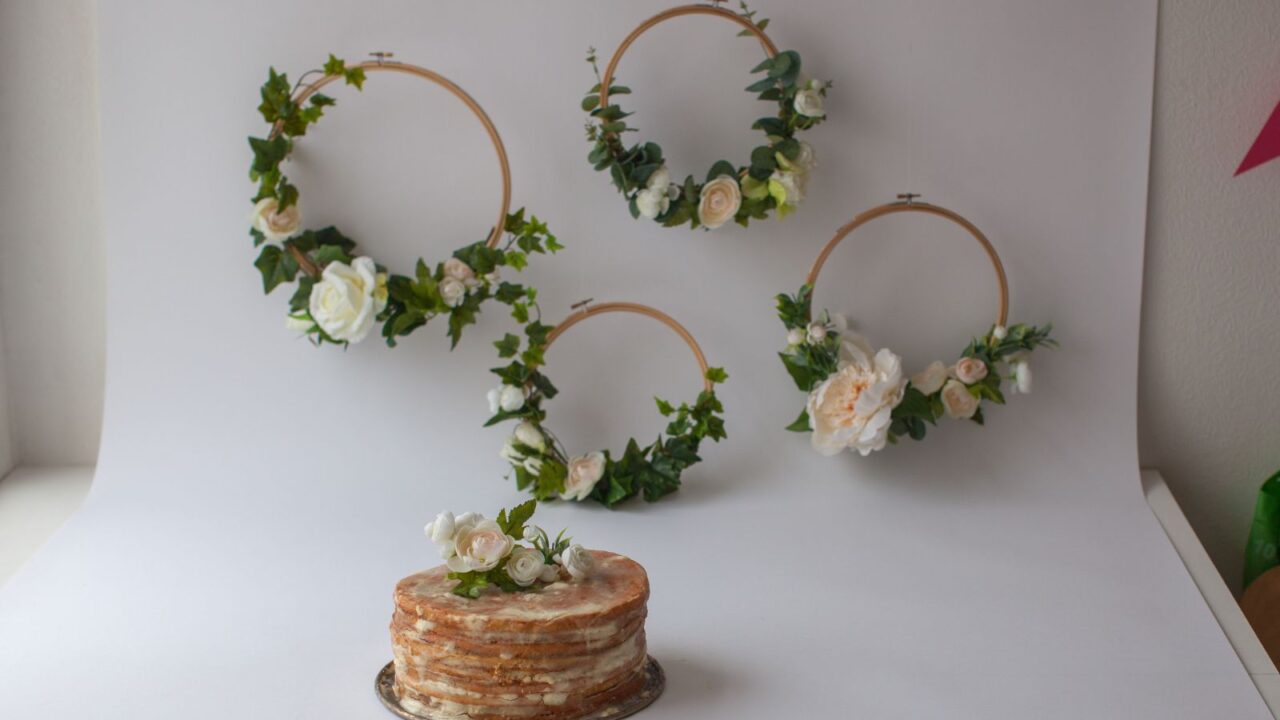
DIY Backdrop with White Paper
A simple roll of white paper can make an excellent budget-friendly backdrop for clean, professional photos. Just attach the paper to the wall or a portable stand, letting it roll down to cover the floor, creating a seamless look.
The white paper reflects light well, giving you bright, even backgrounds perfect for portraits and product shots.
Plus, it’s easy to replace sections if they get dirty, keeping your backdrop fresh and versatile without breaking the bank.
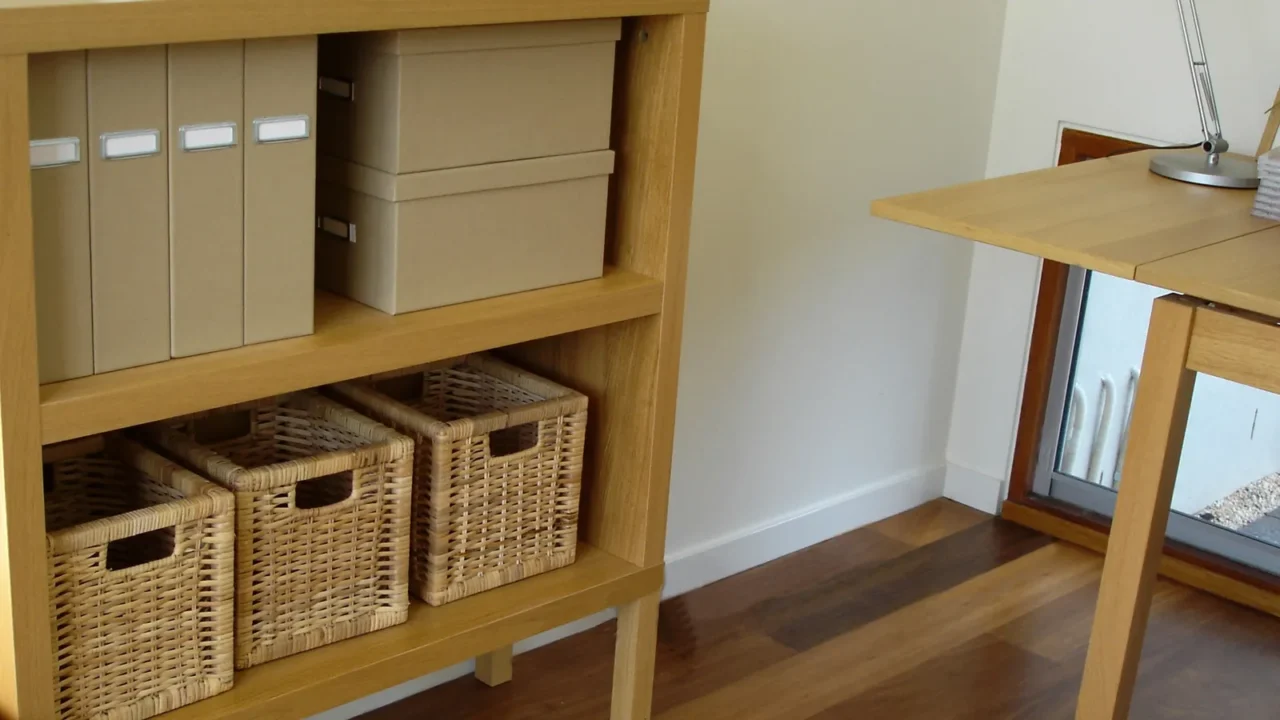
Keep Your Space Organized
An organized studio makes work smoother and more professional. Use storage boxes for camera gear, props, and backdrops, and label everything for easy access.
Having a clean, uncluttered space helps maintain a creative flow and saves time between shoots, keeping you focused on your photography.
Most importantly, a well-arranged studio also leaves a great impression on clients. They can see how you value precision and professionalism in every detail.
For more clever storage ideas, check out Innovative Storage Solutions for Every Room.
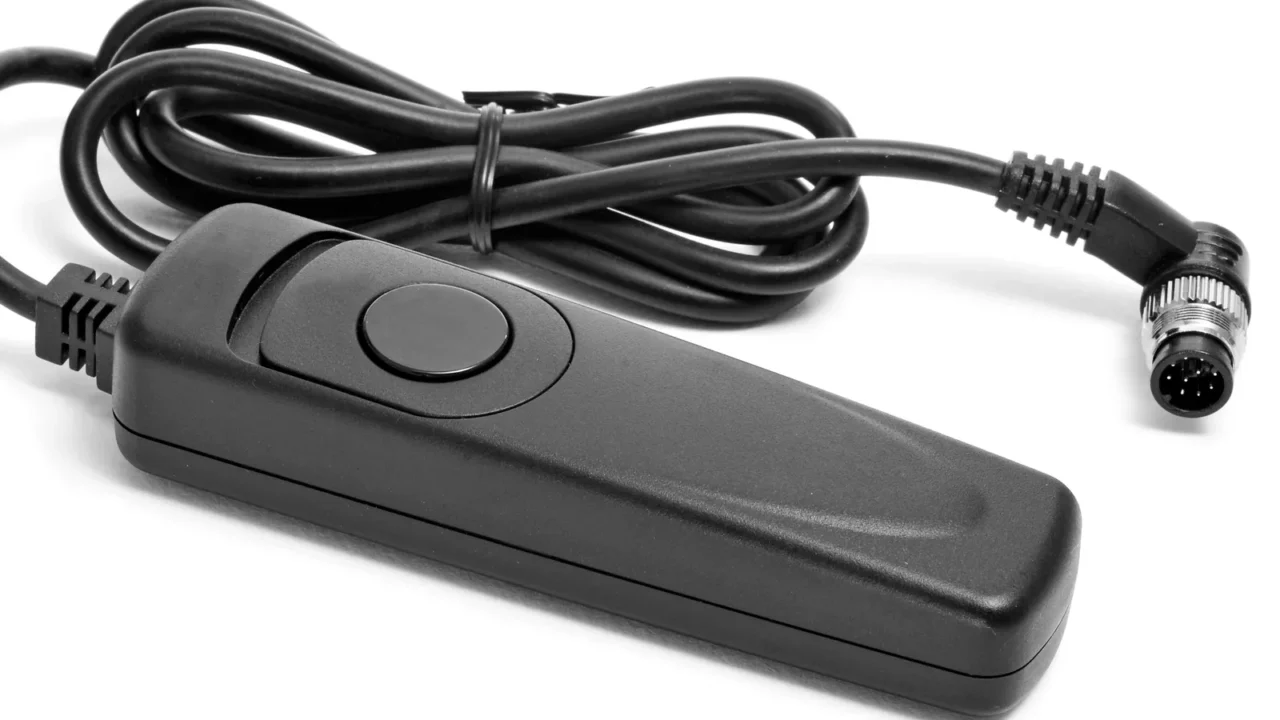
Use Remote Shutter Release
A remote shutter release prevents accidental camera shake, especially during longer exposures. It also helps when you’re shooting solo or need to be in the photo.
Bluetooth remotes work well with smartphones, while wireless triggers suit DSLRs. This tool keeps your photos sharp and your hands free for other adjustments.
Want to level up your creative space? Discover how to set up Studio for Music and Podcasts.